


By day, a tropical garden belongs to the sunlight Monstera leaves glisten, ferns unfurl in vibrant shades of green, and the surface of a pond sparkles. Yet, as night falls, the garden often vanishes into the darkness. In many villas, the situation is even worse: the space is suddenly flooded with harsh, flat white light, reminiscent of a sports stadium.
A garden that represents an investment of hundreds of millions deserves to come alive for a few more hours each evening the very time when homeowners are actually home, relaxing on the patio after a long day, hosting friends, or simply gazing out at the greenery.
This article explores the approach taken by the 3A Landscape team toward lighting villa gardens, with a particular focus on the multi-layered tropical garden designs we frequently create.
First Principle: Illuminate the Object, Not the Eye
Effective landscape lighting is not measured by brightness. Rather, it is determined by whether someone sitting in the garden can clearly and comfortably see the trees, stones, and water features without being blinded by glare.
Consequently, a guiding principle among landscape designers is to illuminate the object while concealing the light source. Fixtures should be tucked away beneath foliage, placed behind rocks, recessed into the ground, or hidden within the crevices of driftwood. The viewer should see only the illuminated elements, not the lights themselves.
The second principle is to embrace shadows. A garden that is uniformly lit in every corner loses its sense of depth. It is the pockets of darkness between the illuminated points that make a garden appear more expansive and mysterious.
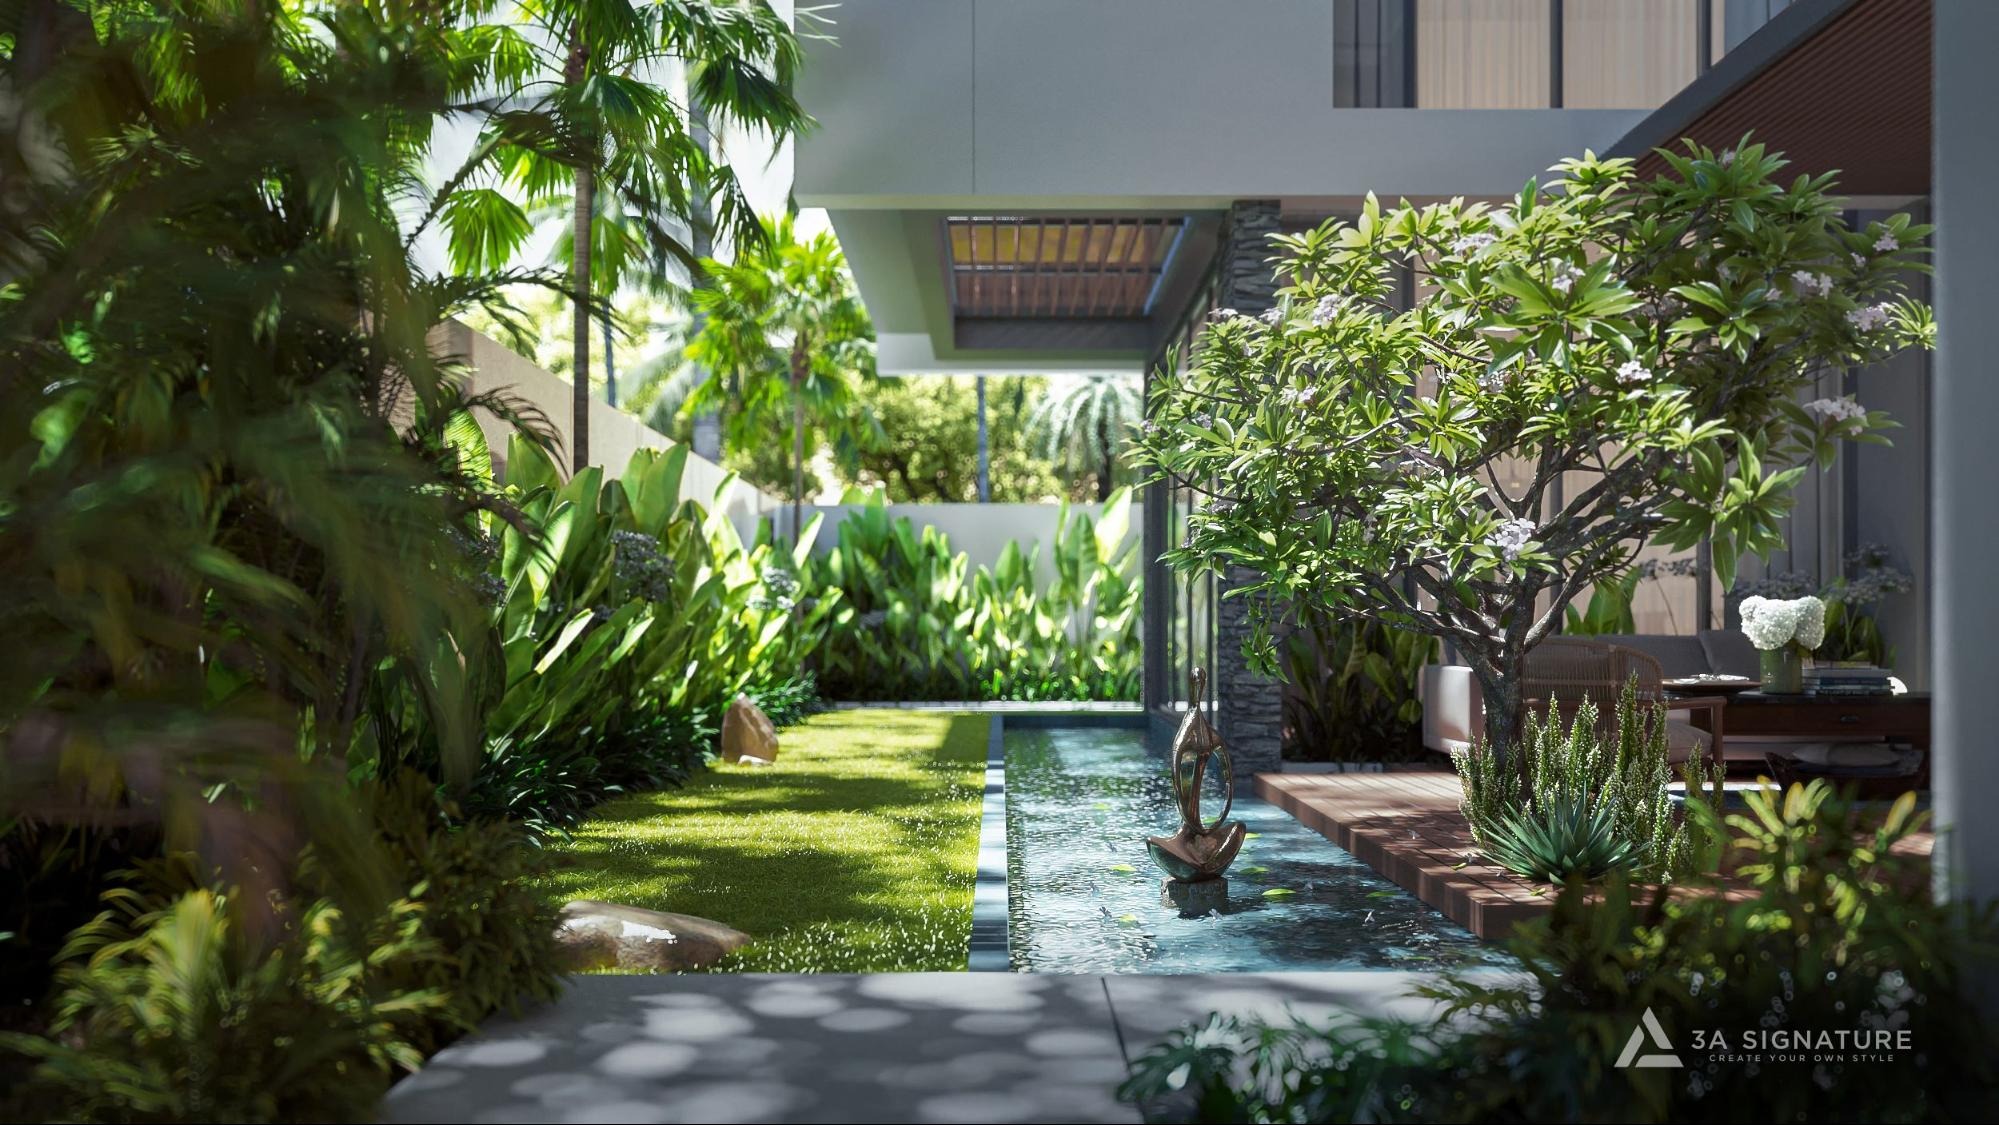
6 Landscape Lighting Techniques You Should Know
- Grazing. Lights are positioned close to the base of a textured surface such as a stone wall, a rock face, or a tree with rough bark and directed upward. The low angle of the light highlights every ridge, crevice, and contour. This technique works exceptionally well with the porous, dark-toned stone often used in the “living walls” (vertical gardens) created by Phuc An Khang.
- Uplighting. Lights are placed at the base of trees, columns, or textured walls and directed upward. This technique creates the most dramatic effect and is ideal for plants with striking forms such as palms, heliconias, or bird-of-paradise flowers as well as for sculptural, weathered driftwood.
- Moonlighting. Lights are mounted high up in trees or on walls, casting light downward through the foliage. As the light filters through the leaves, it creates dappled patterns on the grass or pathways, mimicking the appearance of natural moonlight. This is a subtle, sophisticated technique often considered the most “premium” choice for tropical gardens. Note: When installing lights and wiring, ensure they are not secured in a way that constricts or tightens around the tree trunk.

4. Silhouetting and shadowing. Place a light behind a plant so that it appears as a dark silhouette against a bright wall, or position the light in front so that the shadows of its leaves are cast onto the wall. A Monstera plant or a cluster of palms casting a shadow against a white wall can look as beautiful as a painting.
5. Path lighting. Use low, downward-facing lights, placed in a staggered pattern along a stone walkway. The goal is to ensure safety and provide guidance, not to illuminate the entire area. Avoid lining the lights up in straight rows on either side, which would make the path look like an airport runway.
6. Underwater lighting. Submerge lights in a pond, swimming pool, or waterfall. Light coming from below makes the water glow, illuminates koi fish, and creates reflections on the surrounding vegetation.

A beautiful garden typically incorporates two to four techniques; there is no need to use all of them.
Lighting for 3A Landscape’s Signature Garden Style
Living Walls
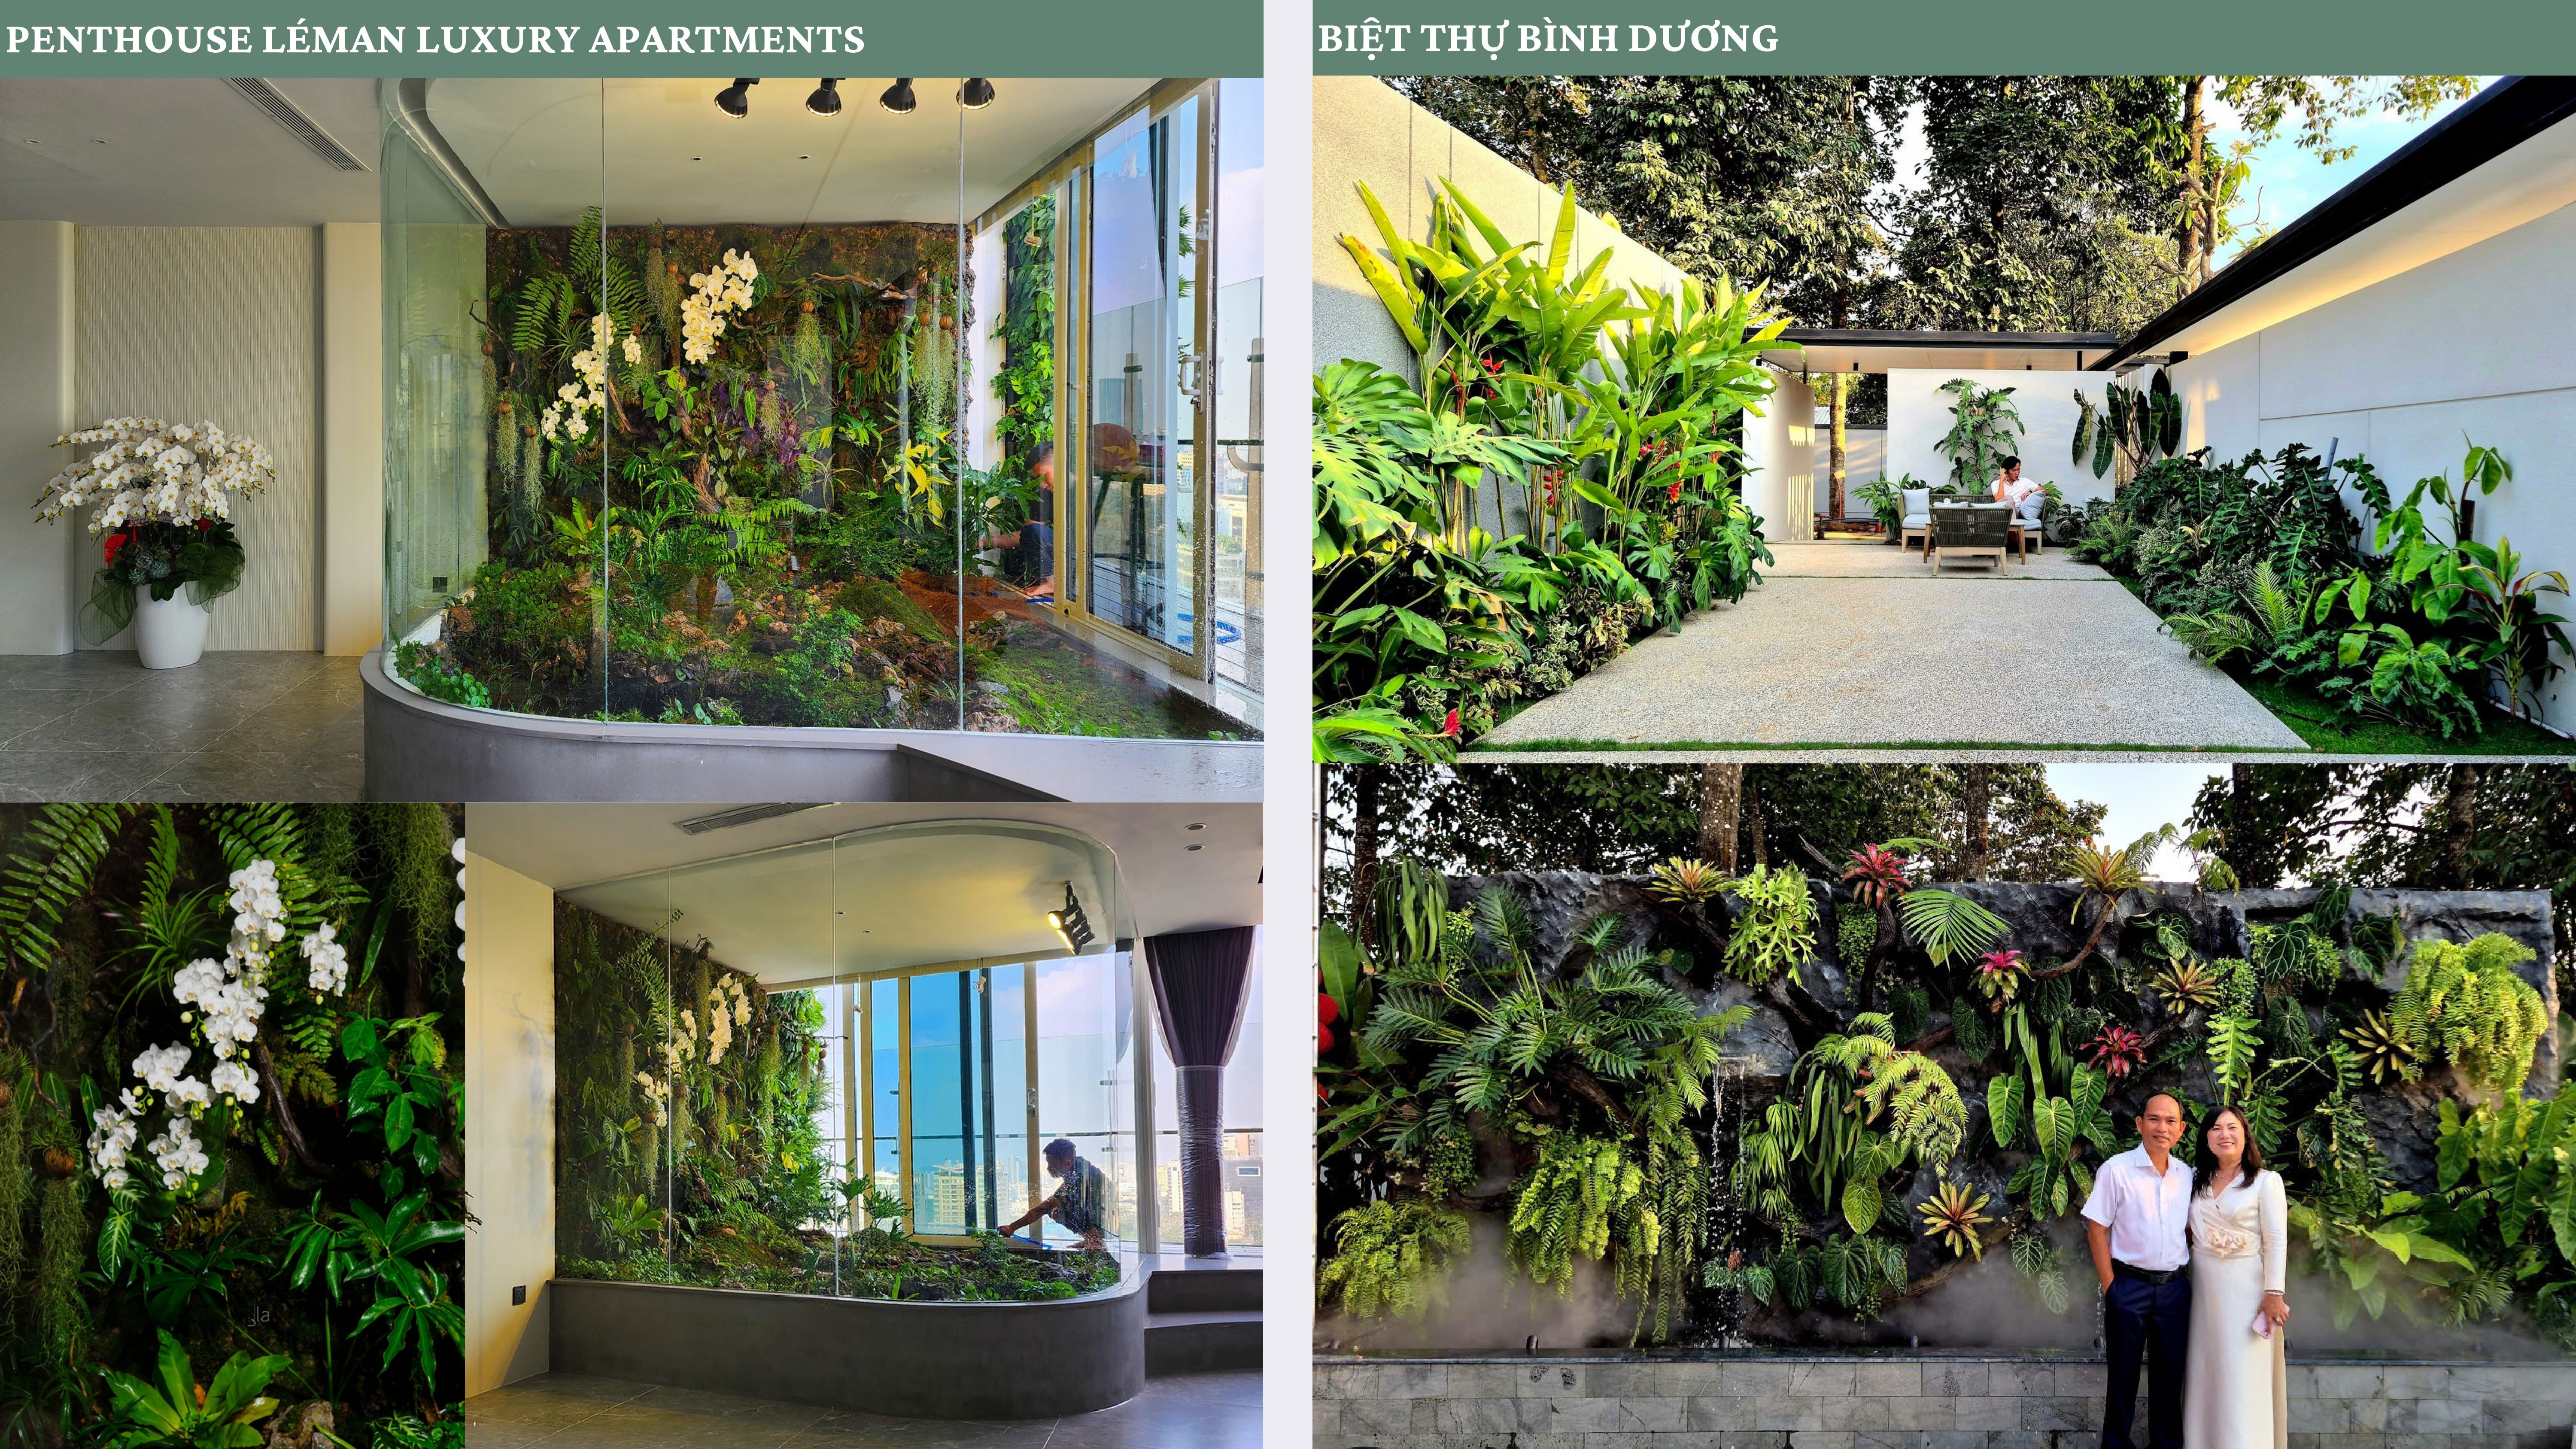
Multi-layered living walls featuring plants like Monstera, Philodendron, ferns, and bromeliads require lighting that adds depth. An effective approach is to use grazing light from the base of the wall to accentuate the texture of the foliage, complemented by narrow-beam spotlights directed at specific focal points, such as clusters of red or pink bromeliads or silver-veined aroids. Avoid aiming a single floodlight directly at the center, as this will flatten the appearance of the living wall and eliminate essential shadows.
Driftwood and Epiphytes
Twisting pieces of driftwood serve as the “skeleton” for many miniature landscapes. Soft, upward-directed lighting along the wood’s surface transforms it into a sculptural centerpiece at night, while also illuminating the staghorn ferns and bromeliads attached to it.
Misting
This is a detail rarely mentioned elsewhere. When the misting system activates in the evening, light passing through the mist creates soft, luminous beams reminiscent of a forest at dawn. Positioning just one or two light sources at the right angle behind the mist is enough to achieve this effect. Any equipment or wiring located near the misting area must have an appropriate water-resistance rating.

Fish Ponds and Waterfalls
Submersible lights should be placed where fish frequently swim, or at the base of a waterfall to illuminate the cascading water. Opt for warm or neutral-toned lighting; avoid overly vibrant colors, as these can disrupt a relaxing, resort-like atmosphere and cause the fish to lose their natural appearance.
Lighting Color: Predominantly Warm Tones
For residential gardens, a warm color temperature typically in the 2700K–3000K range is generally recommended as the primary choice. Warm light gives foliage a soft, elegant appearance, enhances the warmth of stone and wood elements, and creates a relaxing atmosphere. Cooler, white light should be used only for specific purposes for instance, for security lighting at an entrance or to highlight certain modern design features.
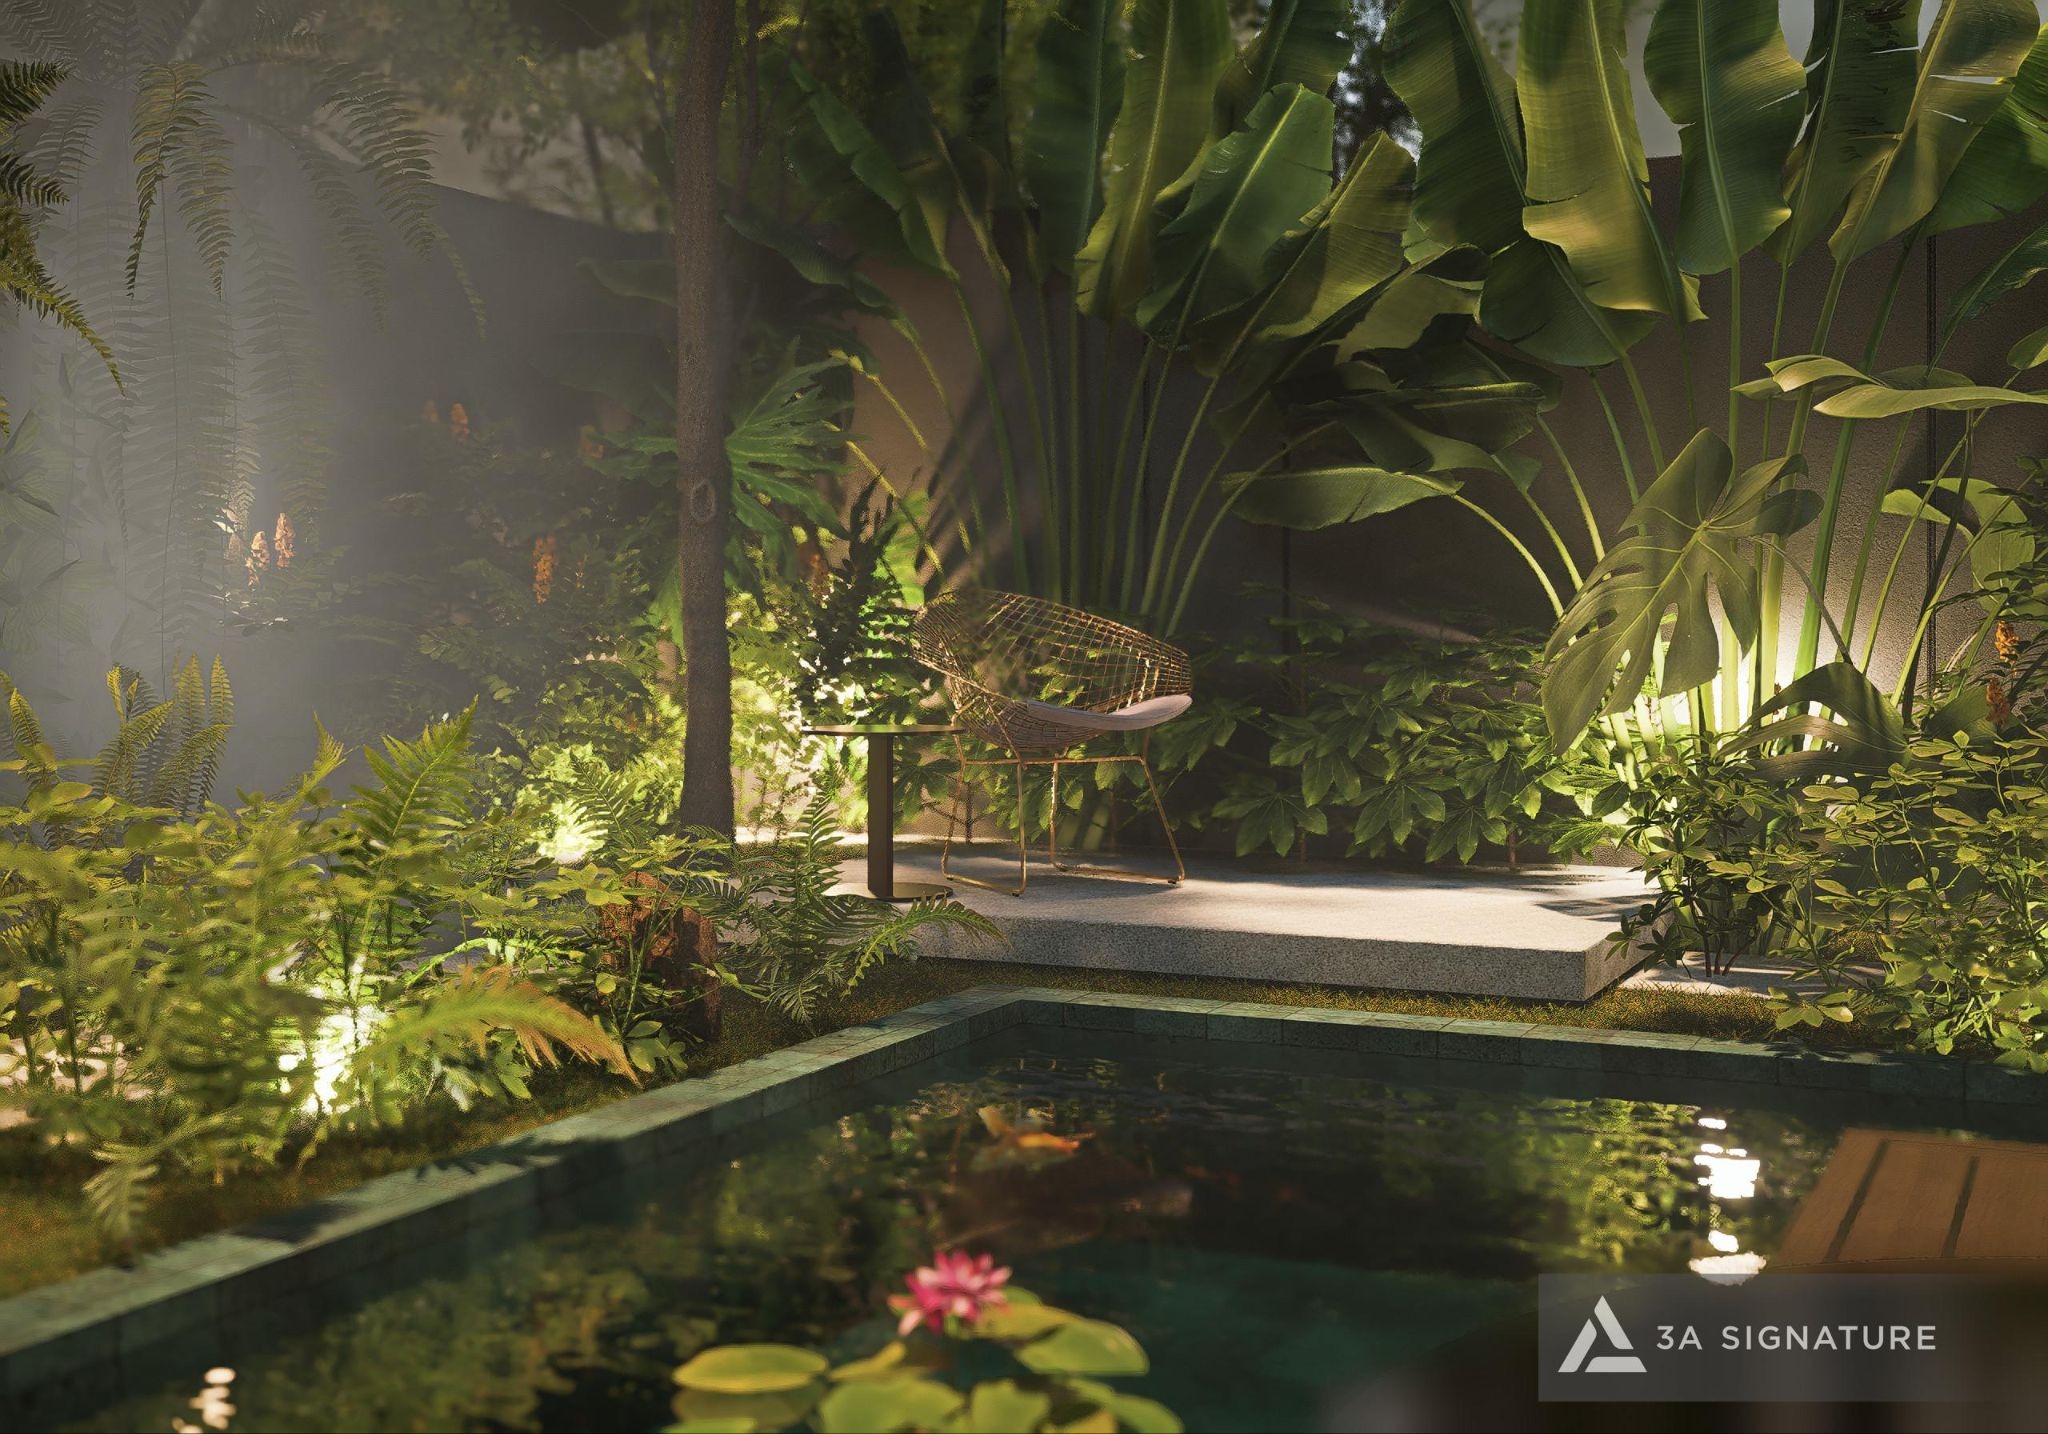
In any given garden, keep your lights within the same color spectrum. Mixing three or four different tones will make the space look disjointed.
A practical benefit in tropical regions: warm, downward-facing lights positioned away from seating areas tend to attract fewer insects than cool, white, direct-beam lights. This makes for a more pleasant evening on the patio.
Electrical Safety: An Area Where No Shortcuts Should Be Taken
Gardens are environments characterized by rain, damp soil, irrigation water, ponds, and people walking barefoot. Consequently, outdoor lighting systems must be installed correctly from the very beginning.
Choose the appropriate Ingress Protection (IP) rating. As a general rule for areas with frequent rainfall, outdoor equipment should have an IP rating of at least IP65. In-ground lights and fixtures placed near water should be rated at least IP67, while lights intended for submersion underwater require an IP68 rating.
Junction boxes must also be waterproof. Even an IP68-rated light will fail if water penetrates the wire connections behind it; therefore, any junction box installed underground must meet an equivalent level of water protection.
Prioritize low-voltage systems. Low-voltage landscape lighting (typically 12V or 24V, powered via a transformer) is significantly safer for damp areas and locations near water especially for lights in ponds or swimming pools. For this reason, underwater lights are almost exclusively designed to operate on low voltage.
Install residual current devices (RCDs) and a dedicated electrical enclosure. Garden lighting circuits should be kept separate, equipped with an RCD (to prevent electric shock), and installed by a qualified electrician.
Use concealed wiring with protective conduit. Wires should be run through conduits and buried at an adequate depth. Additionally, maintain a layout diagram so that future gardening activities such as planting trees do not result in accidentally severing the cables.
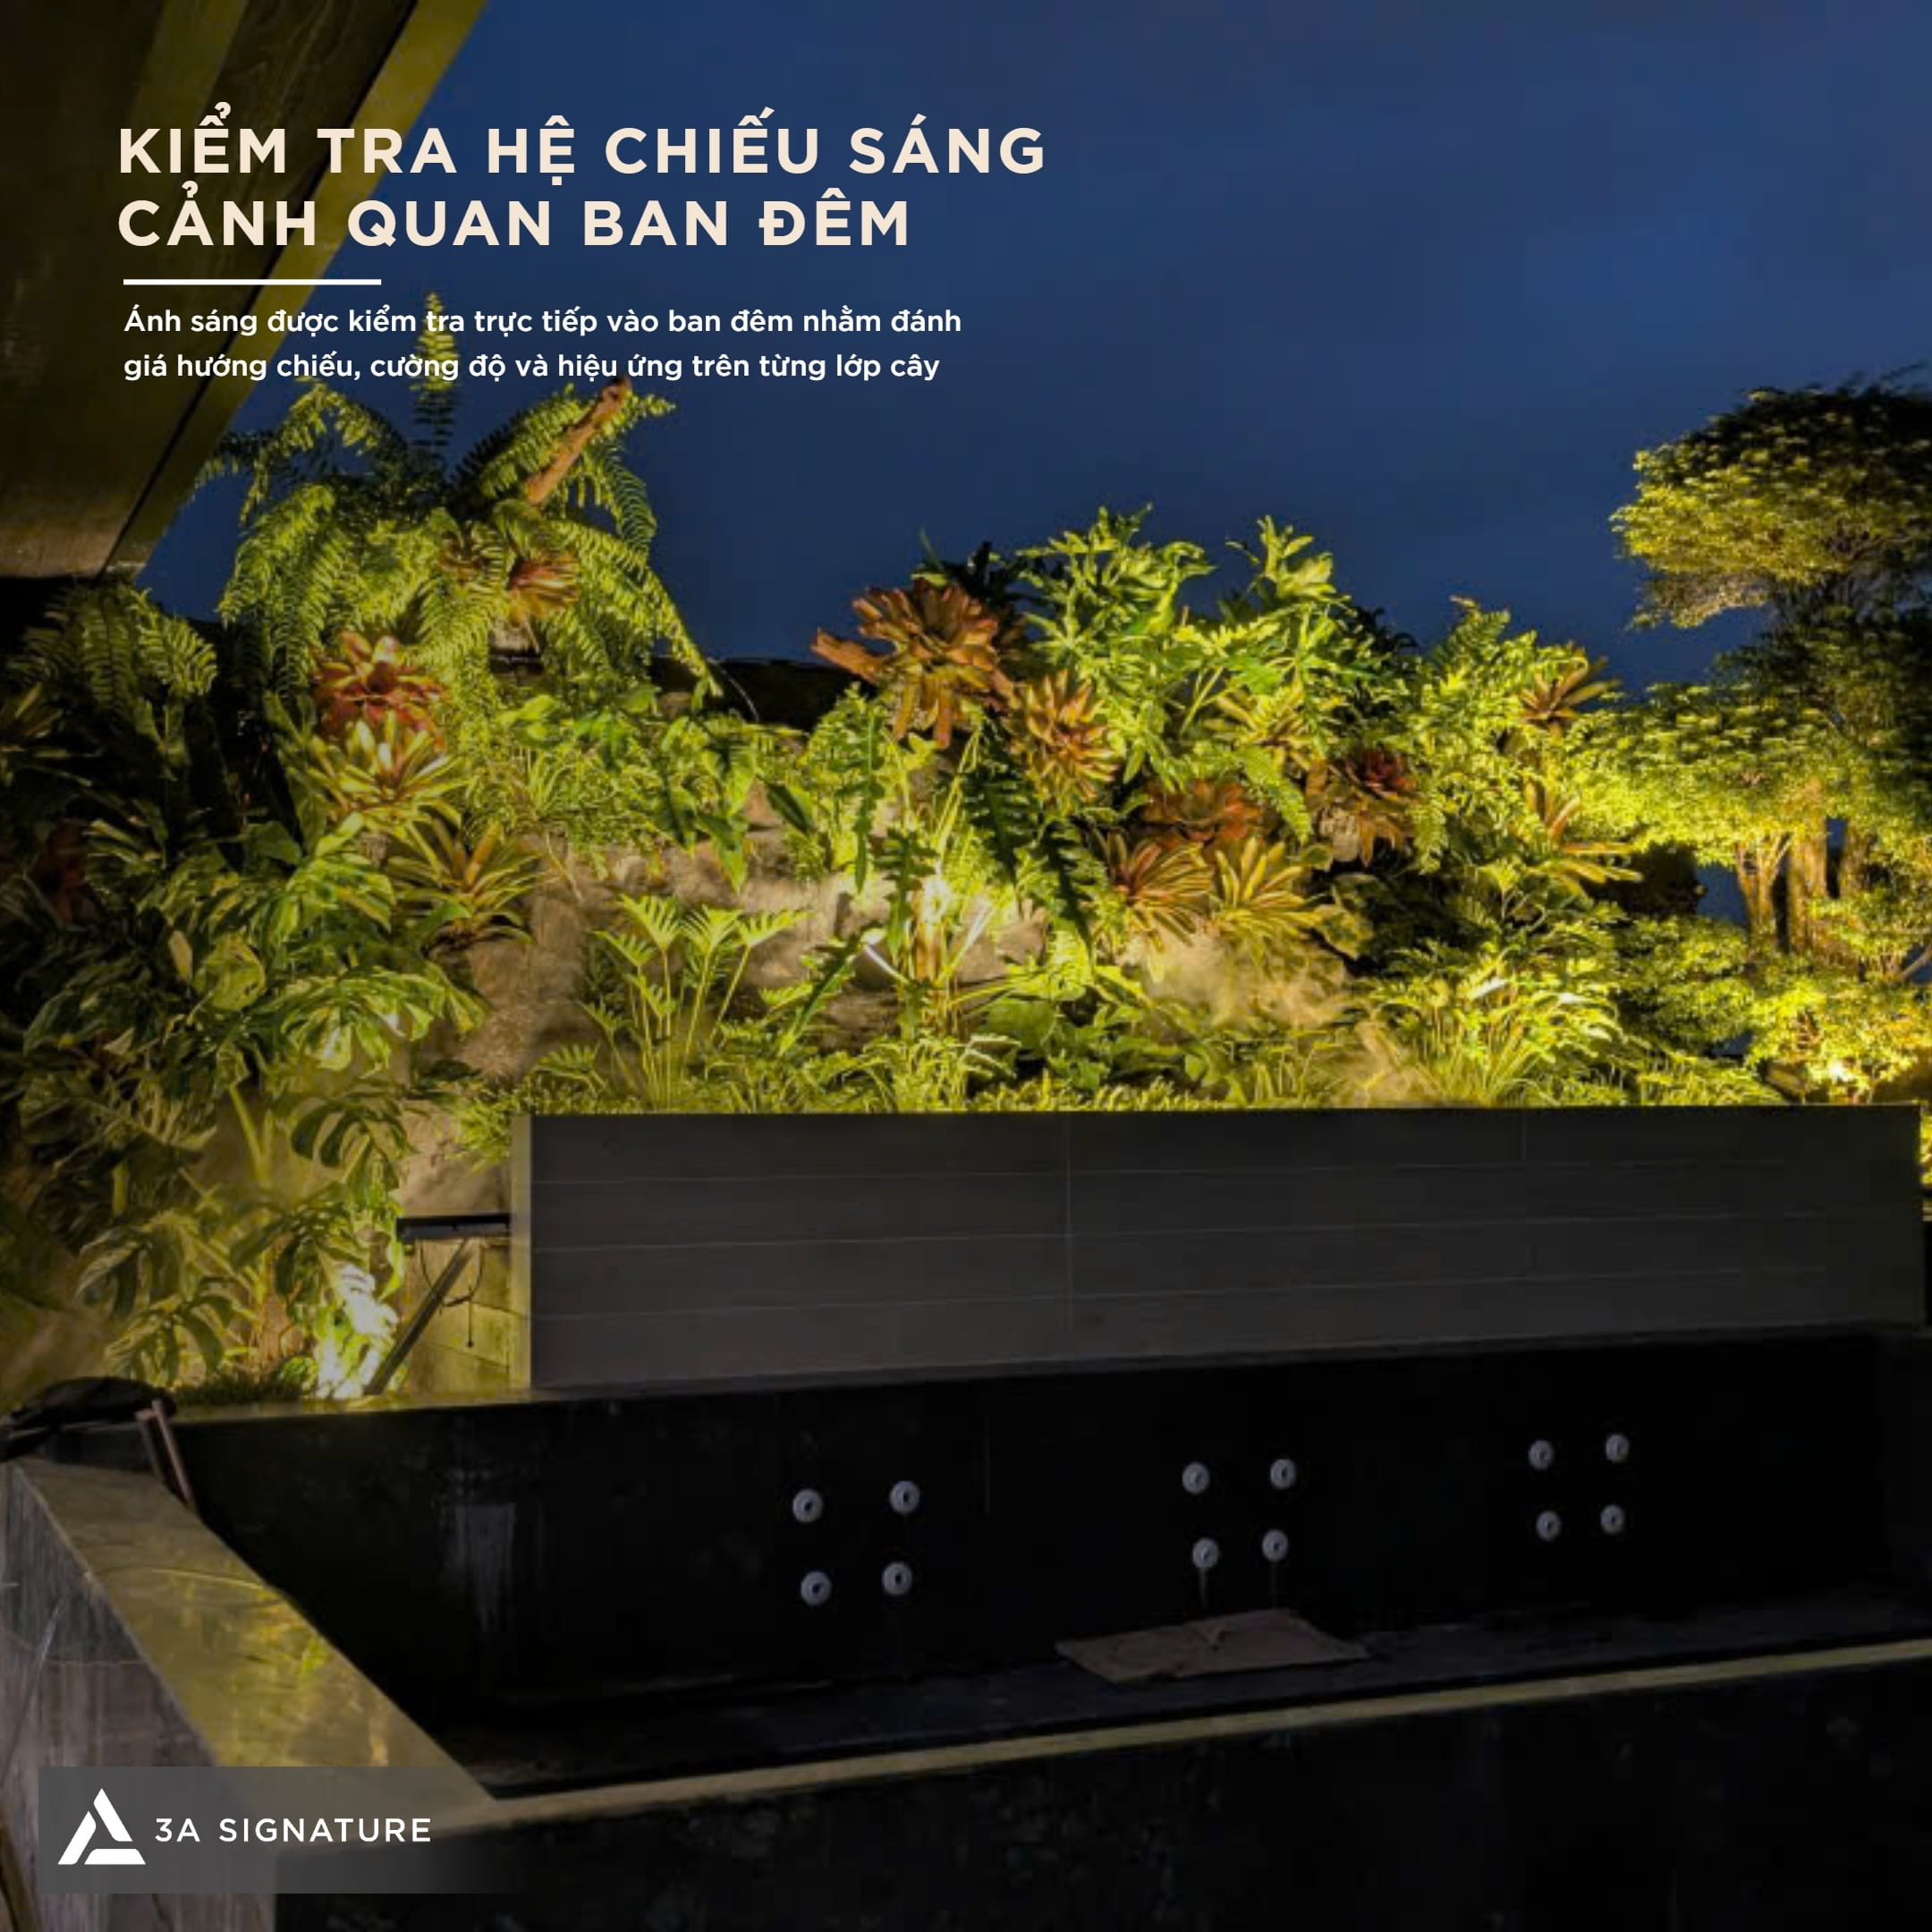
Control: One Garden, Multiple “Scenes”
A well-designed garden lighting system should be divided into distinct control groups: pathways and security areas, trees and green walls, water features, and patio seating areas. By incorporating timers or sensors, you can create various settings:
- Nightly scene: Illuminates only pathways and a few key focal points, with an automatic shut-off late at night.
- Entertaining scene: Activates additional lighting for green walls, water features, and patio seating areas.
- Security scene: Uses motion-sensor lights at gates and entryways, rather than keeping the entire garden brightly lit all night.
Purposeful, sensor-activated lighting is far more effective than keeping the whole garden flooded with light throughout the night a practice that wastes electricity and can be a nuisance to neighbors.

5 Common Mistakes
- Choosing equipment with an insufficient waterproof rating to save money. Such fixtures often fail after a single rainy season and pose a safety hazard when placed near water.
- Using high-intensity floodlights for the entire garden. This creates a flat, glaring effect that strips away all sense of depth.
- Leaving light sources exposed. If someone sitting on the porch looks directly at a bulb, they will no longer be able to see the garden.
- Lining up path lights in straight rows on both sides. This makes the space look like an airport runway rather than a garden.
- Installing lights only after the garden has been planted. Running the necessary wiring requires digging, which can damage plant roots and stone foundations.
Lighting Must Be Designed in Tandem with the Garden
At 3A Landscape, lighting is planned concurrently with the selection of plants, stones, and water features. When designing a green wall or a pond, we determine in advance which plants will serve as focal points after dark, where the light fixtures will be discreetly placed, and how the wiring will be routed. This ensures the garden remains beautiful at 10:00 AM and 9:00 PM alike—all while avoiding the need for disruptive excavation once the project is complete.
If you would like to learn more about interior lighting, please explore our article on “Villa Lighting Design” on our website.
Whether you are developing a garden for a villa or looking to bring your existing garden to life in the evening, the team at 3A Signature and the artisans at Phuc An Khang are ready to provide expert consultation.
3A Signature — Craft Your Tropical Villa.