

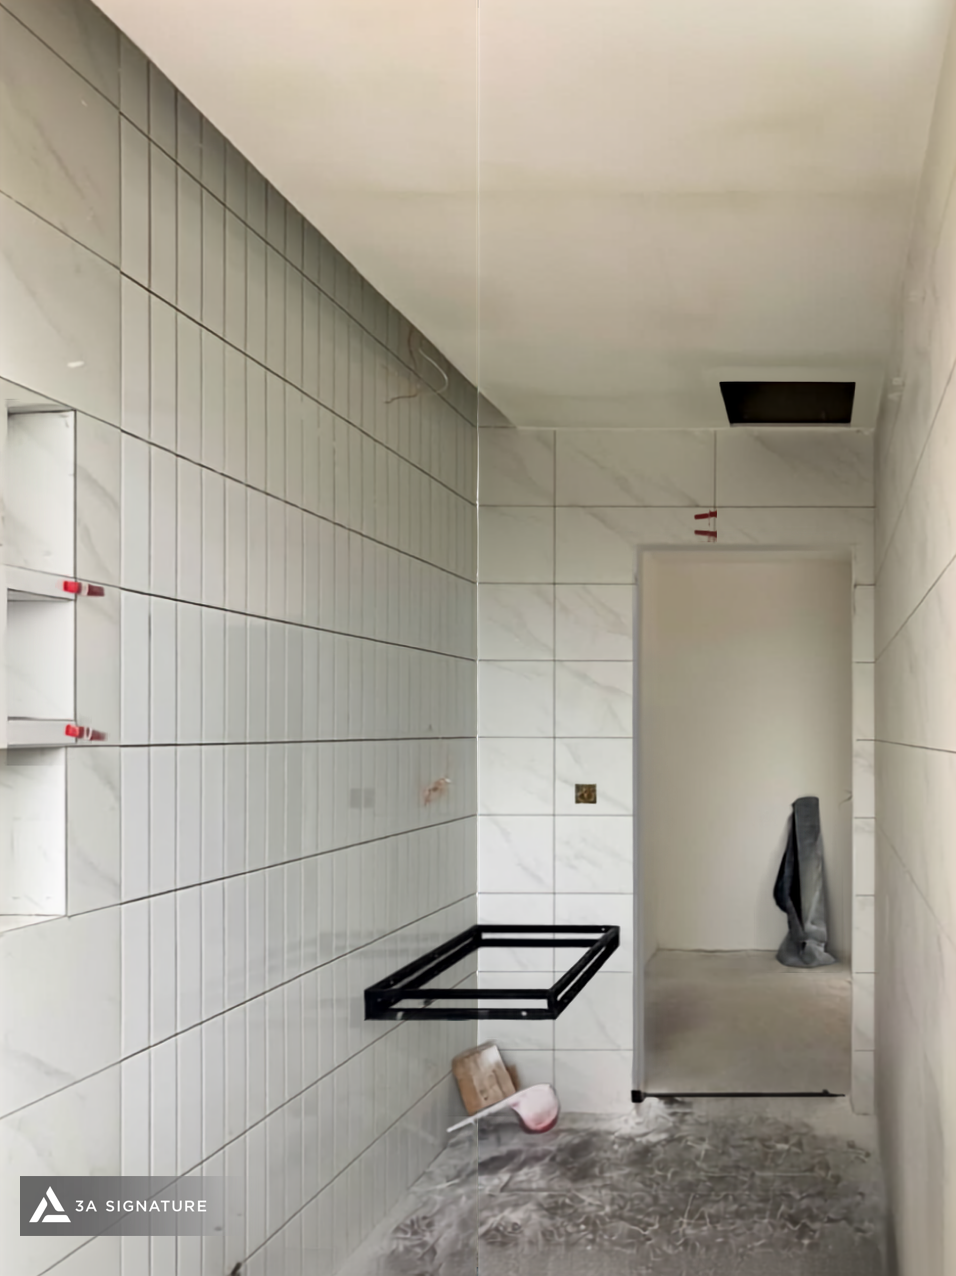
In villa construction, the tile laying process directly impacts the aesthetics, functionality, and user experience of the space. Surface quality depends not only on the tile design but also on subfloor preparation, grouting, leveling, flatness control, the use of leveling clips, and on-site inspection of each area before handover.
Tile Laying: A Finishing Layer Requiring Subfloor Control
In villa construction, tiles are commonly used in bathrooms, kitchens, balconies, laundry areas, hallways, or decorative wall sections. This material provides both a finished surface and protects the walls and floors during use.
If the subfloor is uneven, the leveling is not controlled, or the grout lines are misaligned, the finished surface may look messy. In wet areas like bathrooms, balconies, or laundry areas, tiling errors can also affect drainage, drain placement, equipment installation, and door joints.
Therefore, tiling should not be considered solely the responsibility of the finishing team. This is a task that requires coordination between the architectural drawings, floor elevation, electrical and plumbing systems, and equipment placement.
Surface Inspection Before Tiling
Before construction, the wall and floor surfaces need to be inspected for flatness, cleanliness, solidity, and finished elevation. Areas with dust, excess mortar, weak deposits, or pitted surfaces must be treated before applying sealant or grout.
For plastered walls, engineers need to check the verticality, flatness, and intersections. For floors, the drainage slope, drain location, pipe connections, and gaps under doors need to be checked. Skipping this step can lead to problems such as excessive sealant, loose tiles, uneven surfaces, or slow drainage.
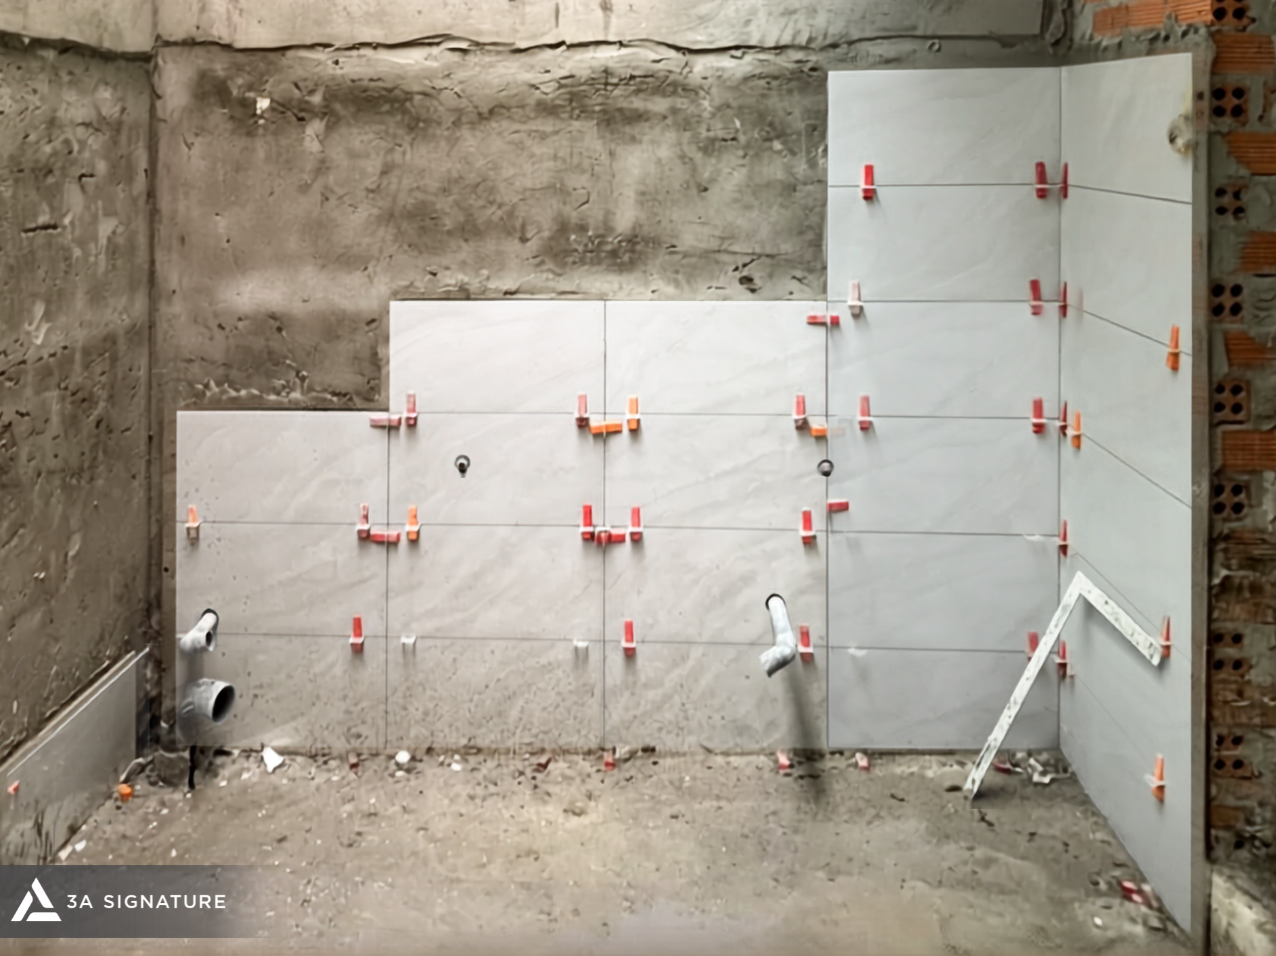
This is a crucial foundational step in the tiling process, as the quality of the top layer of tiles depends heavily on the underlying surface conditions.
Marking, Grouting, and Determining the Tiling Direction
Once the surface is ready for installation, the technical team needs to mark and grout the area before tiling. Grouting helps determine the position of the first tile, the tiling direction, the grout lines, the cutting points, and how to handle the edges of walls, door frames, or areas with equipment.
For large wall sections, the grout lines need to be carefully calculated to minimize the size of the cut tiles at the edges. For floors, the tiling direction should match the spatial geometry, door positions, and drainage direction. In areas where wall and floor tiles meet, the grout lines should be carefully controlled to create a more seamless look.
Wall Tiling and Surface Control
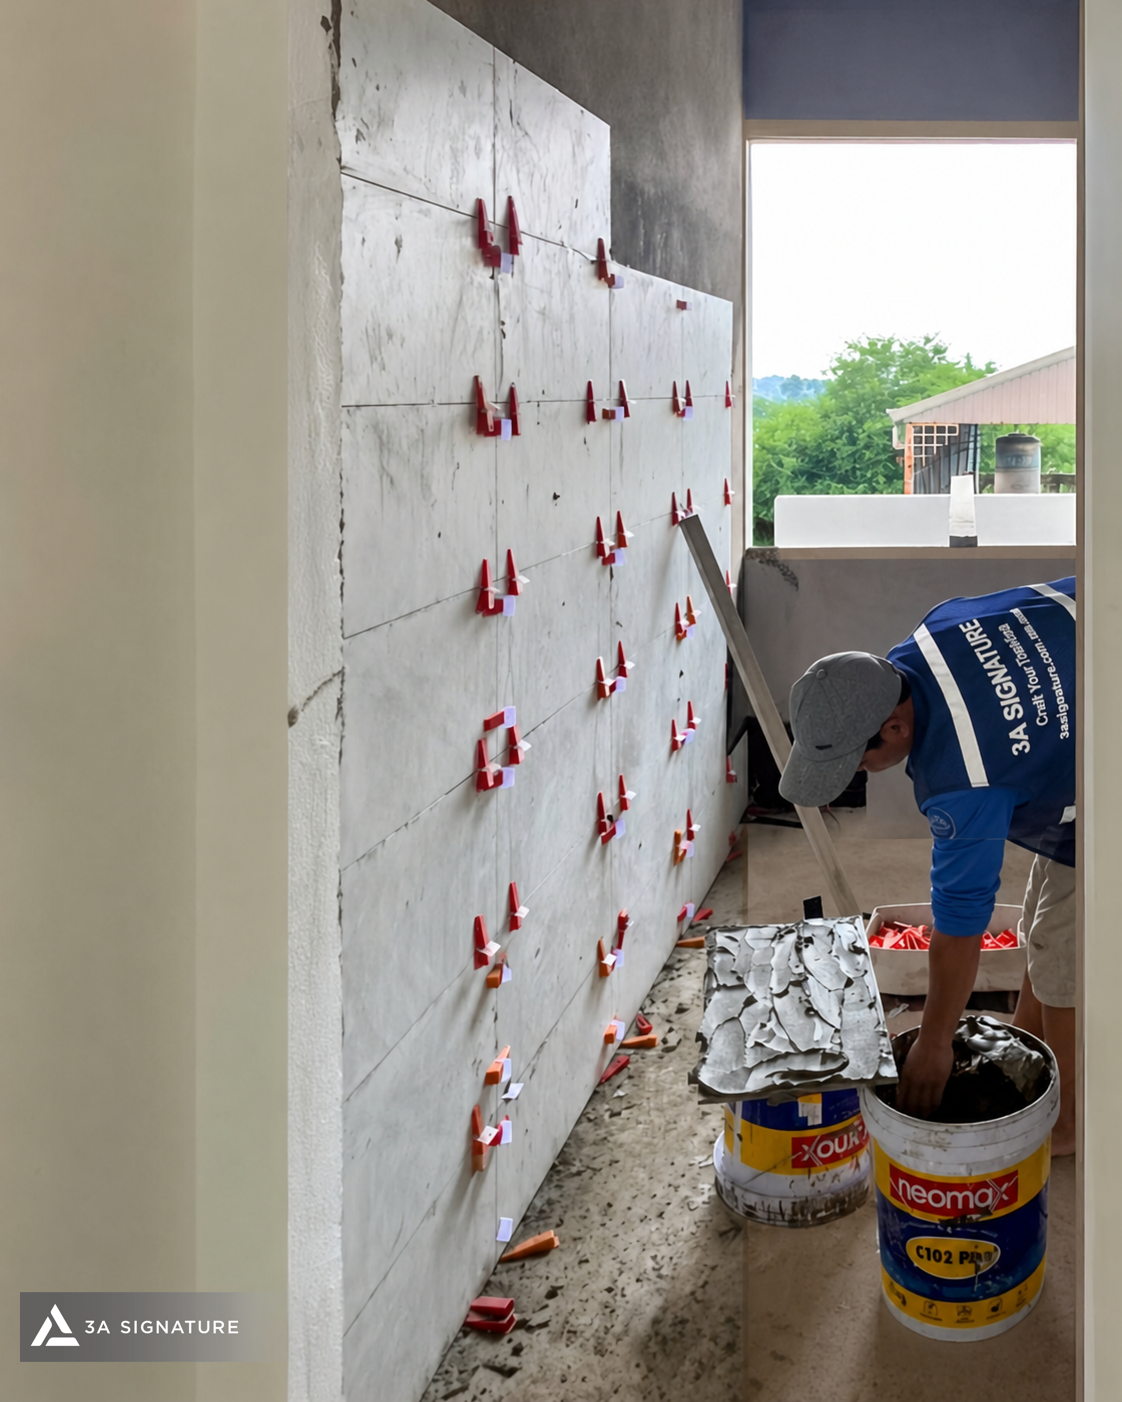
When tiling walls, workers need to control the adhesive or mortar layer, the tile placement direction, the horizontal and vertical grout lines, and the overall flatness of the surface. Each tile, after being placed on the wall, needs to be aligned immediately to avoid cumulative misalignment across multiple rows.
Wall sections with recessed areas, socket locations, equipment outlets, or pipes penetrating the wall require more careful handling. Tiles must be cut to the correct technical position, without chipping the edges or incorrectly covering the outlets. For areas with wall-mounted equipment or metal frames that will be installed later, the tile lines and elevation must be compared with the drawings.
In the tiling process, the wall section often requires even grout lines and a perfectly vertical surface. When light shines across glossy or stone-patterned tiles, small deviations in flatness can be more easily noticed.
Floor Tiling and Elevation Control
For floor tiles, elevation and slope are two factors that need to be controlled simultaneously. In dry areas, the subfloor needs to be flat, stable, and free of bumps when walked on. In wet areas such as bathrooms, laundry rooms, or balconies, the floor surface needs to have proper drainage towards a drain.
Before tiling, the construction team needs to determine the finished height relative to doors, door sills, baseboards, and adjacent areas. When tiling, each tile needs to be aligned using spacers, wedges, or leveling tools to minimize misalignment between tiles.
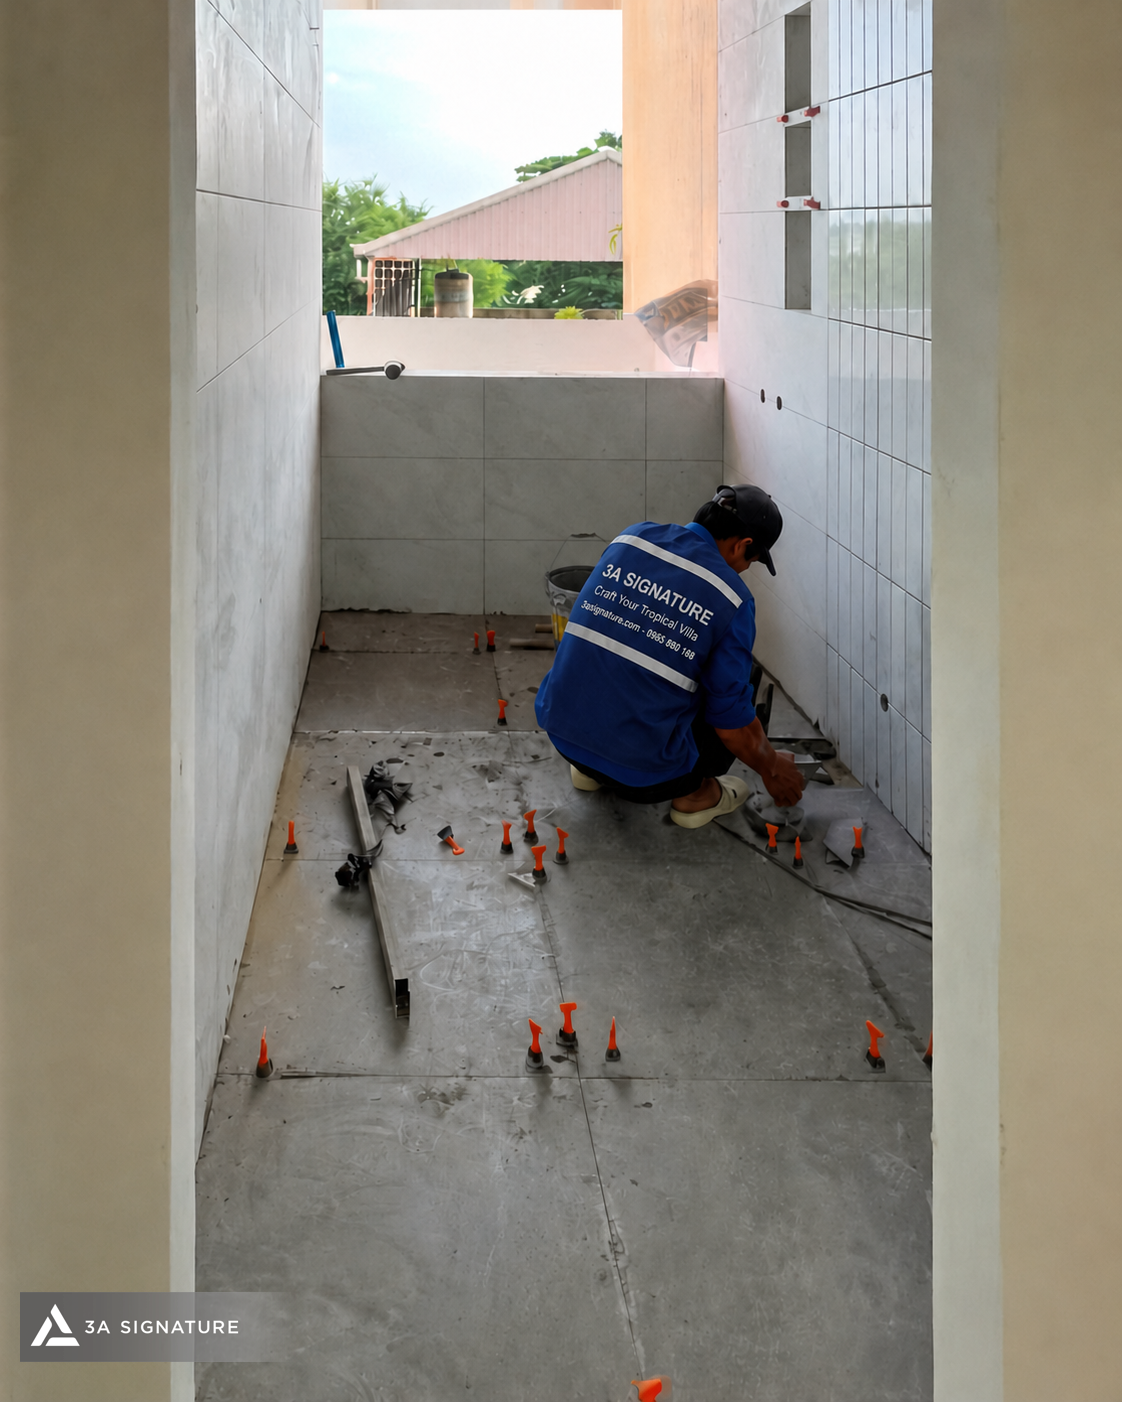
Without proper control, the floor may experience localized water pooling, uneven grouting, or misaligned tiles at the joints. Therefore, the tiling process on the subfloor needs to be thoroughly inspected before grouting and surface cleaning.
Handling Tile Cutting Areas and Equipment
Areas around floor drains, conduits, utility boxes, wall recesses, and equipment bases require careful work. These are common locations for small tile cuts, complex angles, or joints between multiple surfaces.
The worker needs to take accurate measurements, mark precisely, and cut the tiles using appropriate tools for a clean edge. For floor drains, tiles should be positioned to facilitate water flow towards the drain point. For electrical outlets, water supply and drainage connections, or wall boxes, the cuts must be compatible with the finished equipment.
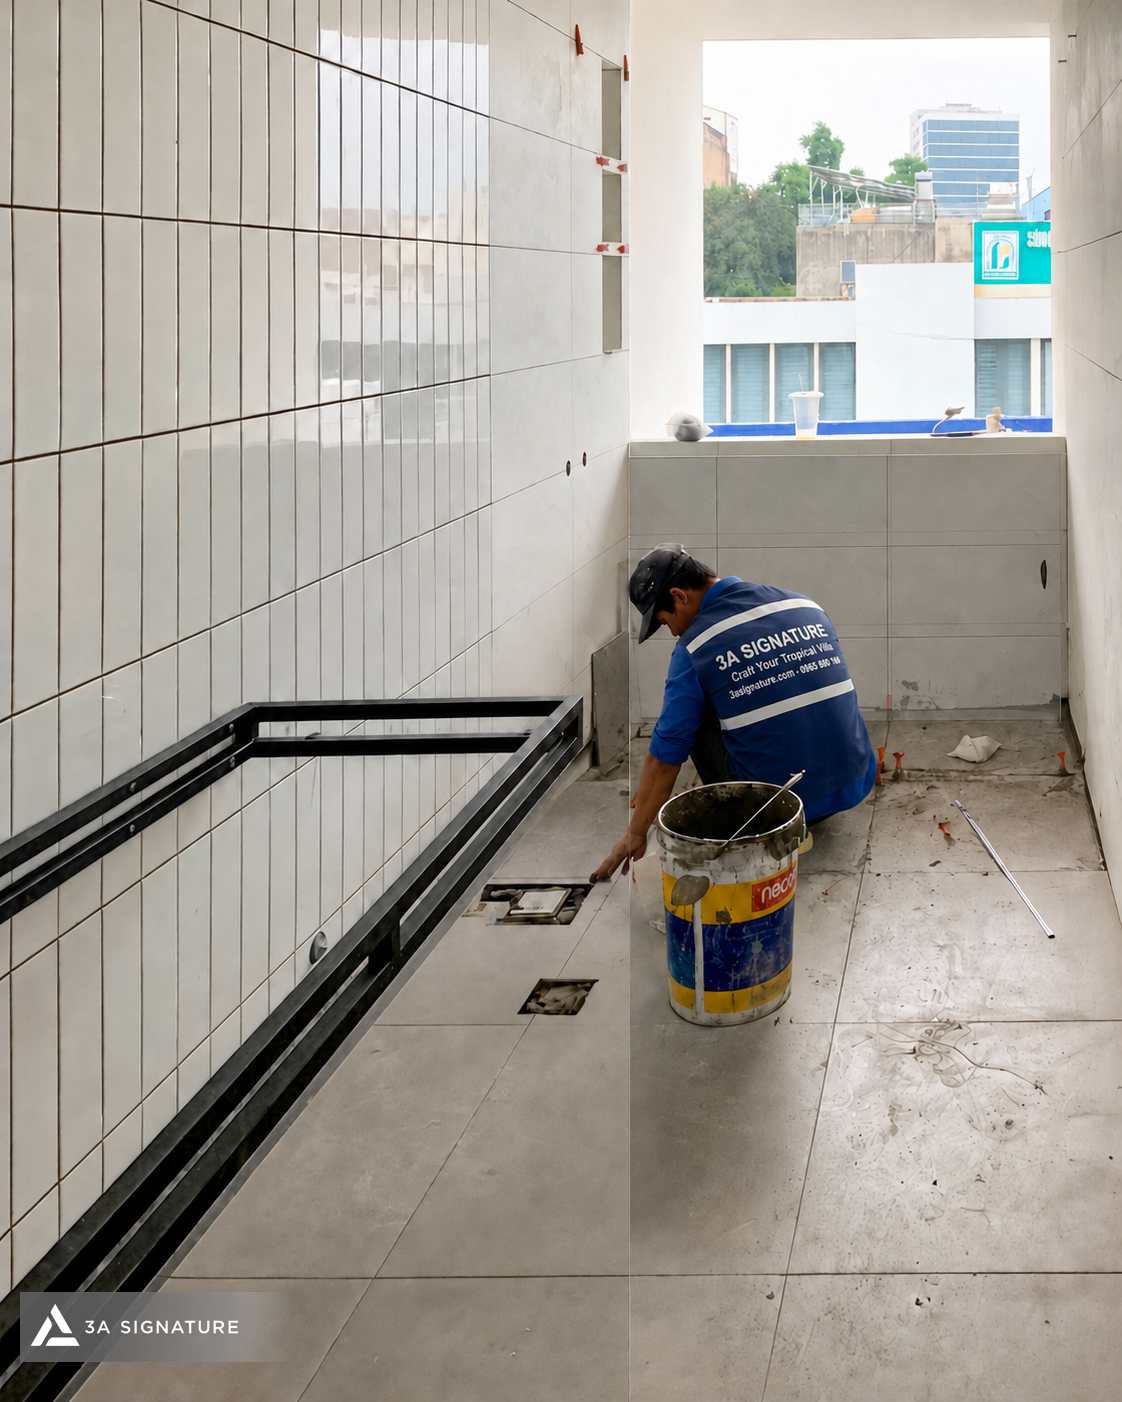
Finish Quality Lies in Every Grout Line
Whether a finished space feels polished or not depends heavily on small details: are the grout lines straight, are the tiles flat, are the drains in the correct position, are the edges clean, and do the wall sections maintain the proportions according to the design?
At 3A Signature, the tiling process is a crucial part of the villa finishing quality control process. From subfloor preparation, grouting, wall tiling, floor tiling, tile cutting to surface inspection, each step needs to be performed with skill and responsibility to ensure the true quality of the project.
Conclusion
Tile laying is not just a surface finishing job, but a process of connecting the technical foundation, materials, equipment, and daily user experience. When the tiling process is controlled from the beginning, the finished space will have a better foundation in terms of aesthetics, functionality, and stability during use.
That is also the construction philosophy that 3A Signature pursues: clear processes, meticulous attention to detail, and respect for the true quality of each project.