

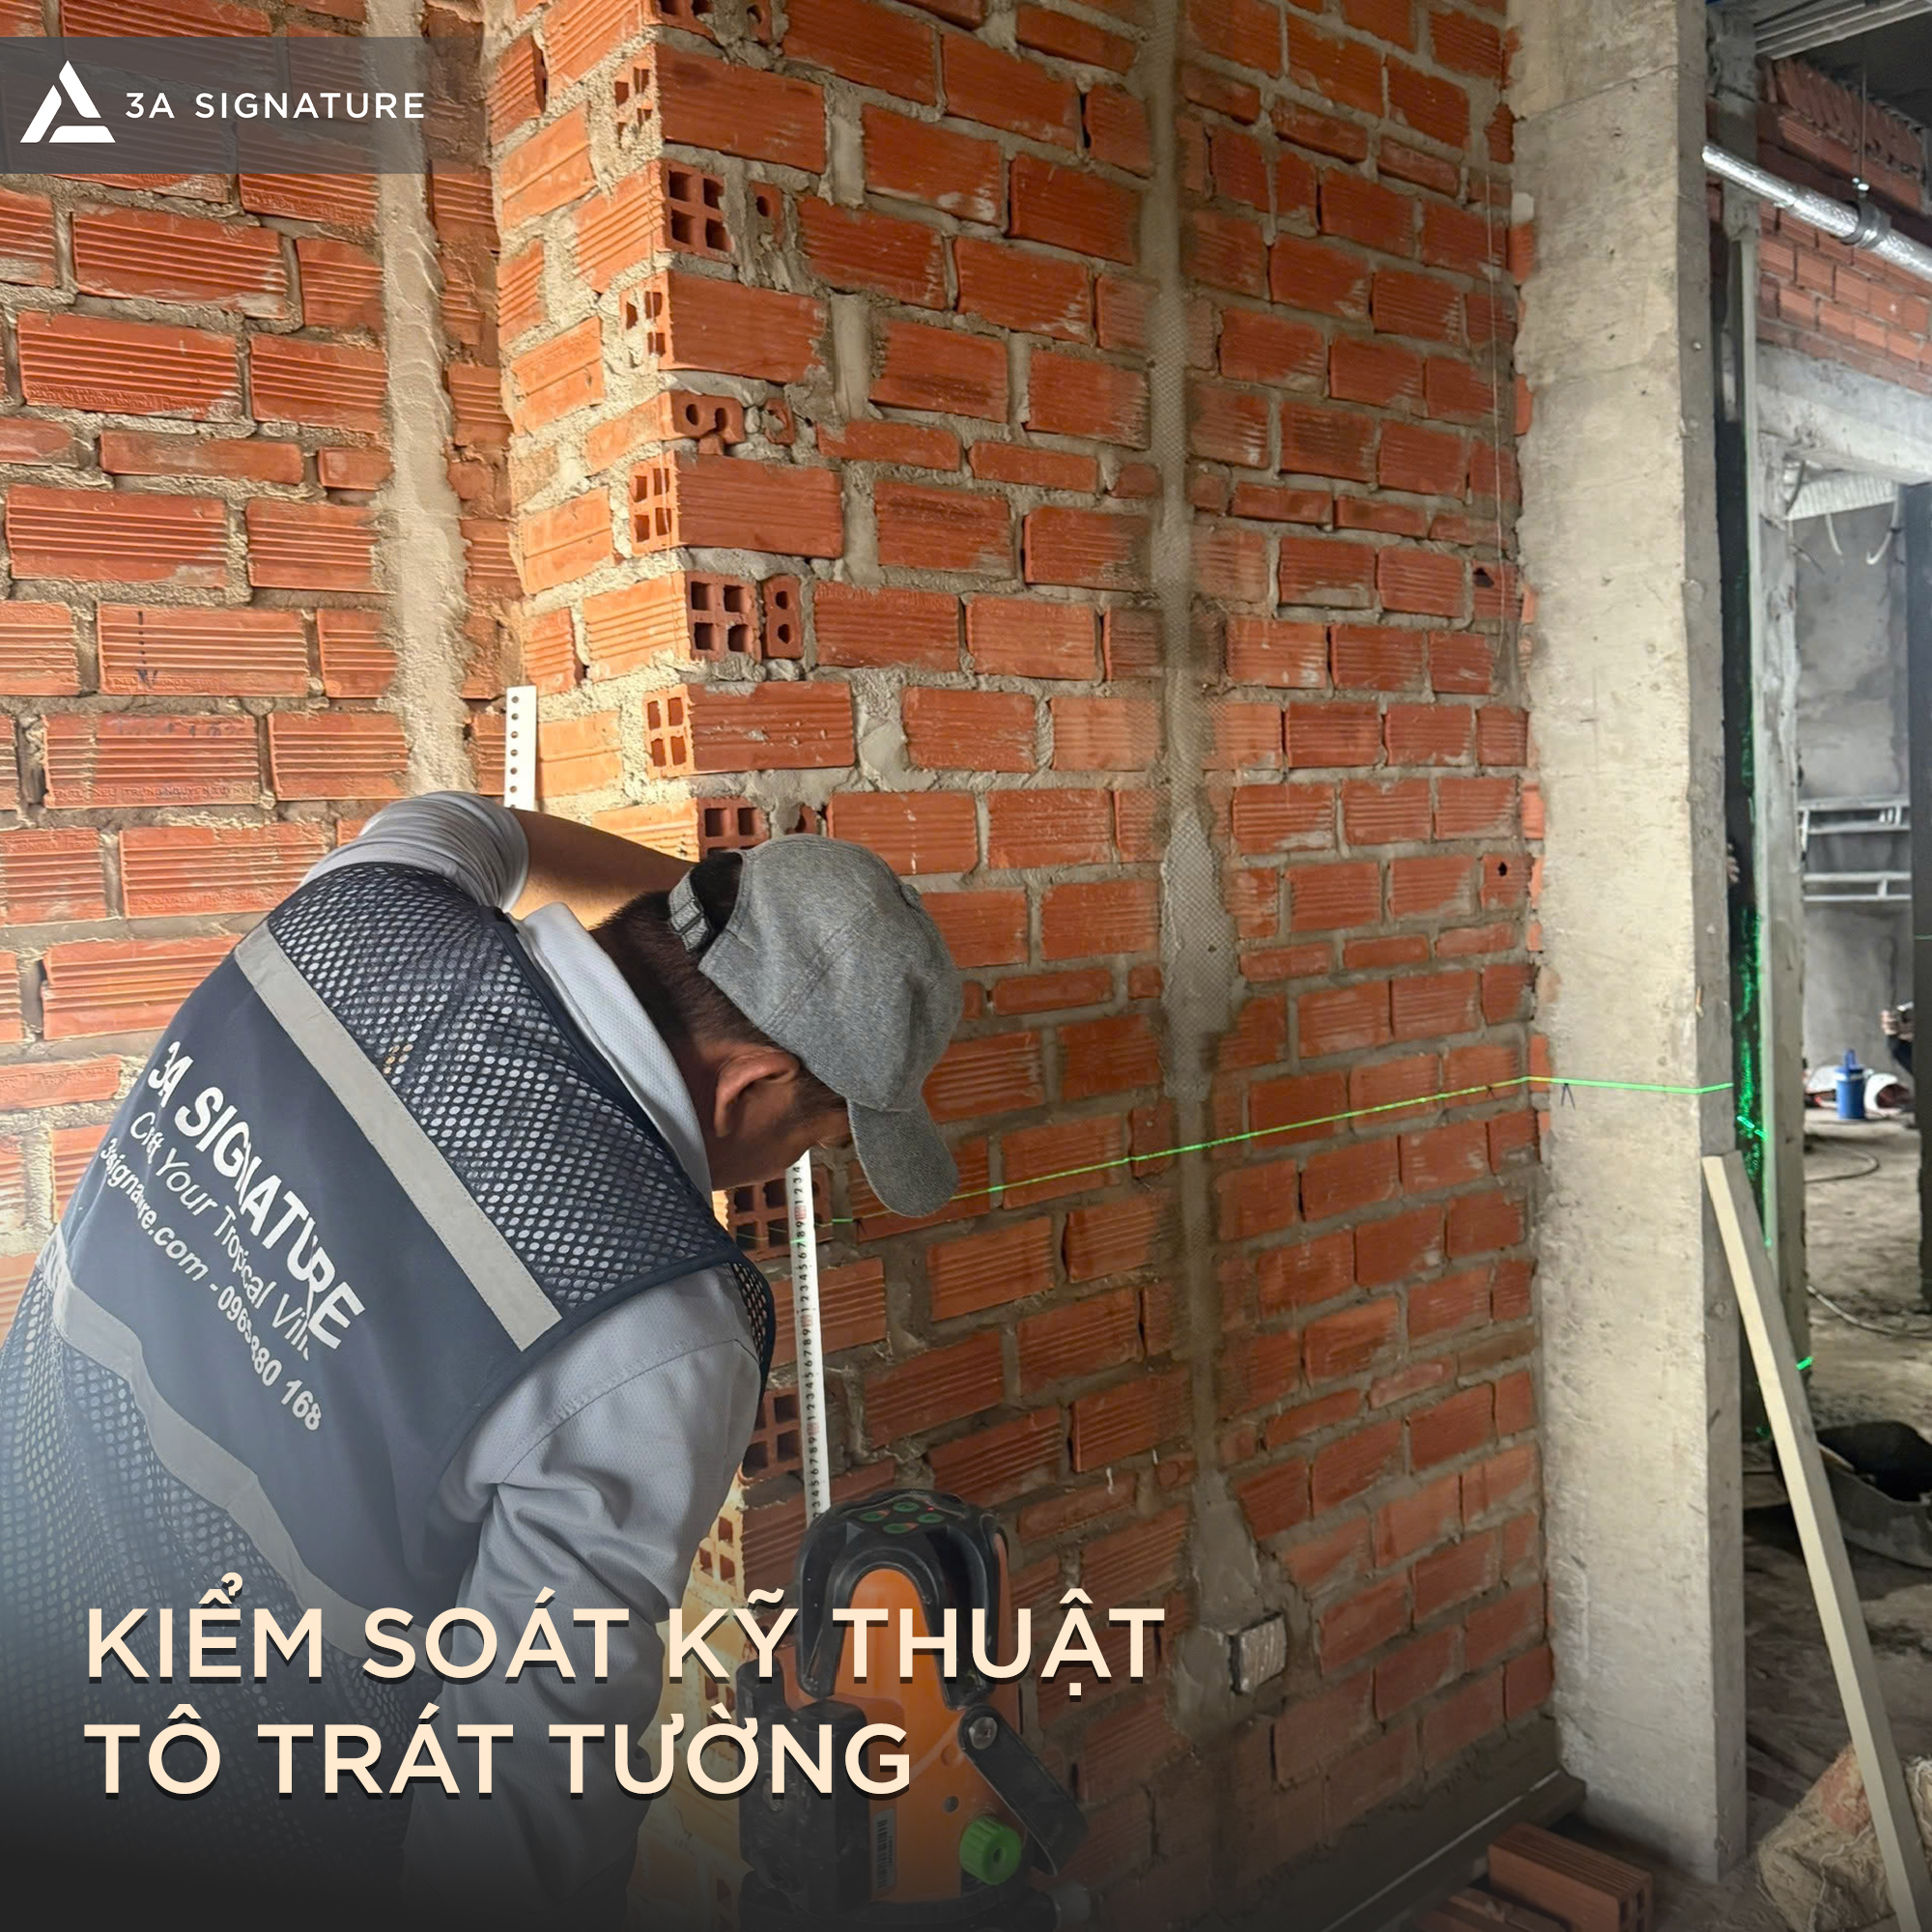
In villa construction, plastering is the foundational step before painting, tiling, installing doors, cabinets, and technical equipment. After plastering, a wall needs to be inspected from the standard reference points, height, flatness, and verticality to areas prone to cracking, such as concrete-brick joints or areas for electrical and plumbing pipes. Therefore, plastering techniques need to be organized according to a clear process, with measuring tools and on-site inspection at each step.
Wall Plastering is the Foundation for Finishing
In a villa, walls are a continuously appearing surface in the living room, bedrooms, hallways, kitchen, bathrooms, and stairwells. After completion, this surface will receive paint, stone, wood, glass, moldings, built-in cabinets, door frames, and electrical and plumbing equipment.
If the plaster layer is uneven, misaligned, warped at the base, or has localized cracks, subsequent construction items will be difficult. Paint will easily show imperfections under oblique light. The baseboard may not be evenly fitted. Gaps may appear in furniture or door frames. This is why plastering techniques need to be controlled from the outset.
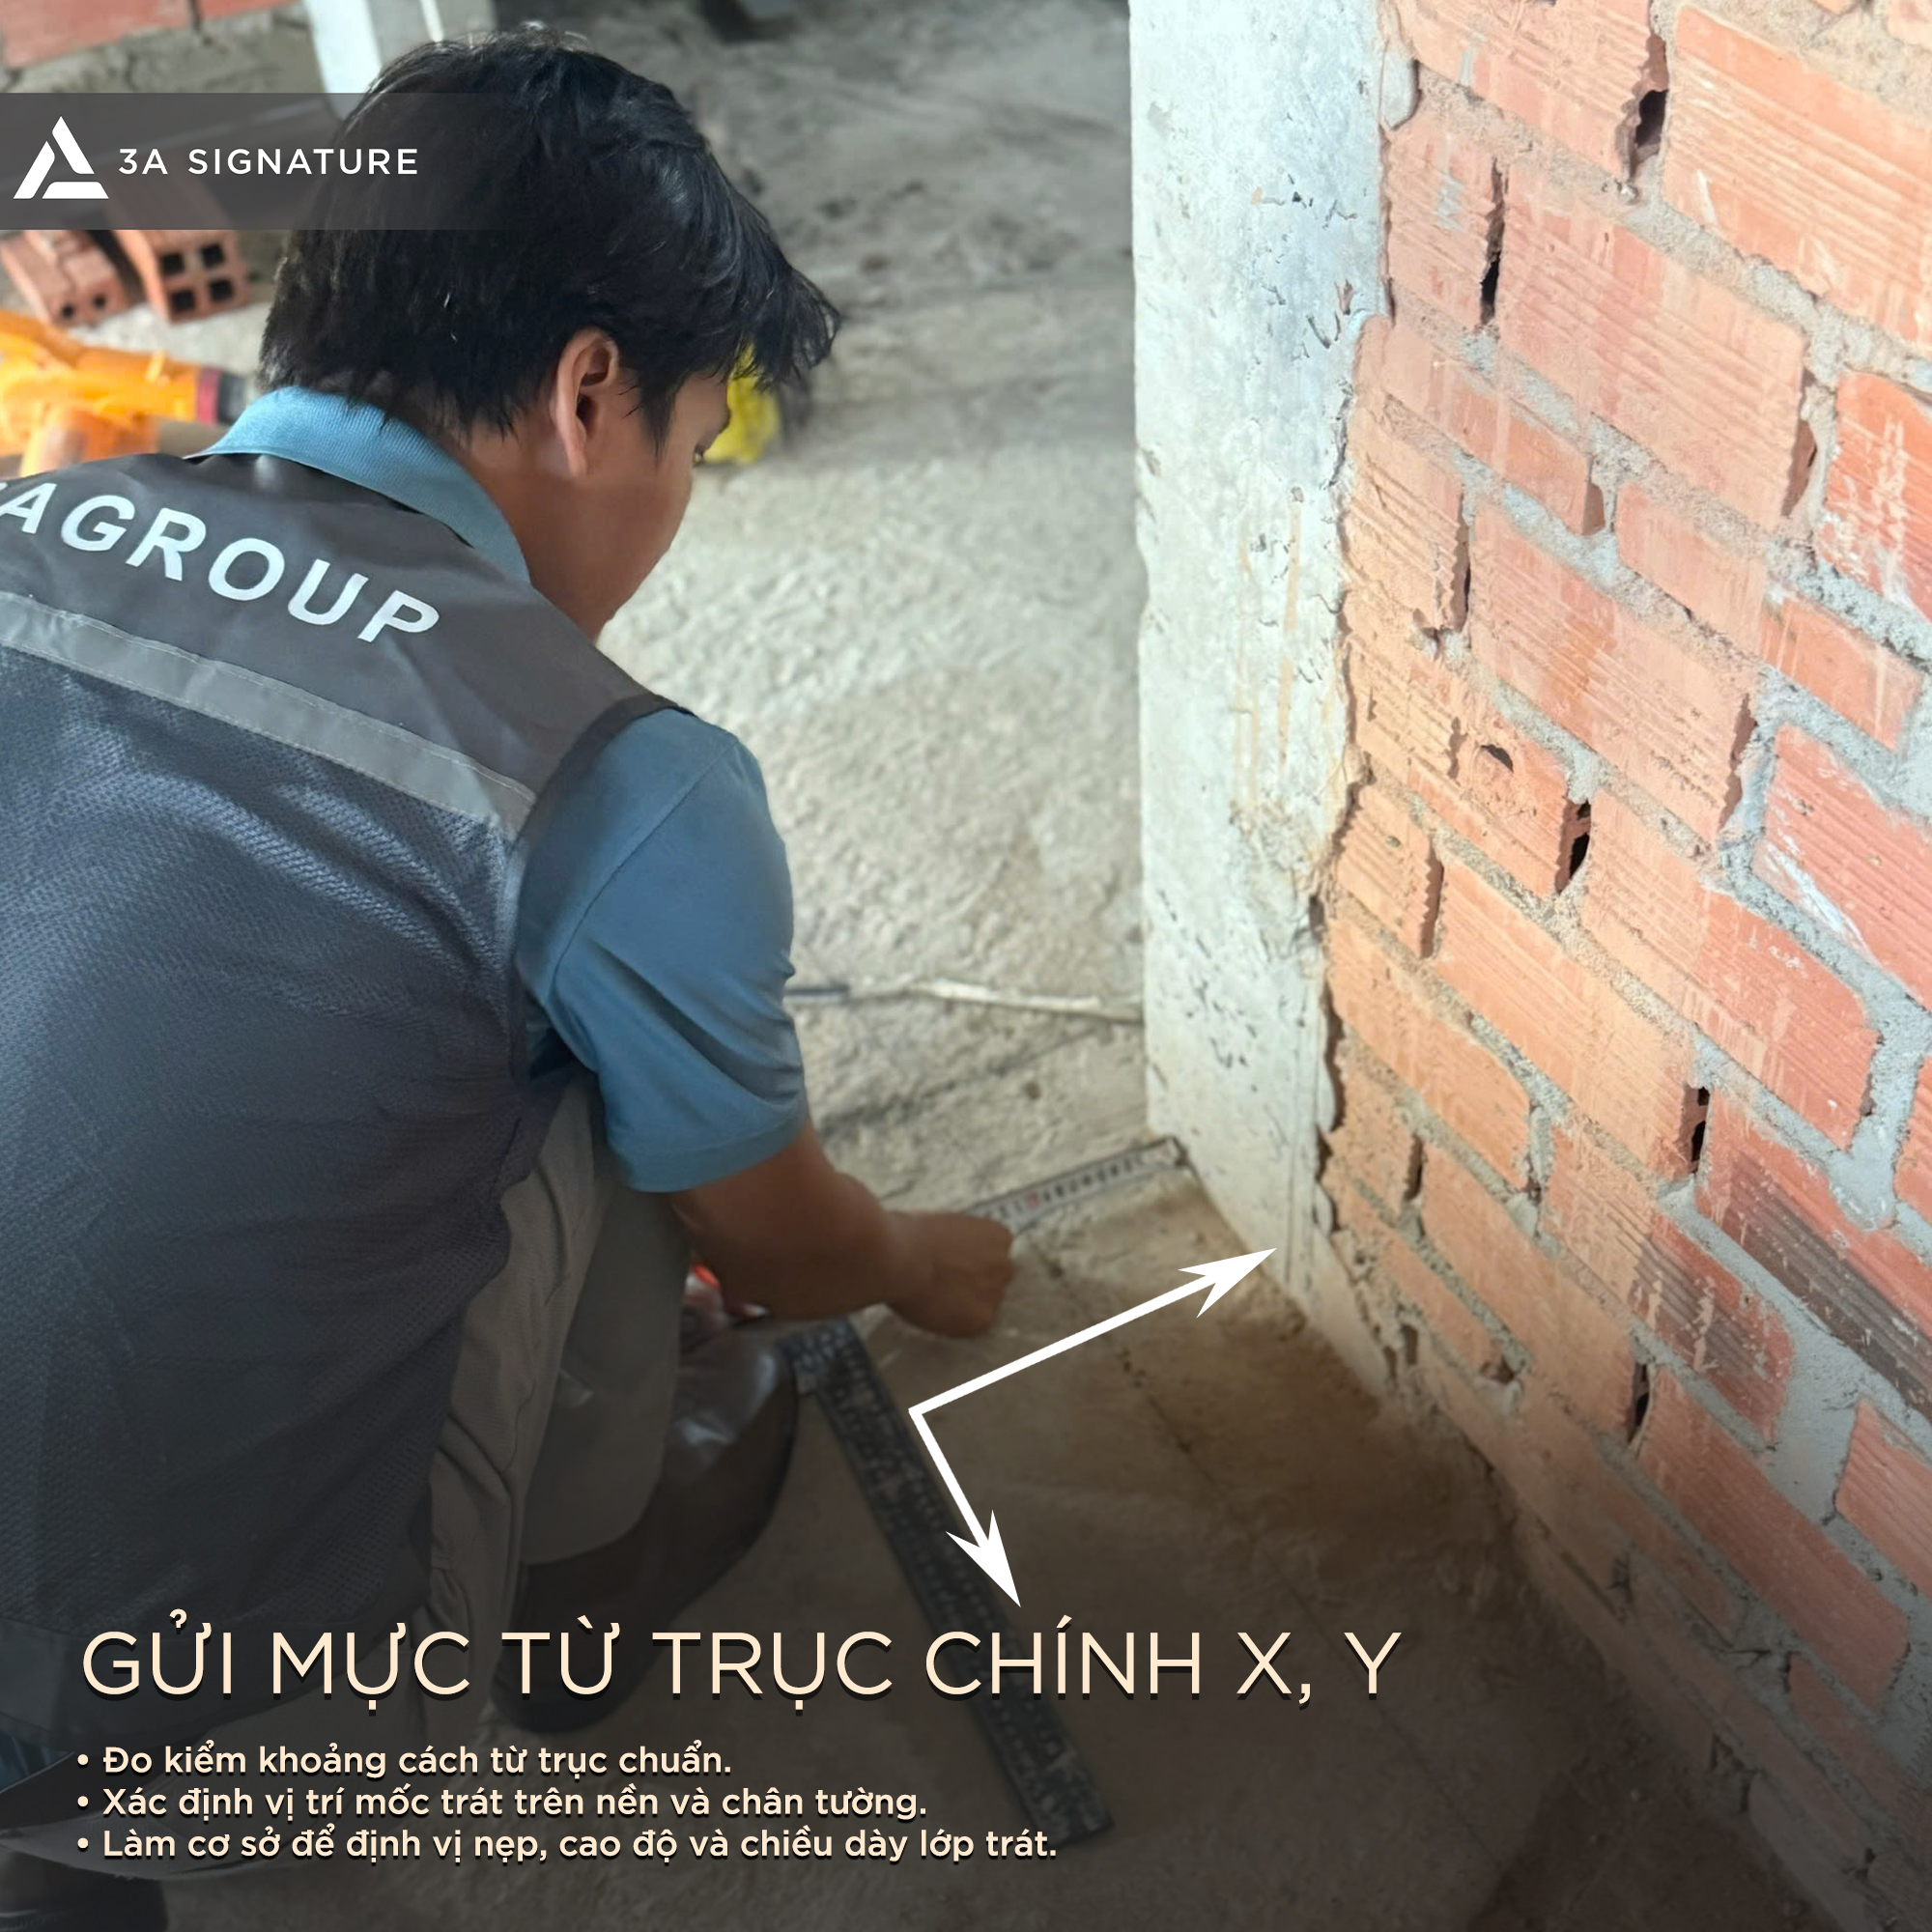
Signing from the X, Y Axis
Before plastering, the technical team needs to sign from the main X, Y axes of the building. This step establishes a reference line to check the position of the walls, the thickness of the mortar layer, the height of the baseboard, column edges, and door edges.
On-site, a laser is used to create horizontal and vertical reference lines. From the laser line, technicians measure the distance to the wall surface, mark the reference points, and determine the areas that need treatment before plastering. At this stage, the plastering technique plays a crucial role in establishing a reference frame for subsequent finishing layers.
Baseboard Positioning
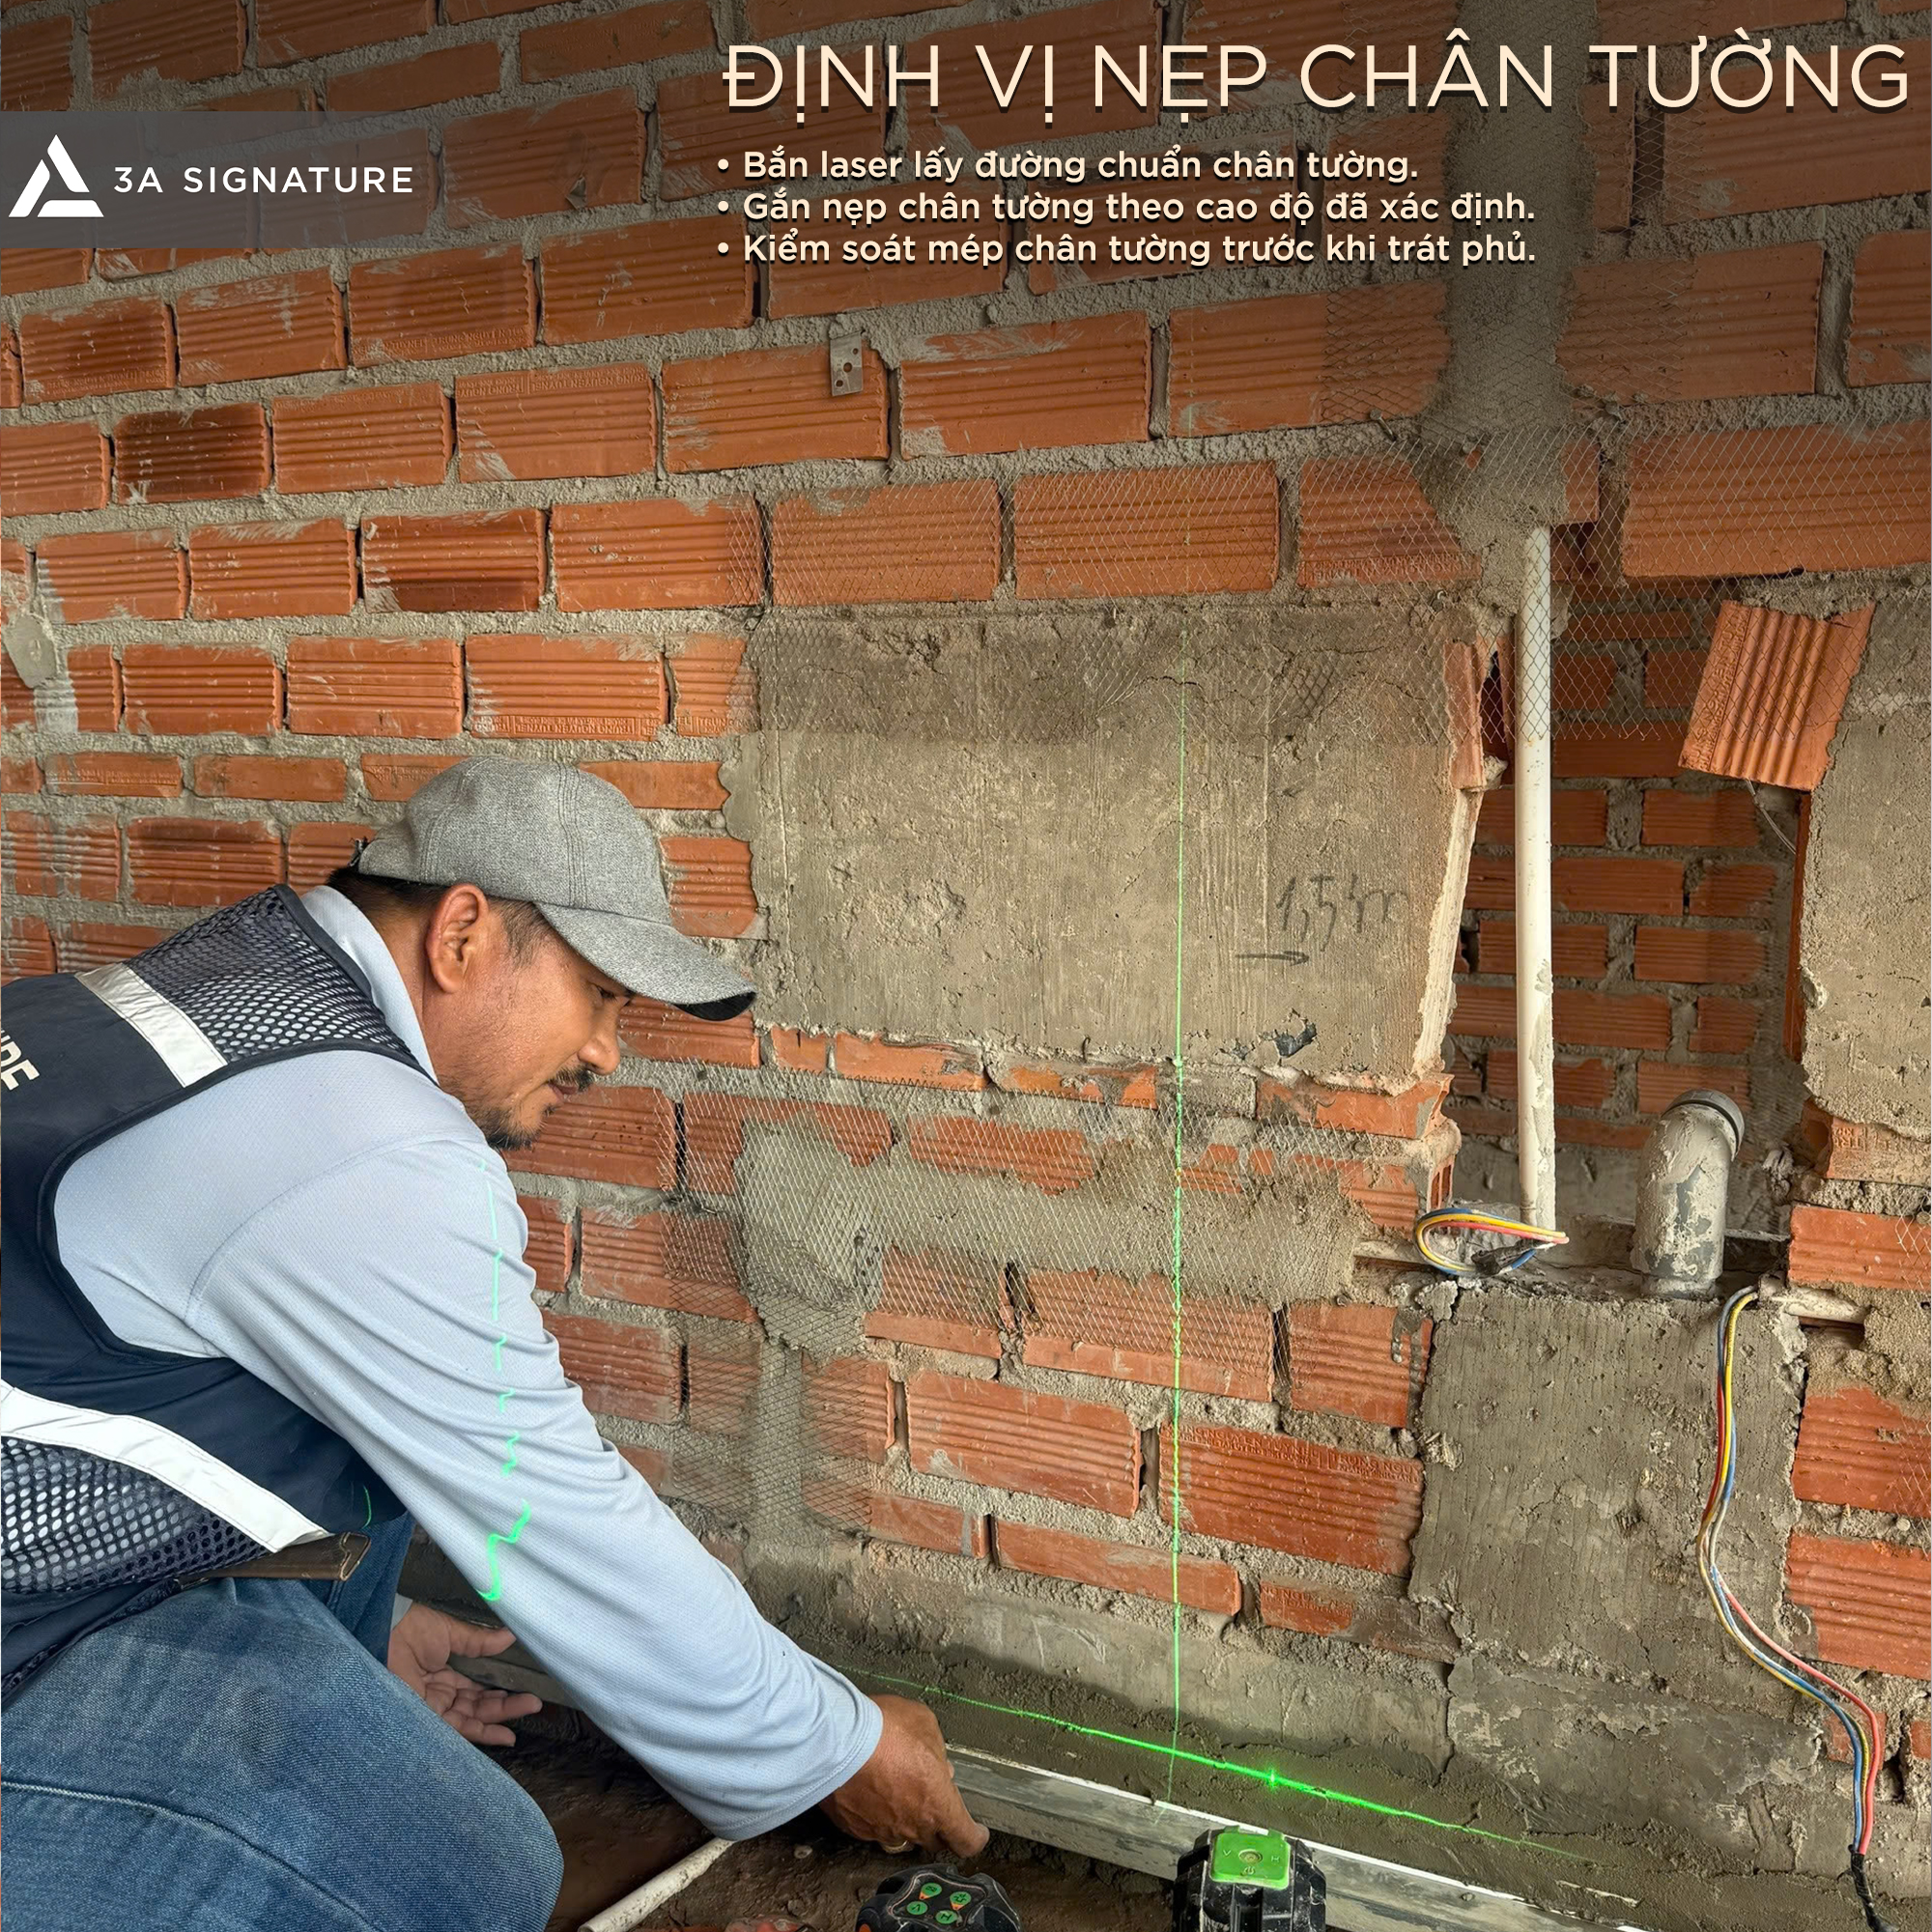
Baseboards help control the bottom edge of the plaster, the baseboard height, and the junction between the wall and the floor. This area is directly related to screeding, tiling, stone laying, wood flooring installation, skirting board installation, and furniture placement.
If the baseboard is curved or uneven in thickness, the skirting board may be uneven, and the joints with the furniture may not be neat. Therefore, baseboards need to be positioned using a laser guide, securely fixed, and re-checked before plastering. This is also a point that should be recorded in the plastering technical log at the construction site.
Positioning Positive Corner Trim and Plastering Trim
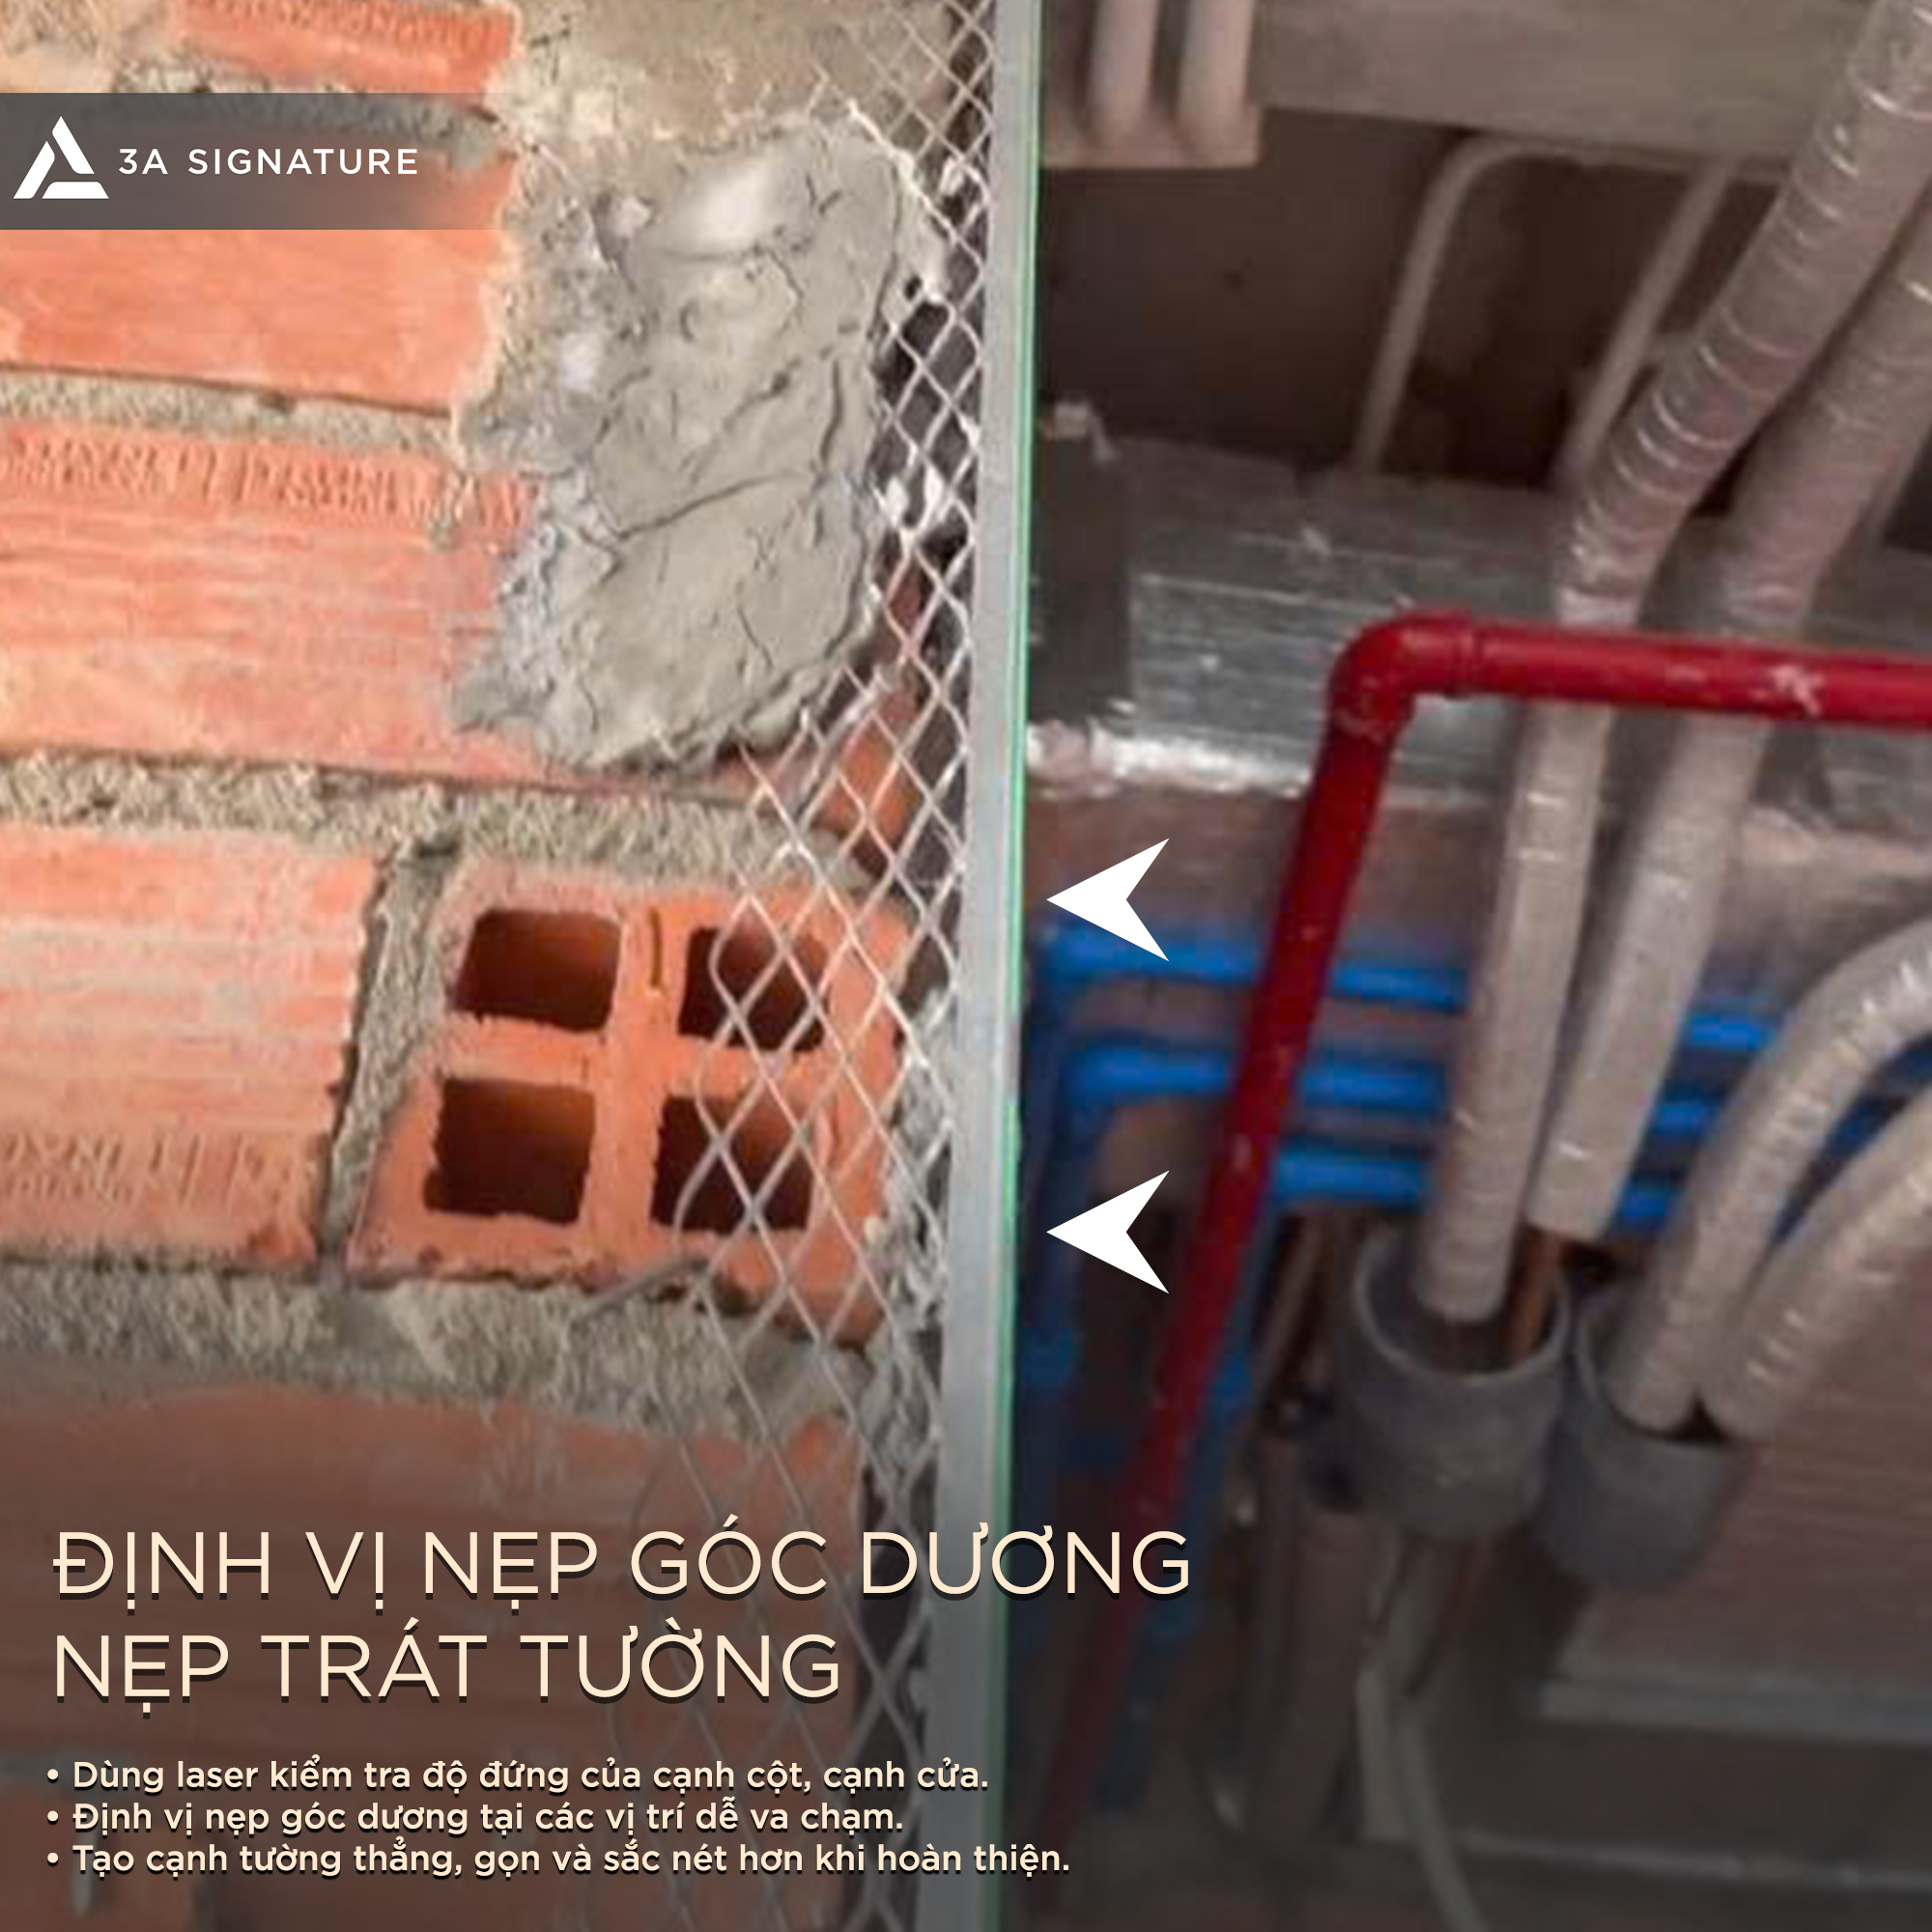
Positive corner locations such as column edges, door edges, utility box edges, wall edges, and areas prone to impact need to be positioned with corner trim before plastering. Corner trim helps create straighter, clearer, and neater edges, while also assisting in controlling the thickness of the plaster layer at the intersection of two walls.
Placing corner trim facilitates the process of using an aluminum level. Workers have a reference point for applying mortar, and engineers have a basis for verifying the verticality and straightness of the edges. For villas with many tall doors, utility boxes, and long wall sections, the plastering technique at positive corner locations requires more careful inspection.
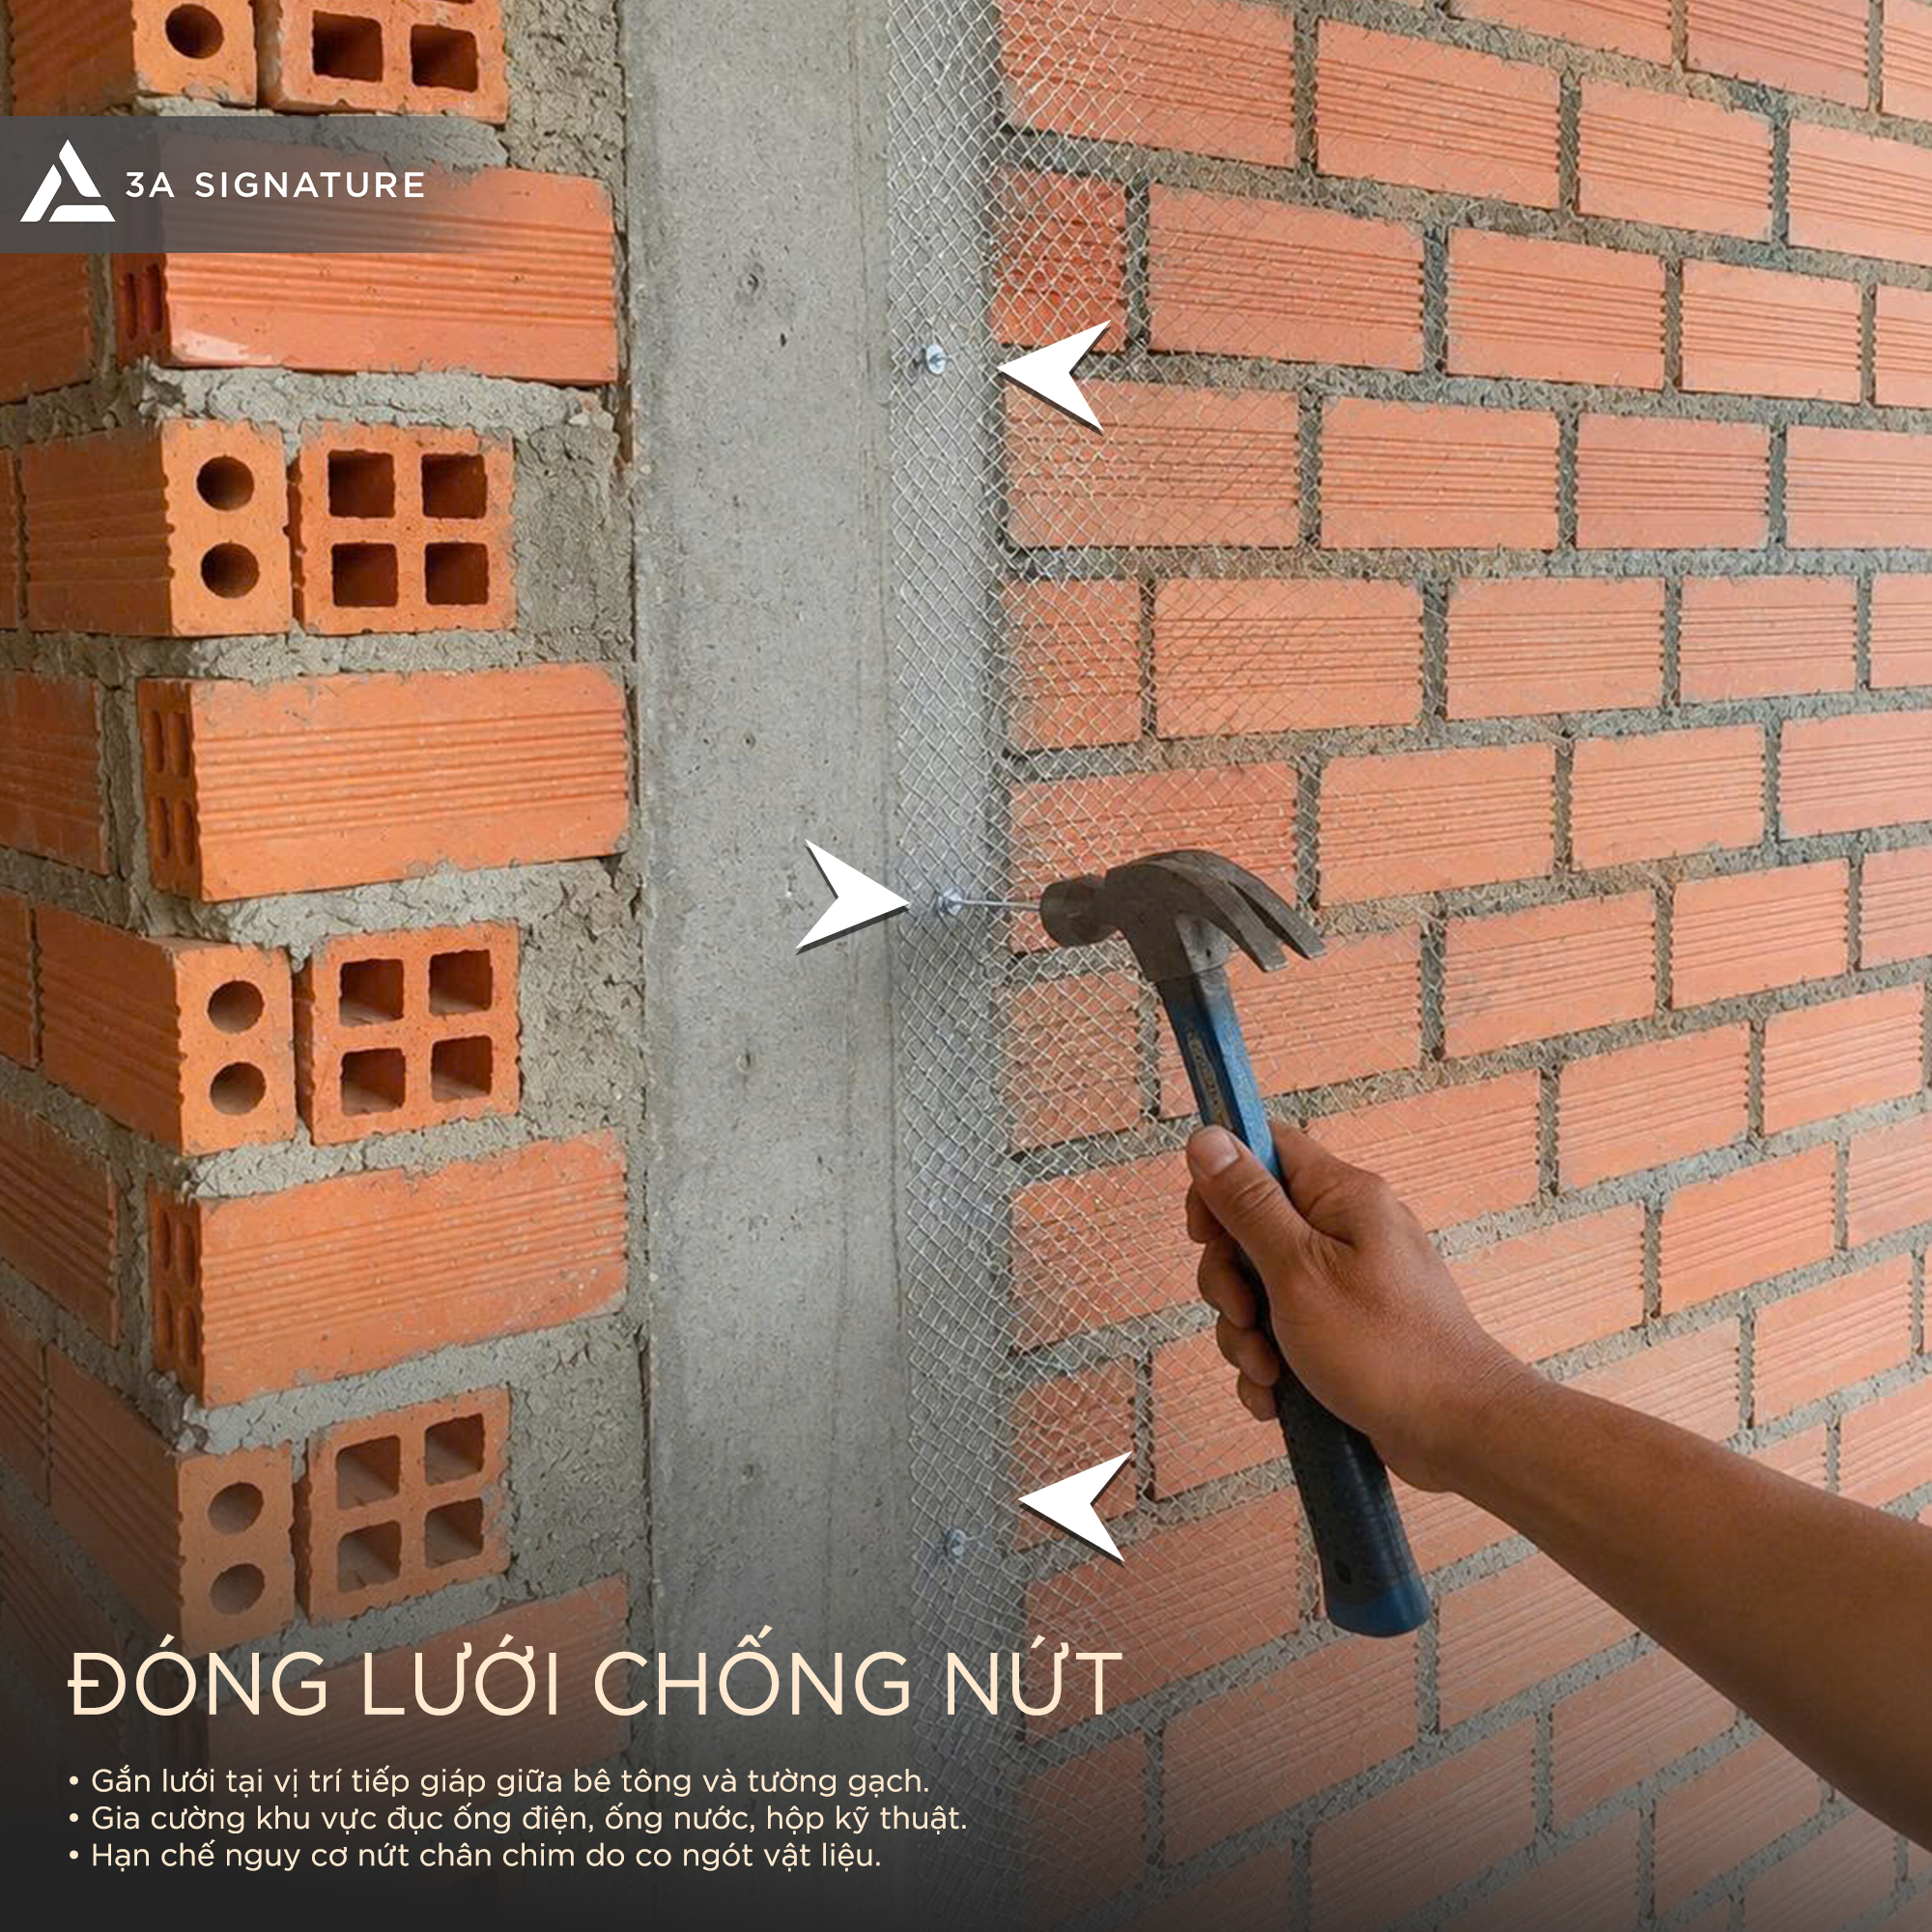
Close the anti-crack net at the adjacent location
A wall often consists of many materials working together: bricks, concrete columns, concrete beams, electrical pipes, water pipes and cut-out locations for the recessed wall system. Each type of material has different levels of shrinkage and adhesion.
At the interface between concrete and brick walls, between columns and walls, between beams and walls or areas where electricity and water pipes are connected, the risk of local cracks is often higher. The net needs to be firmly fixed, close to the surface, not bulging and not sagging. In the technical process of plastering walls, this is the step that needs to be accepted before applying oil paste.
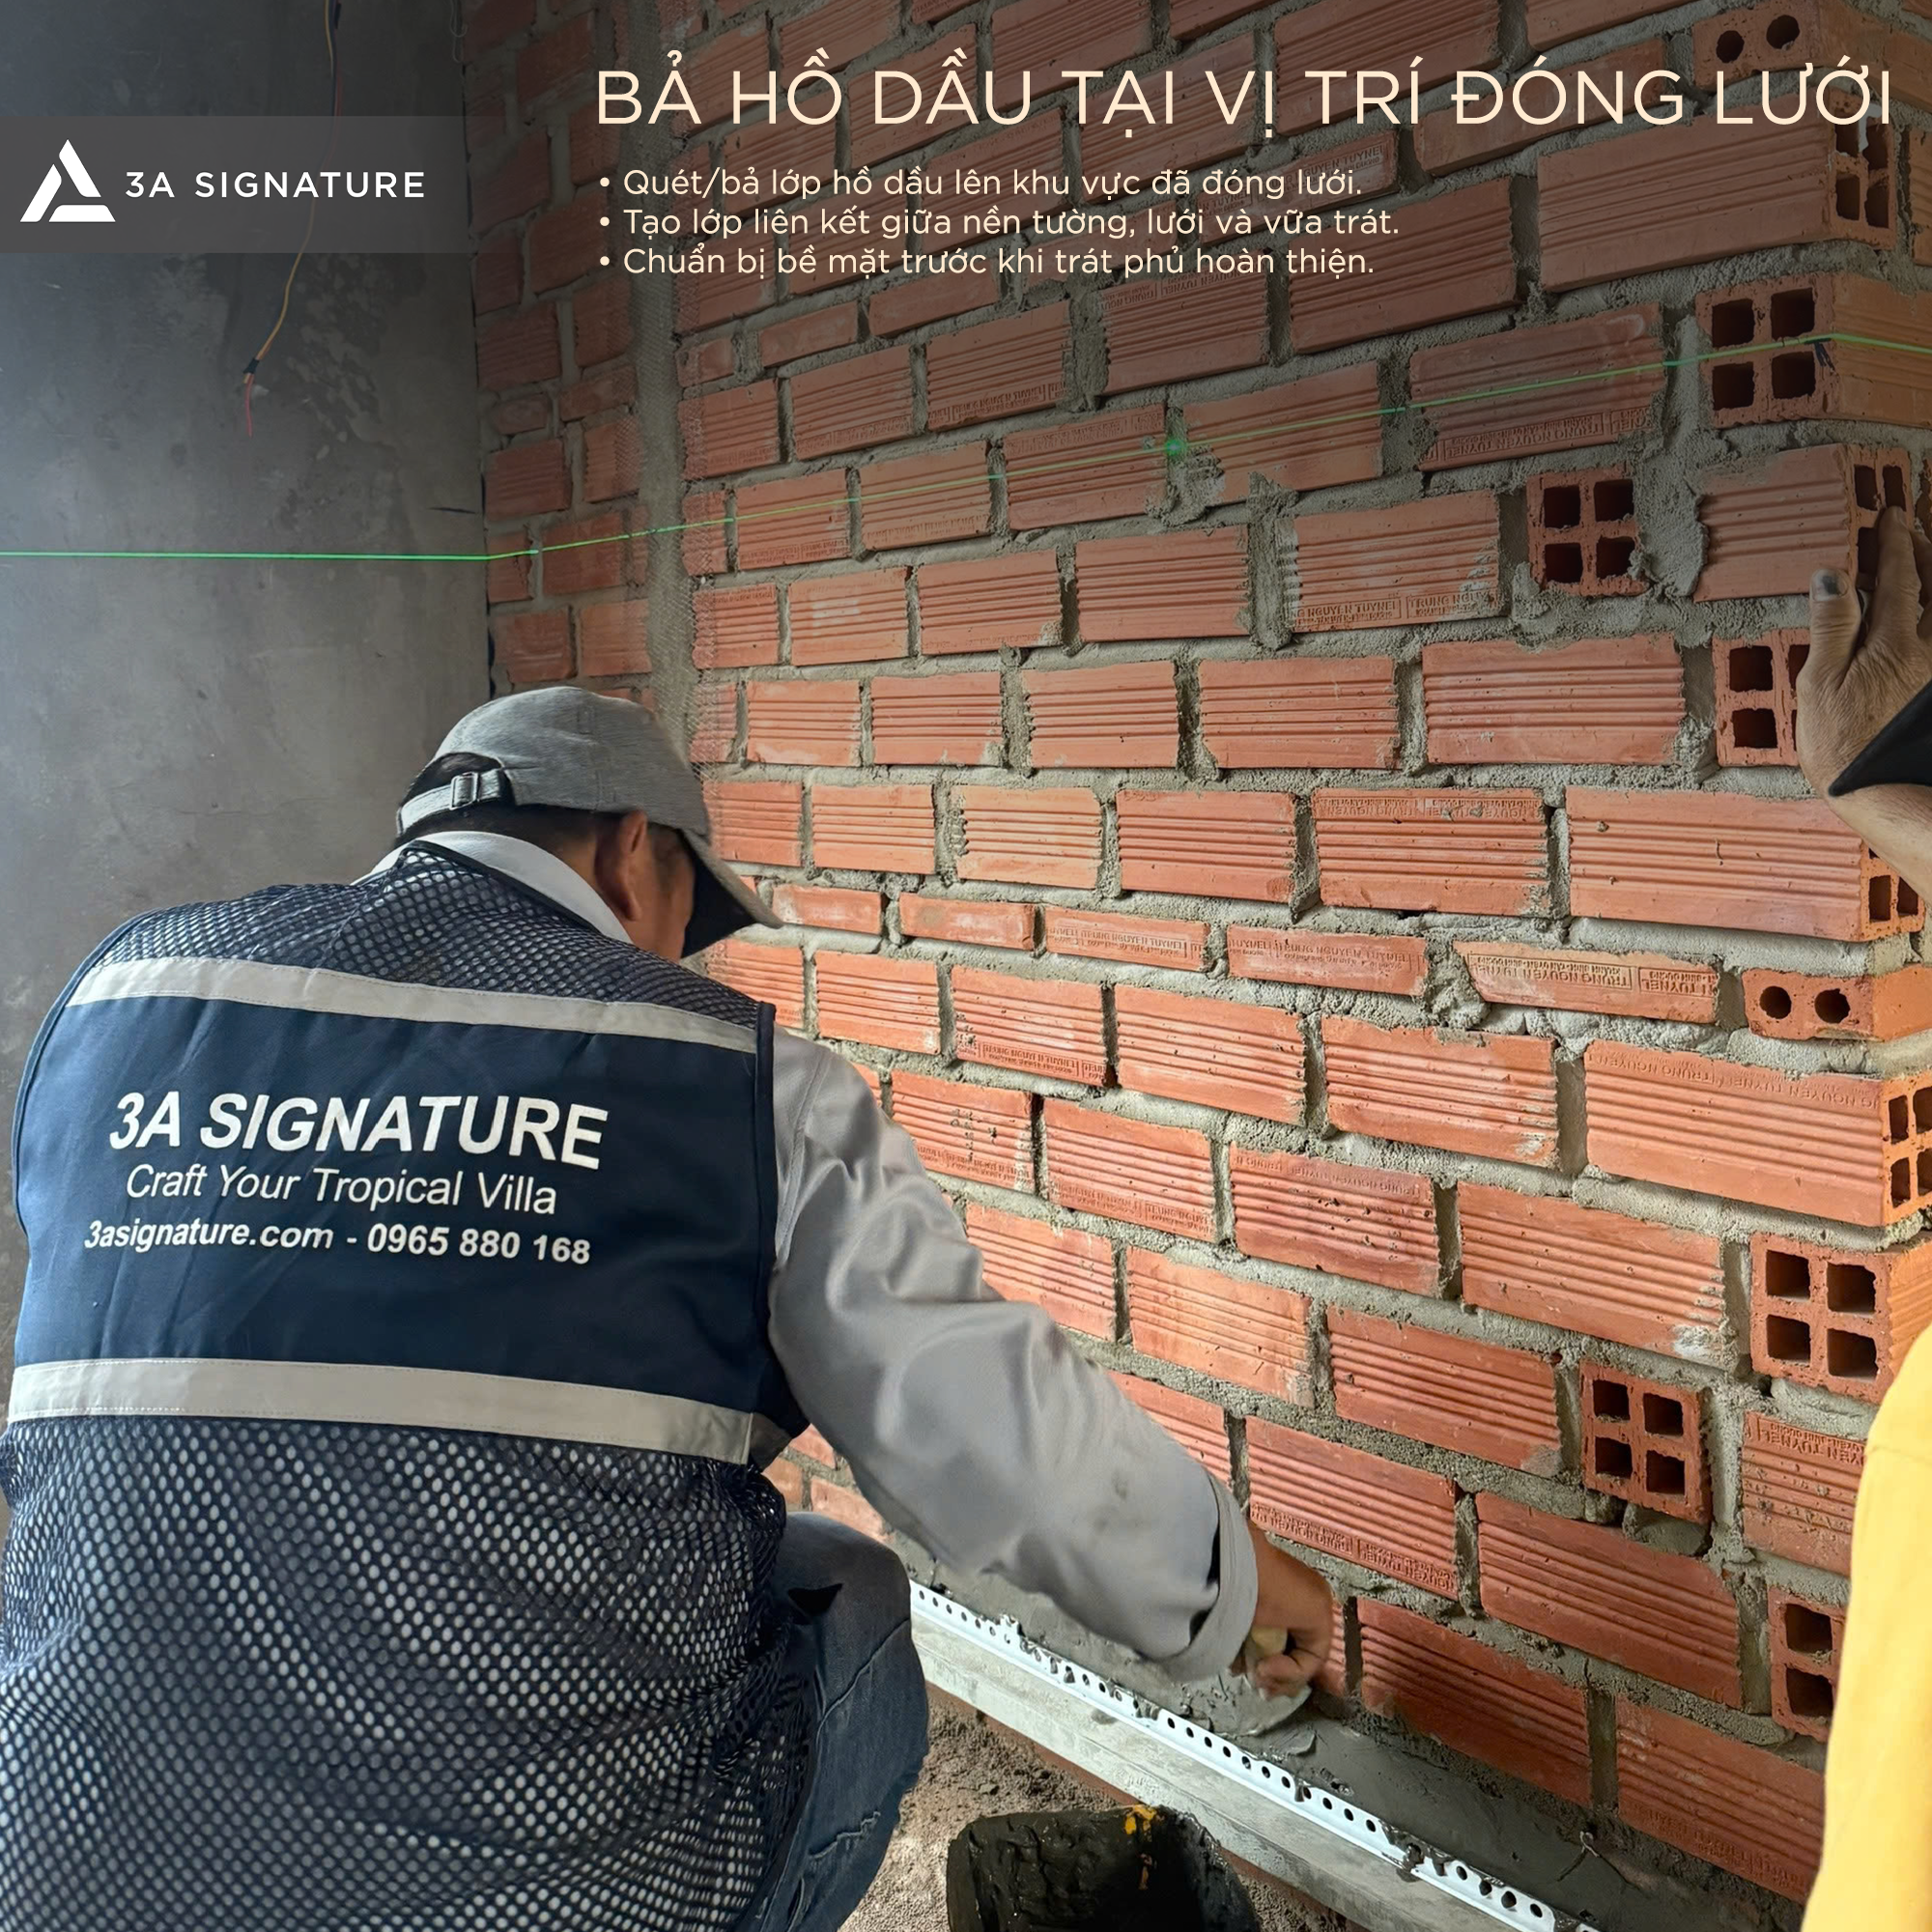
Applying Mortar and Moistening the Surface
After installing the mesh, the reinforced area needs to be treated with mortar to create a bonding layer between the wall base, the mesh, and the exterior plaster. The mortar helps increase adhesion, fill small gaps around the mesh, and prepare the surface before plastering.
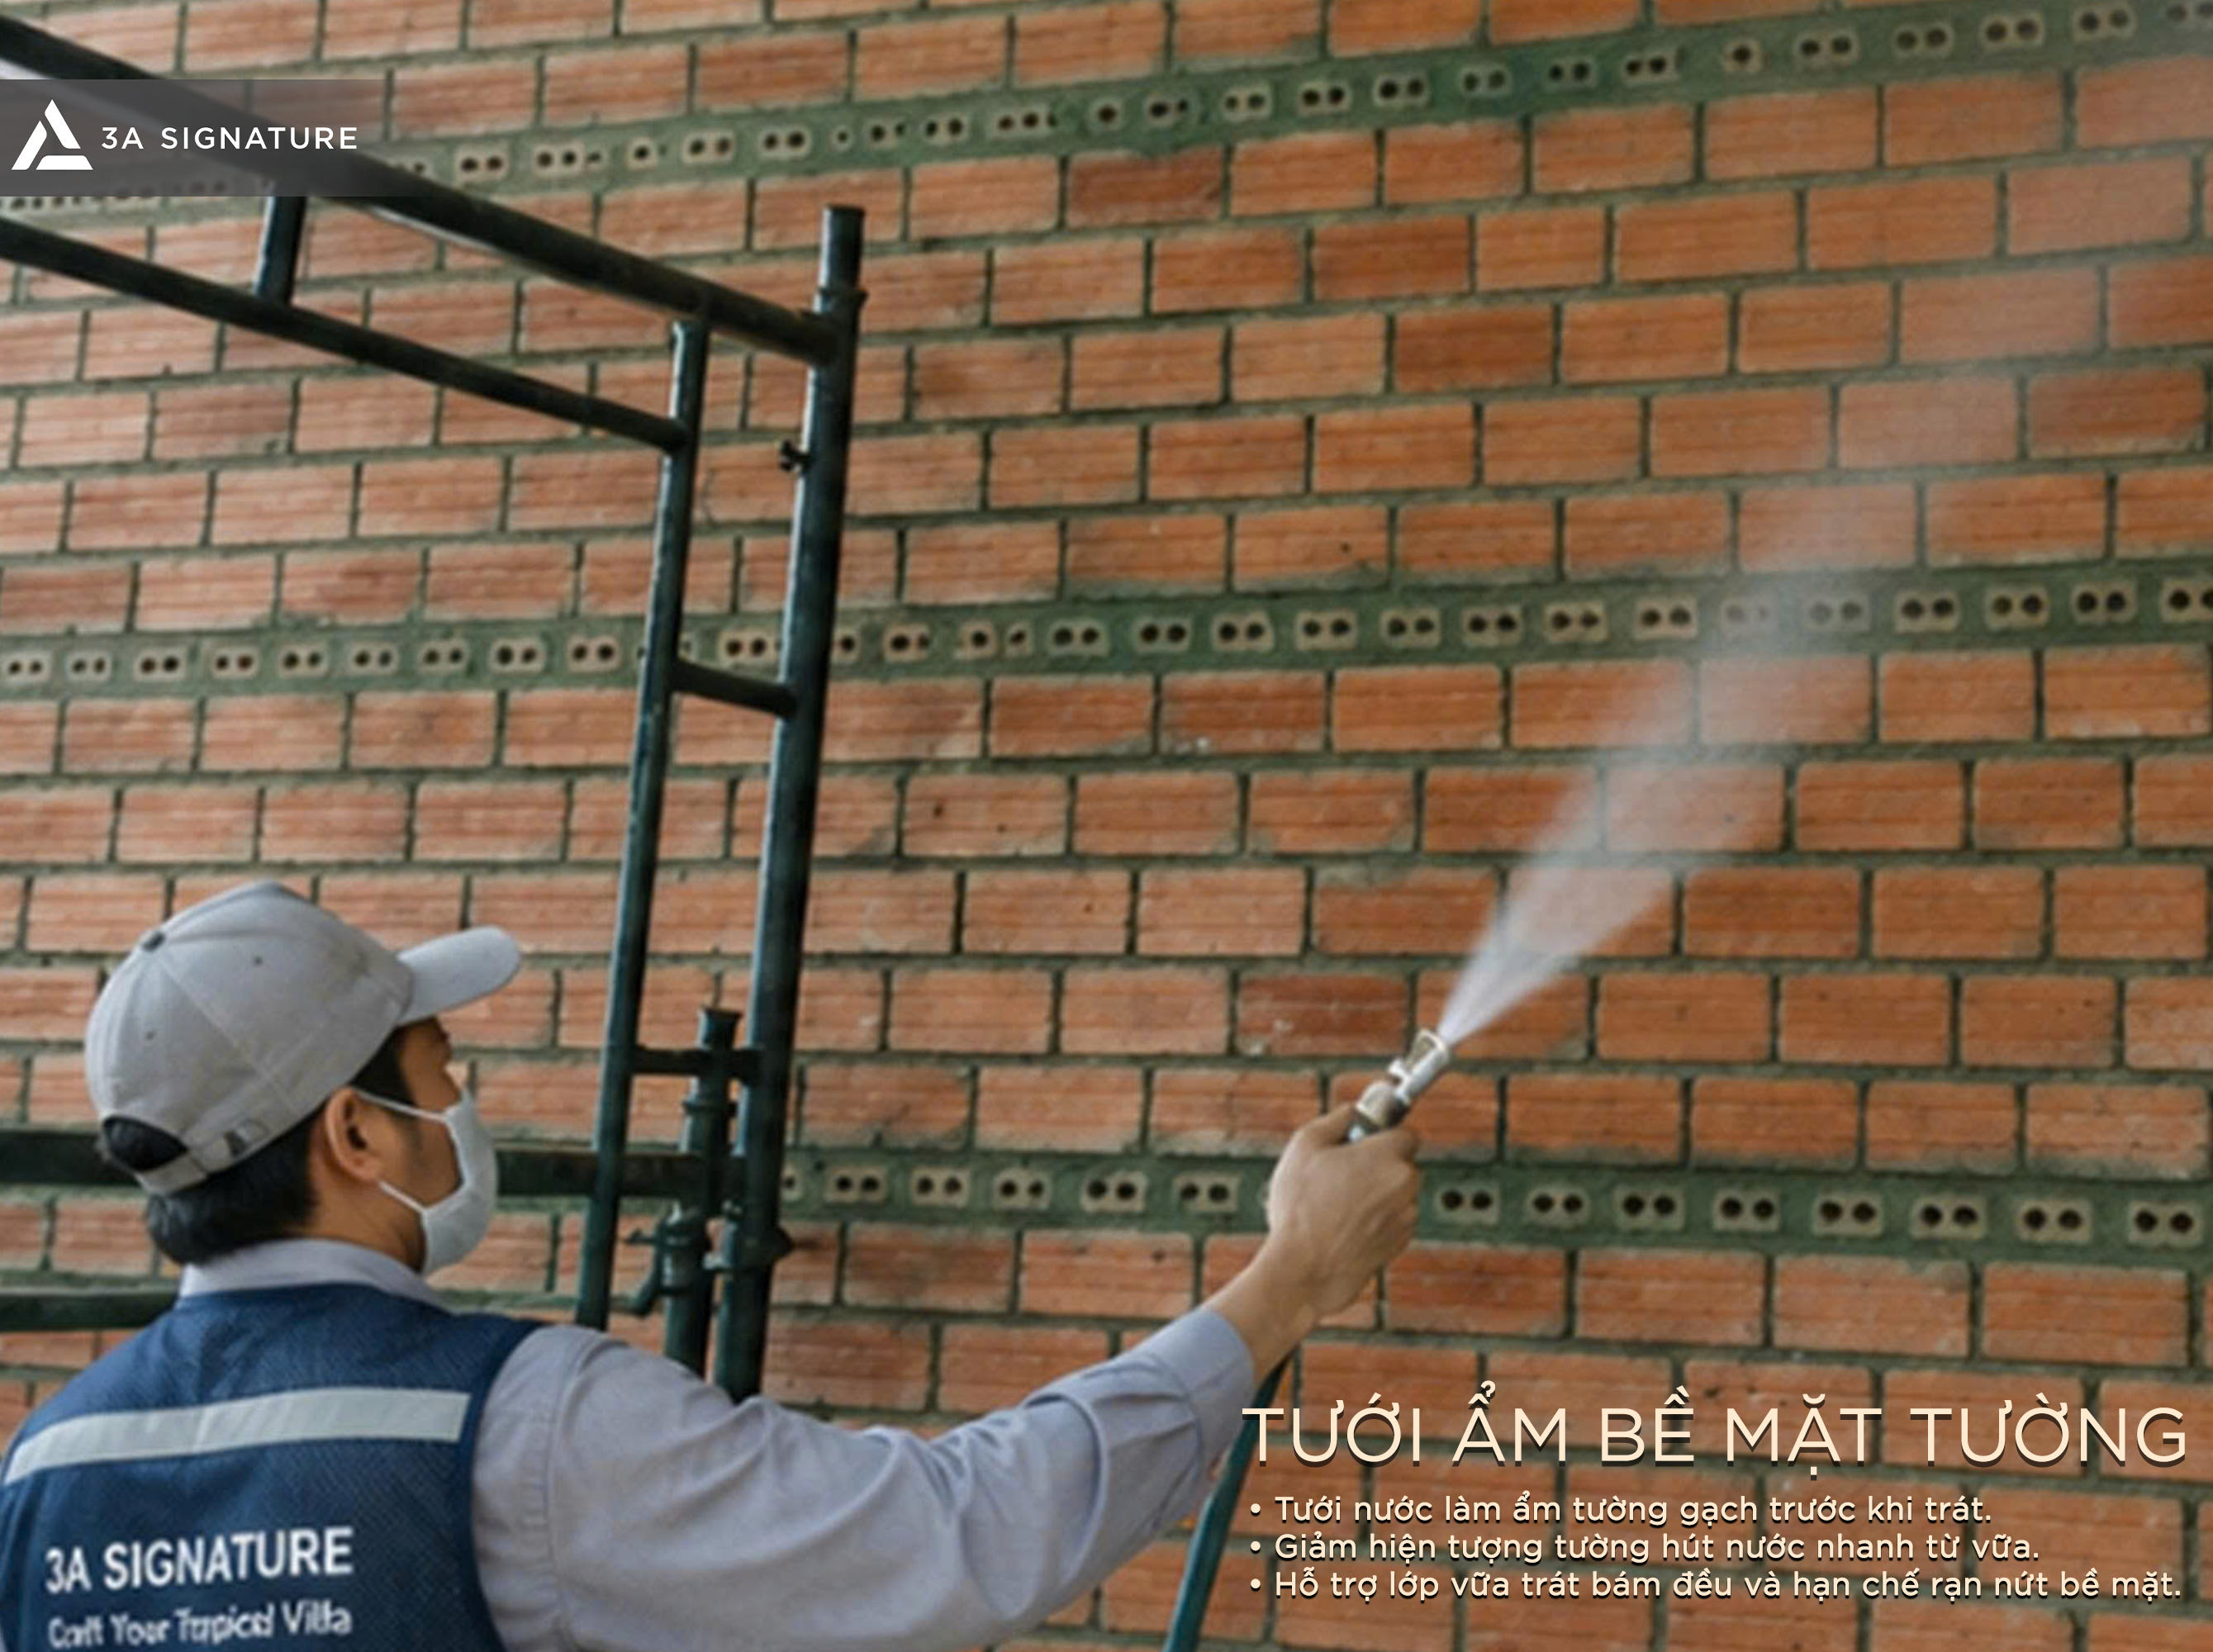
The wall surface also needs to be moistened before plastering. Building bricks absorb water quickly; if plastering is done directly onto a very dry surface, the water in the mortar will be strongly absorbed by the bricks, affecting the cement hydration process and the adhesion of the mortar layer. The wall needs to be evenly moistened, but without standing water.
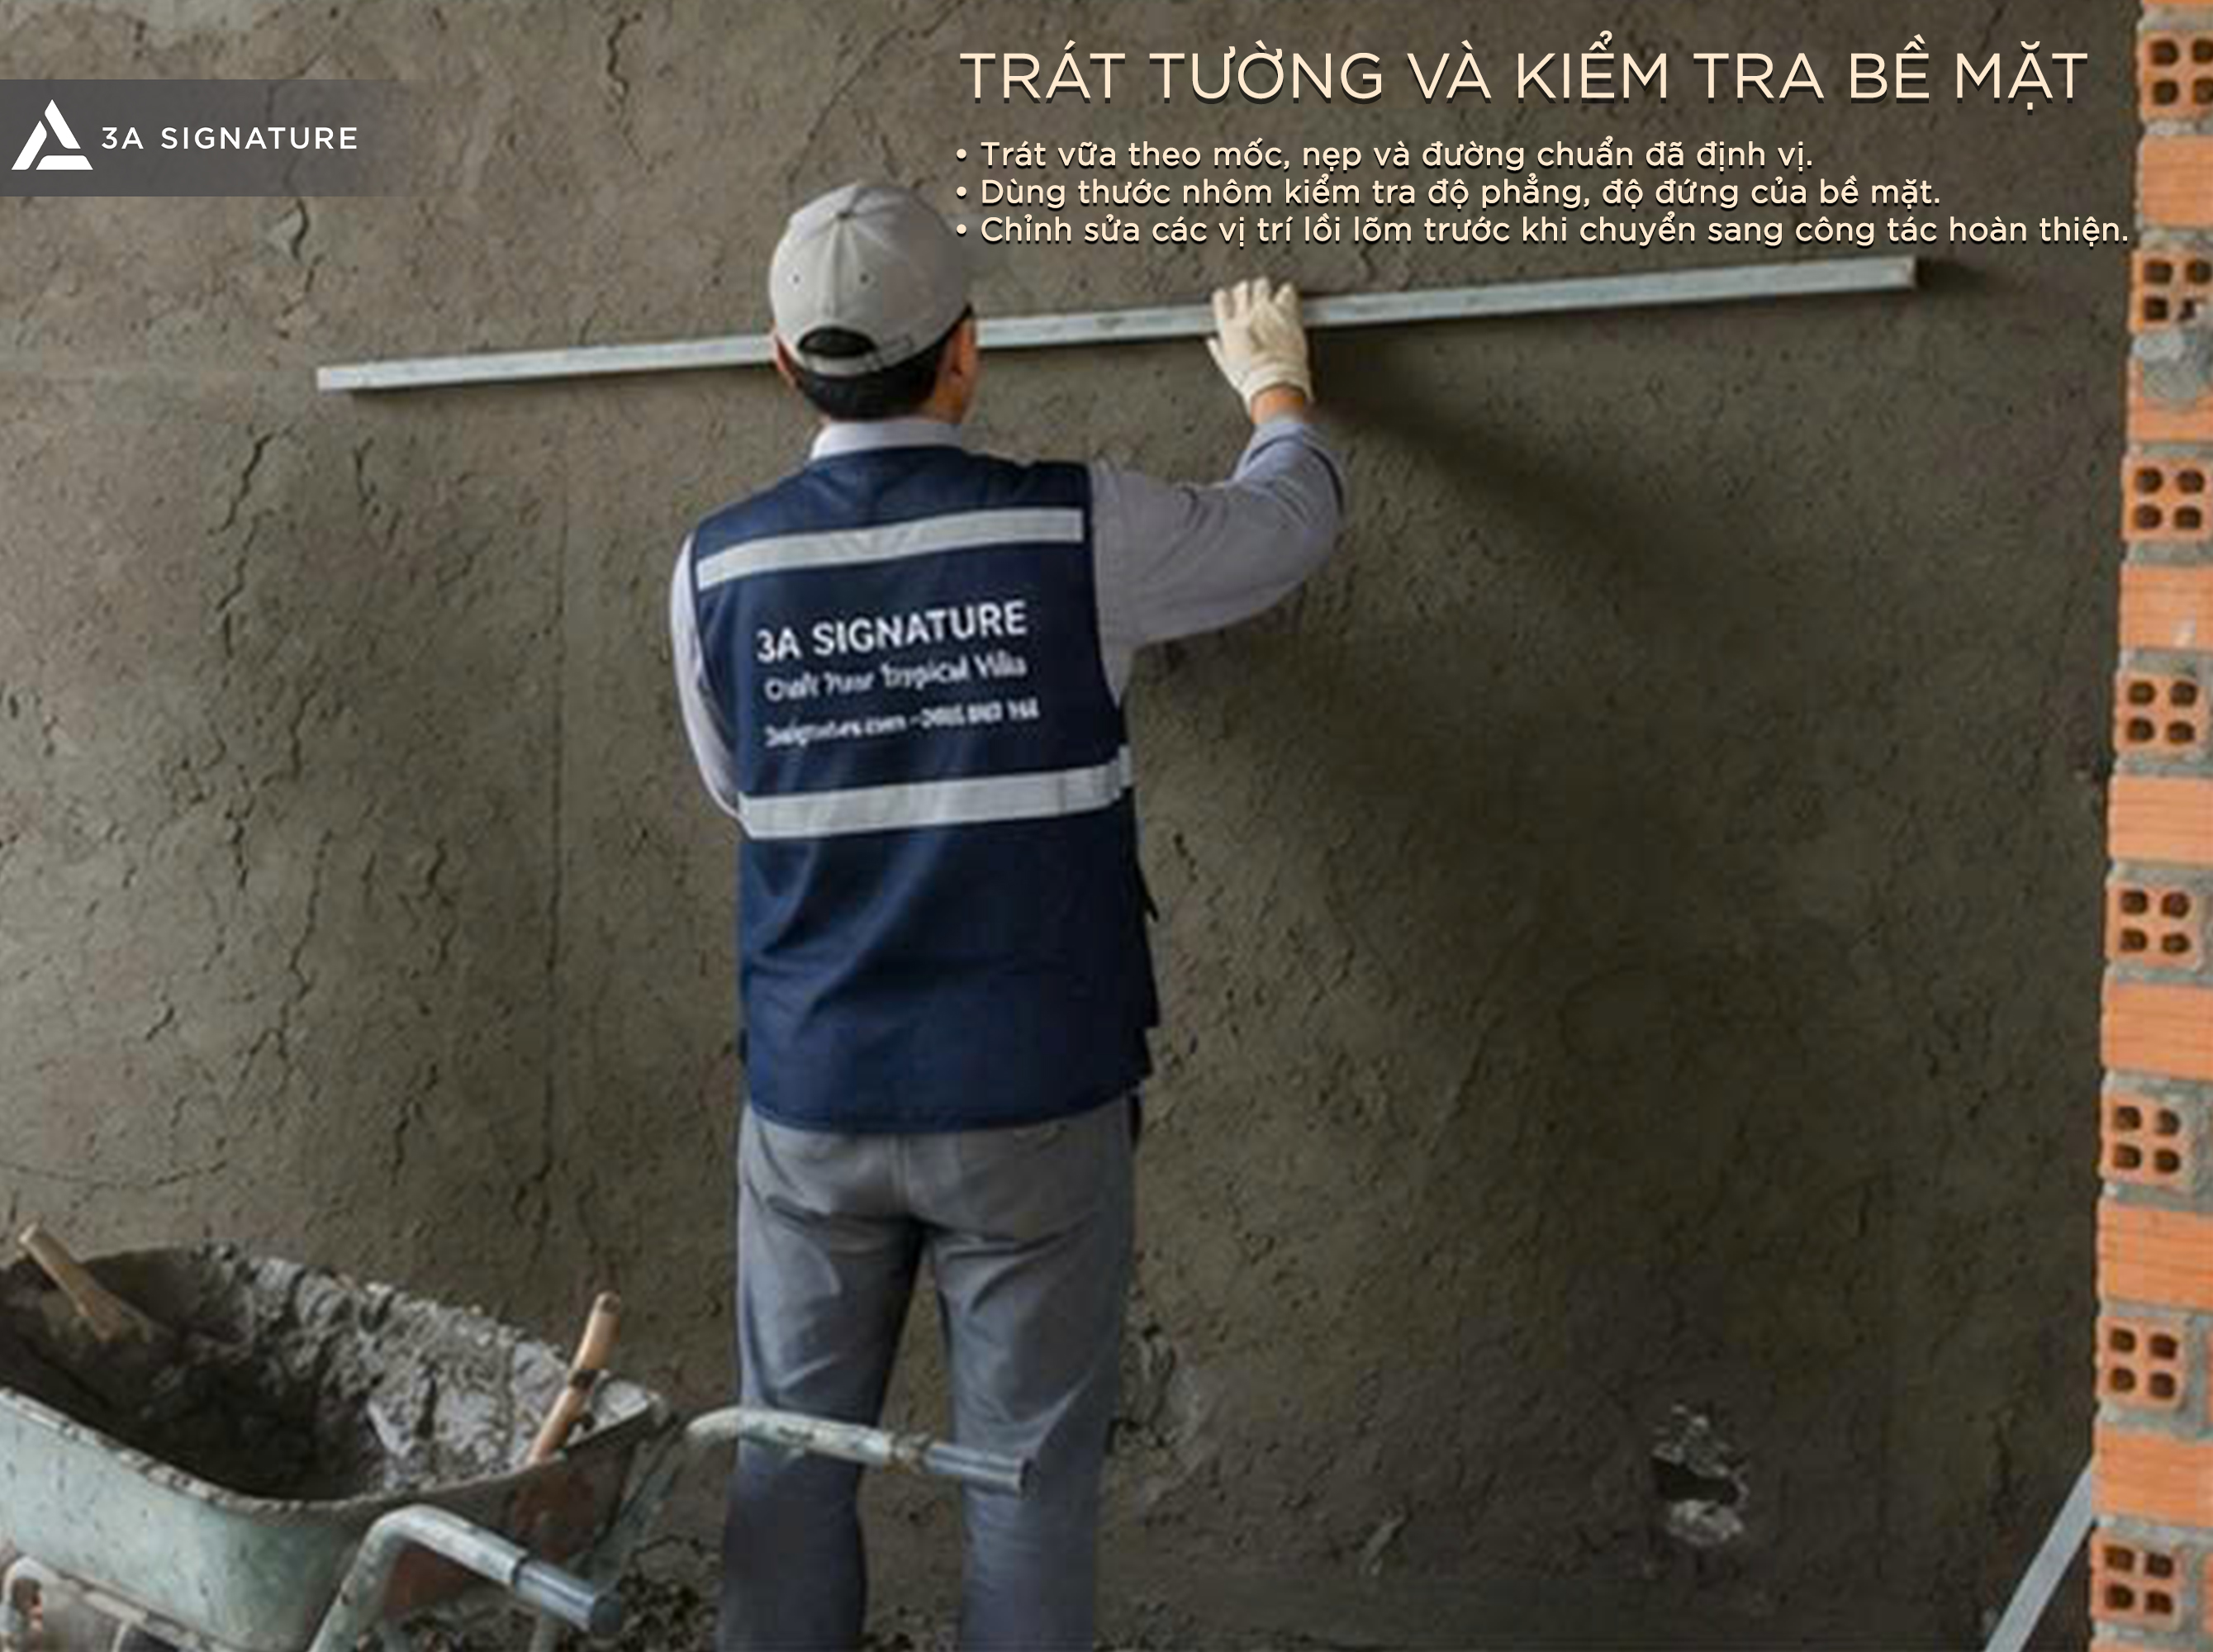
Plastering According to Markers and Checking with an Aluminum Ruler
Once the preparation steps are complete, the construction team proceeds with plastering according to the marked lines, moldings, and guide lines. The mortar needs to be evenly applied, leveled in the appropriate direction, and its thickness controlled in each area.
During plastering, an aluminum ruler is used to check the wall surface, detecting bumps, depressions, or unevenness. Areas around doors, baseboards, corners, utility boxes, and areas with oblique lighting need careful inspection as these are prone to revealing imperfections after painting. Therefore, plastering techniques should include checking with an aluminum ruler before proceeding to puttying or painting.
Finish Quality Starts with the Foundation
A well-built villa is constructed through many foundational steps: marking, positioning moldings, installing mesh, applying mortar, moistening, plastering, and re-checking the surface.
With 3A Signature, wall plastering techniques are a way to protect the quality of the construction from the inside out. When the wall surface is constructed according to a proper process, the subsequent layers of paint, stone, wood, glass, and interior furnishings will have a more stable base to accurately reflect the design intent.
From the benchmark to the finished surface, each step requires control using tools, on-site experience, and clear acceptance criteria. This is the construction philosophy that 3A Signature pursues: clear procedures, meticulous attention to detail, and respect for the true quality of the construction.