

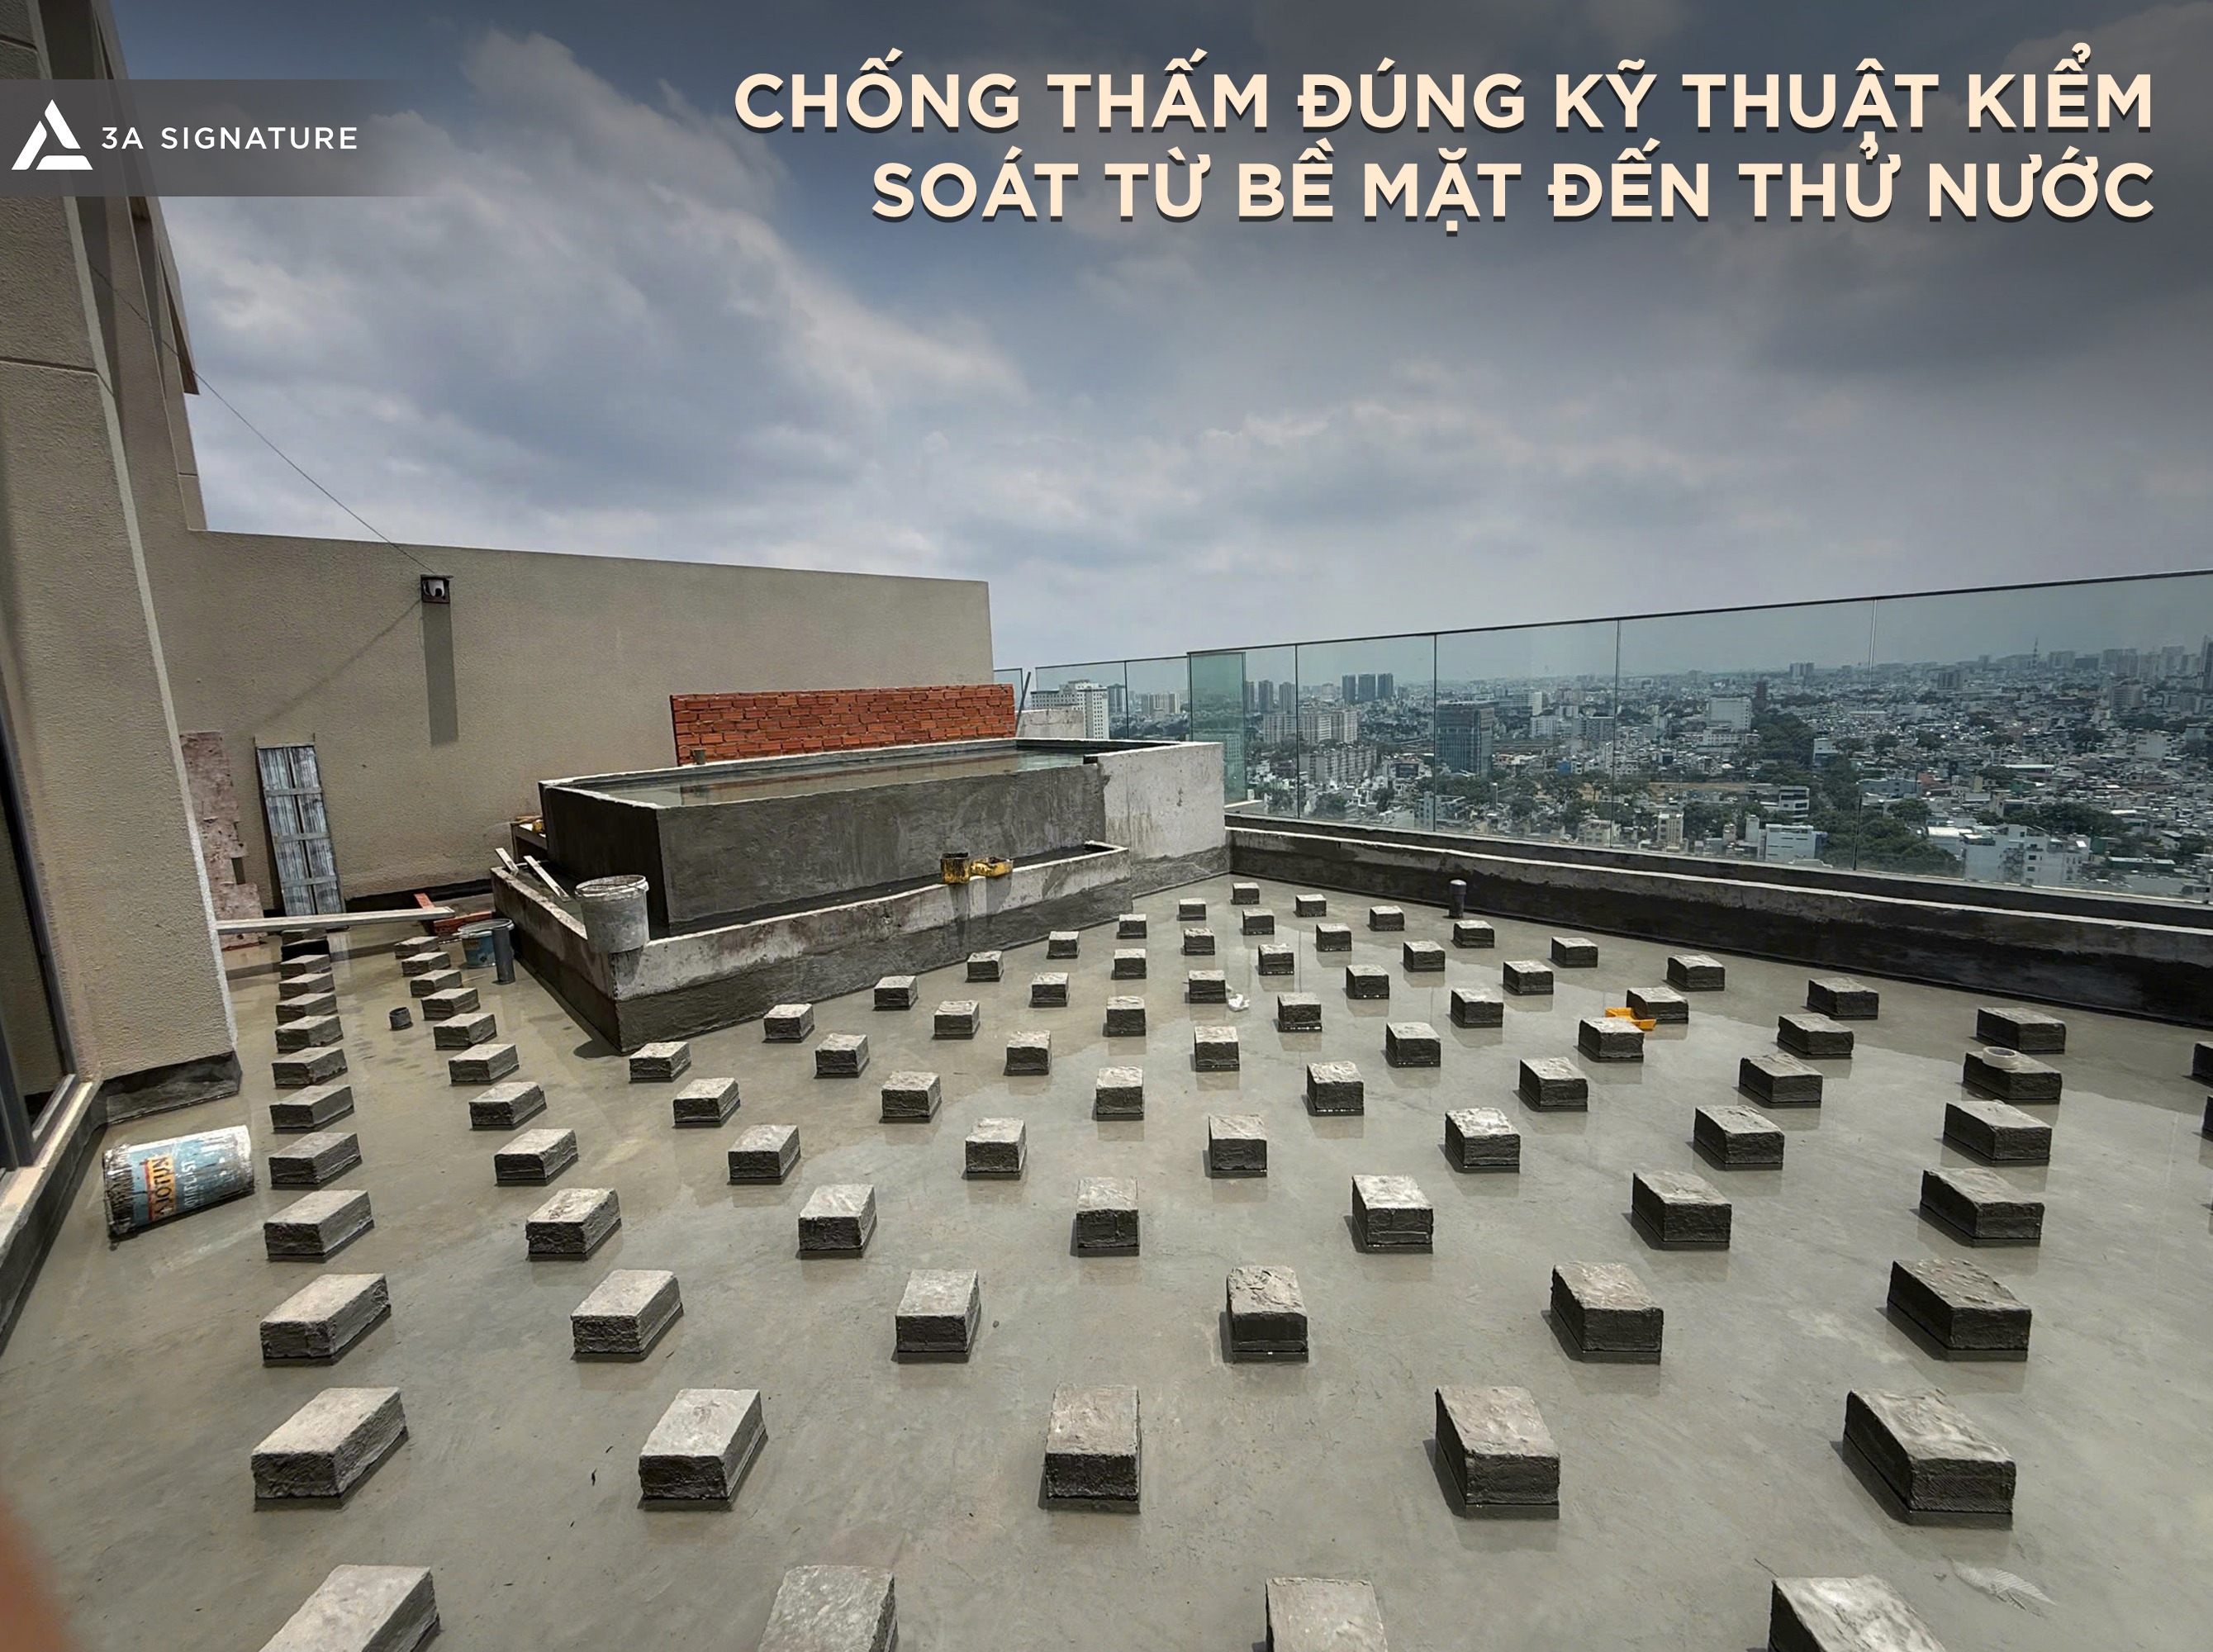
In villa construction, rooftops, balconies, loggias, bathrooms, and areas frequently exposed to water require waterproofing control right from the foundation stage. A stable waterproofing techniques system depends not only on the materials used, but also on surface treatment, wall base reinforcement, pipe joint treatment, layer application, and post-construction water testing.
Therefore, proper waterproofing should be considered a continuous control process, involving foundation preparation, clear construction procedures, and pre-completion testing.
Waterproofing is a Foundation Element of the Construction Project
In villa construction, areas such as rooftops, balconies, and technical floor slabs are often directly exposed to rain, sun, and daily water use. Without proper foundation treatment, leaks can occur in the lower ceilings, wall bases, pipe joints, floor edges, or the joints between concrete and masonry walls.
Therefore, proper waterproofing techniques should be implemented before completion. The goal is not just to apply waterproofing material to the surface, but to create a stable bond between the concrete base, wall base, pipe joints, and technical junctions.
Surface Preparation Before Waterproofing
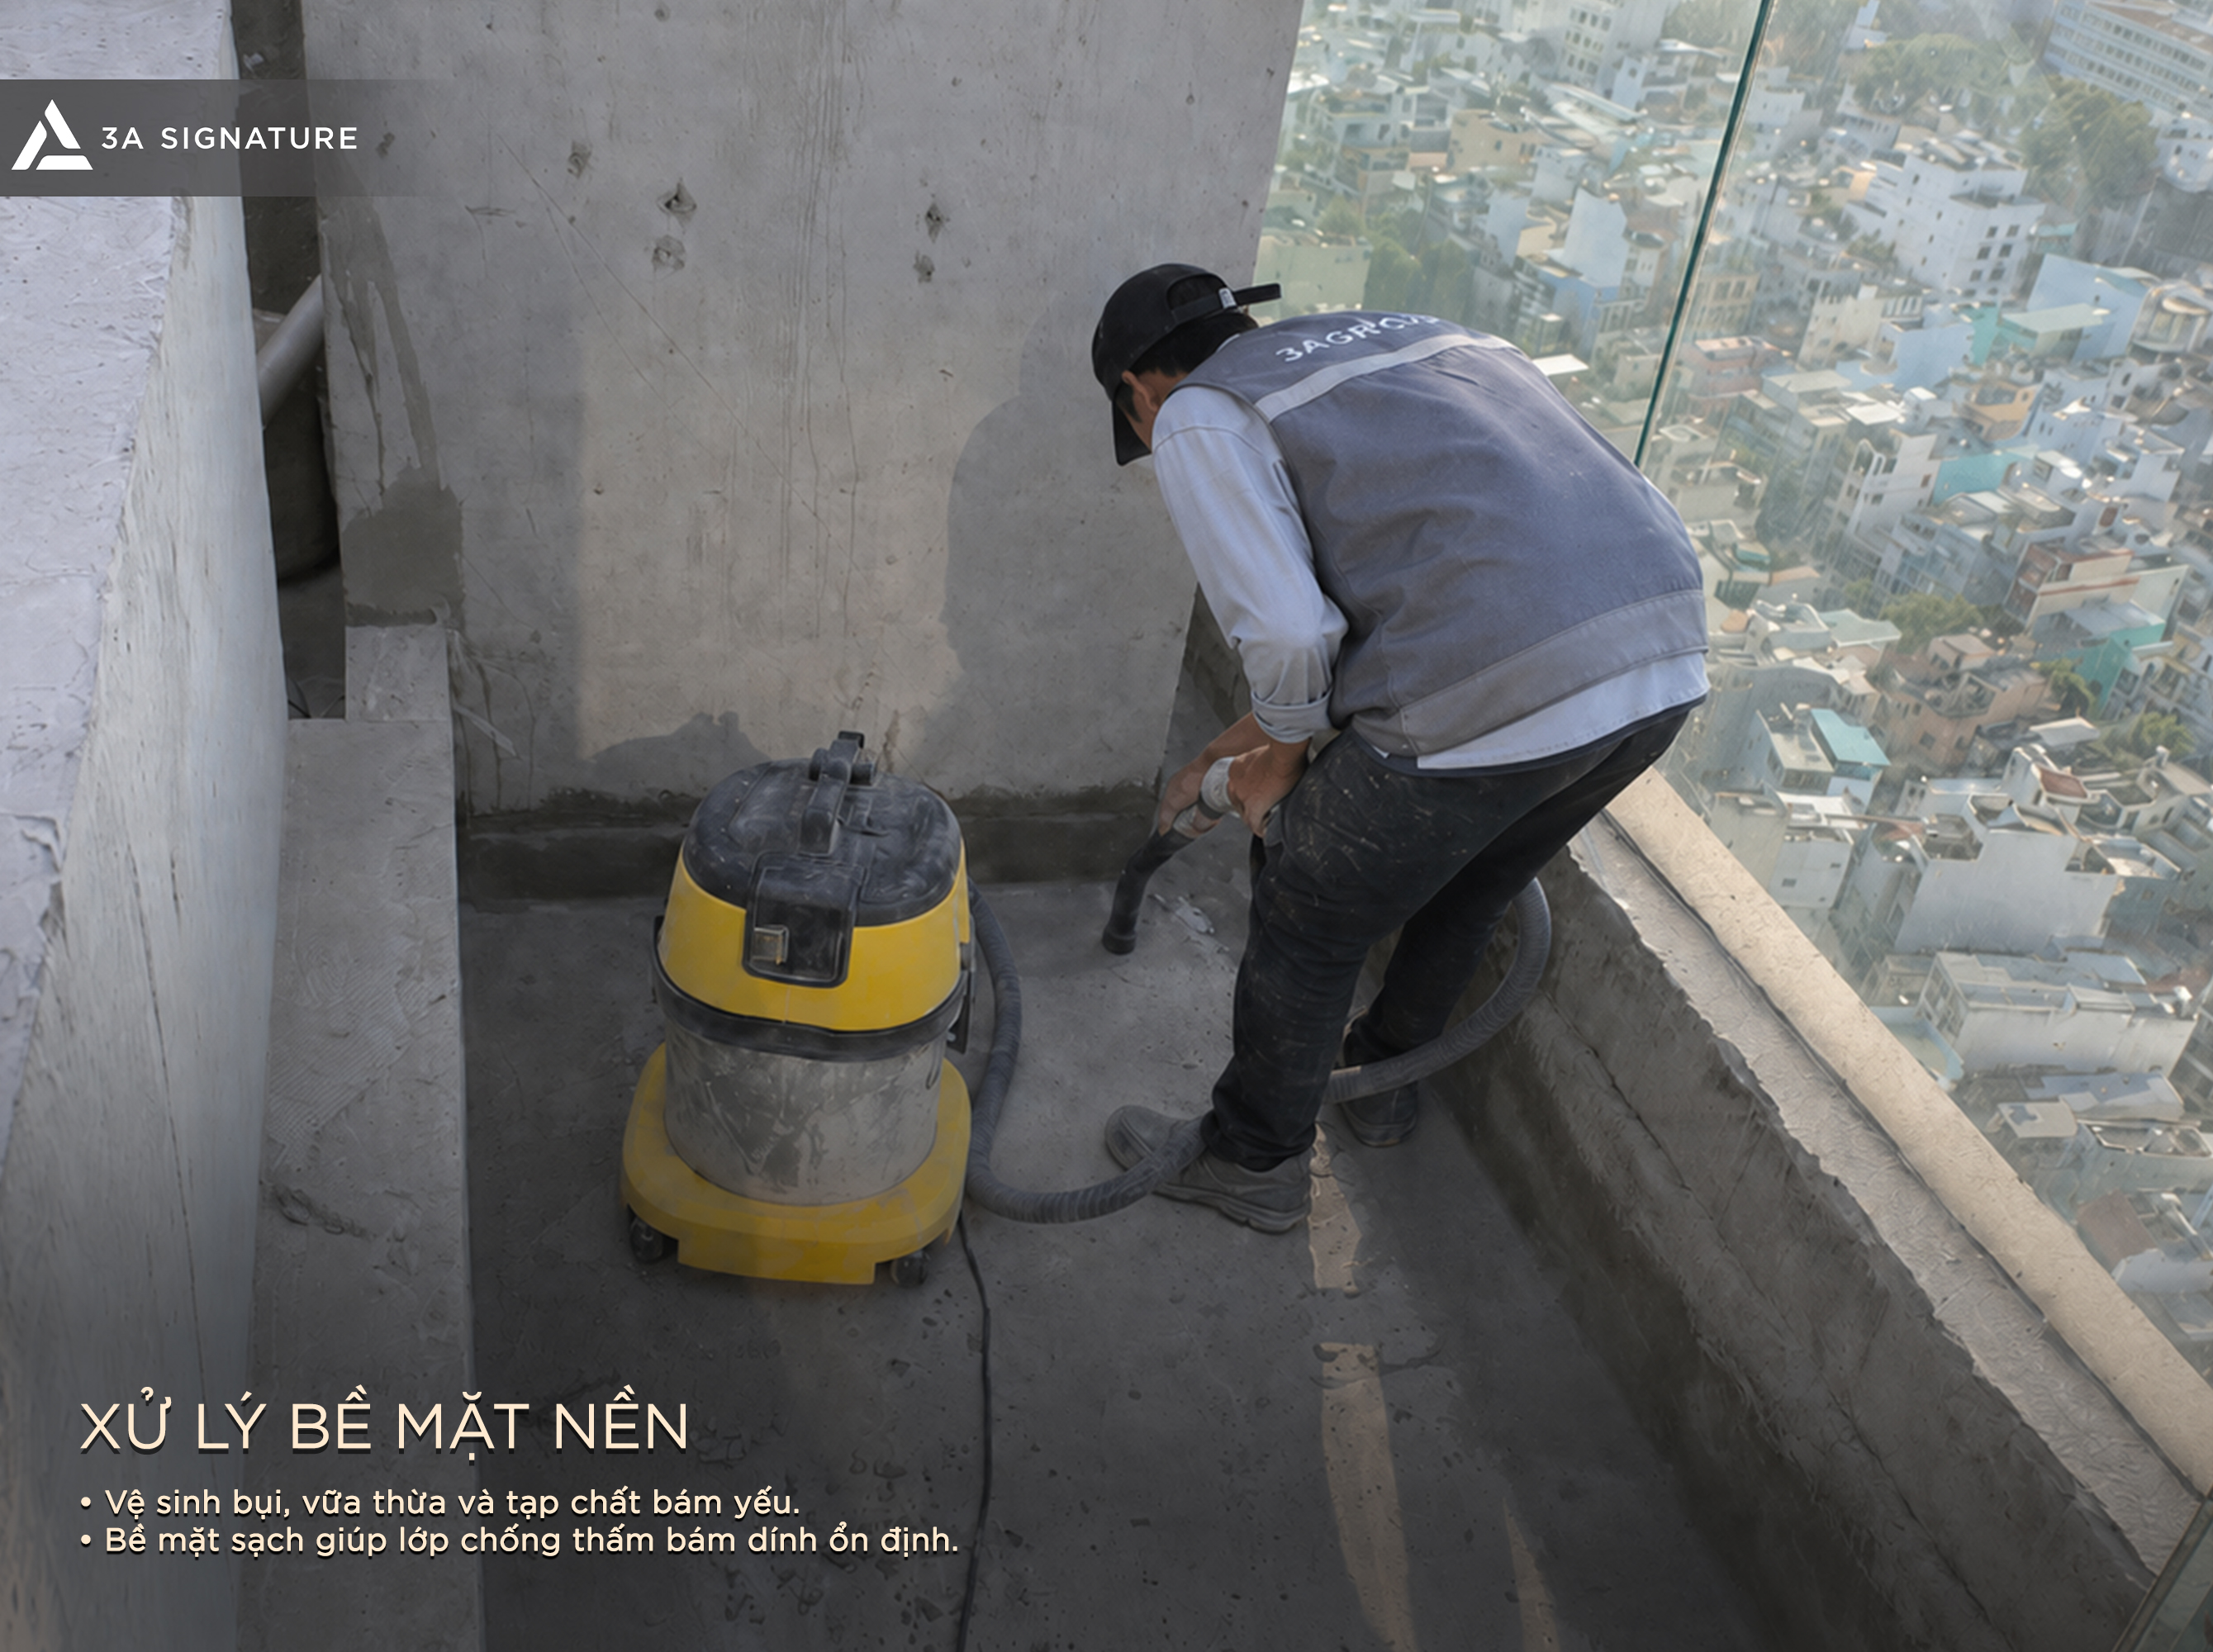
The first step is to clean and prepare the surface. Rooftops or balconies after rough construction often have cement dust, excess mortar, impurities, weak adhesion, or areas of slightly porous concrete. If not cleaned, the waterproofing layer may adhere unevenly and reduce its bonding ability with the base.
On-site, the construction team needs to vacuum, scrape off weak adhesion, smooth out any localized bumps, and treat small cracks if present. This is a crucial step in proper waterproofing techniques, as a clean and stable surface will help the waterproofing material adhere better.
Reinforcing Wall Bases, Pipe Cladding, and Corners
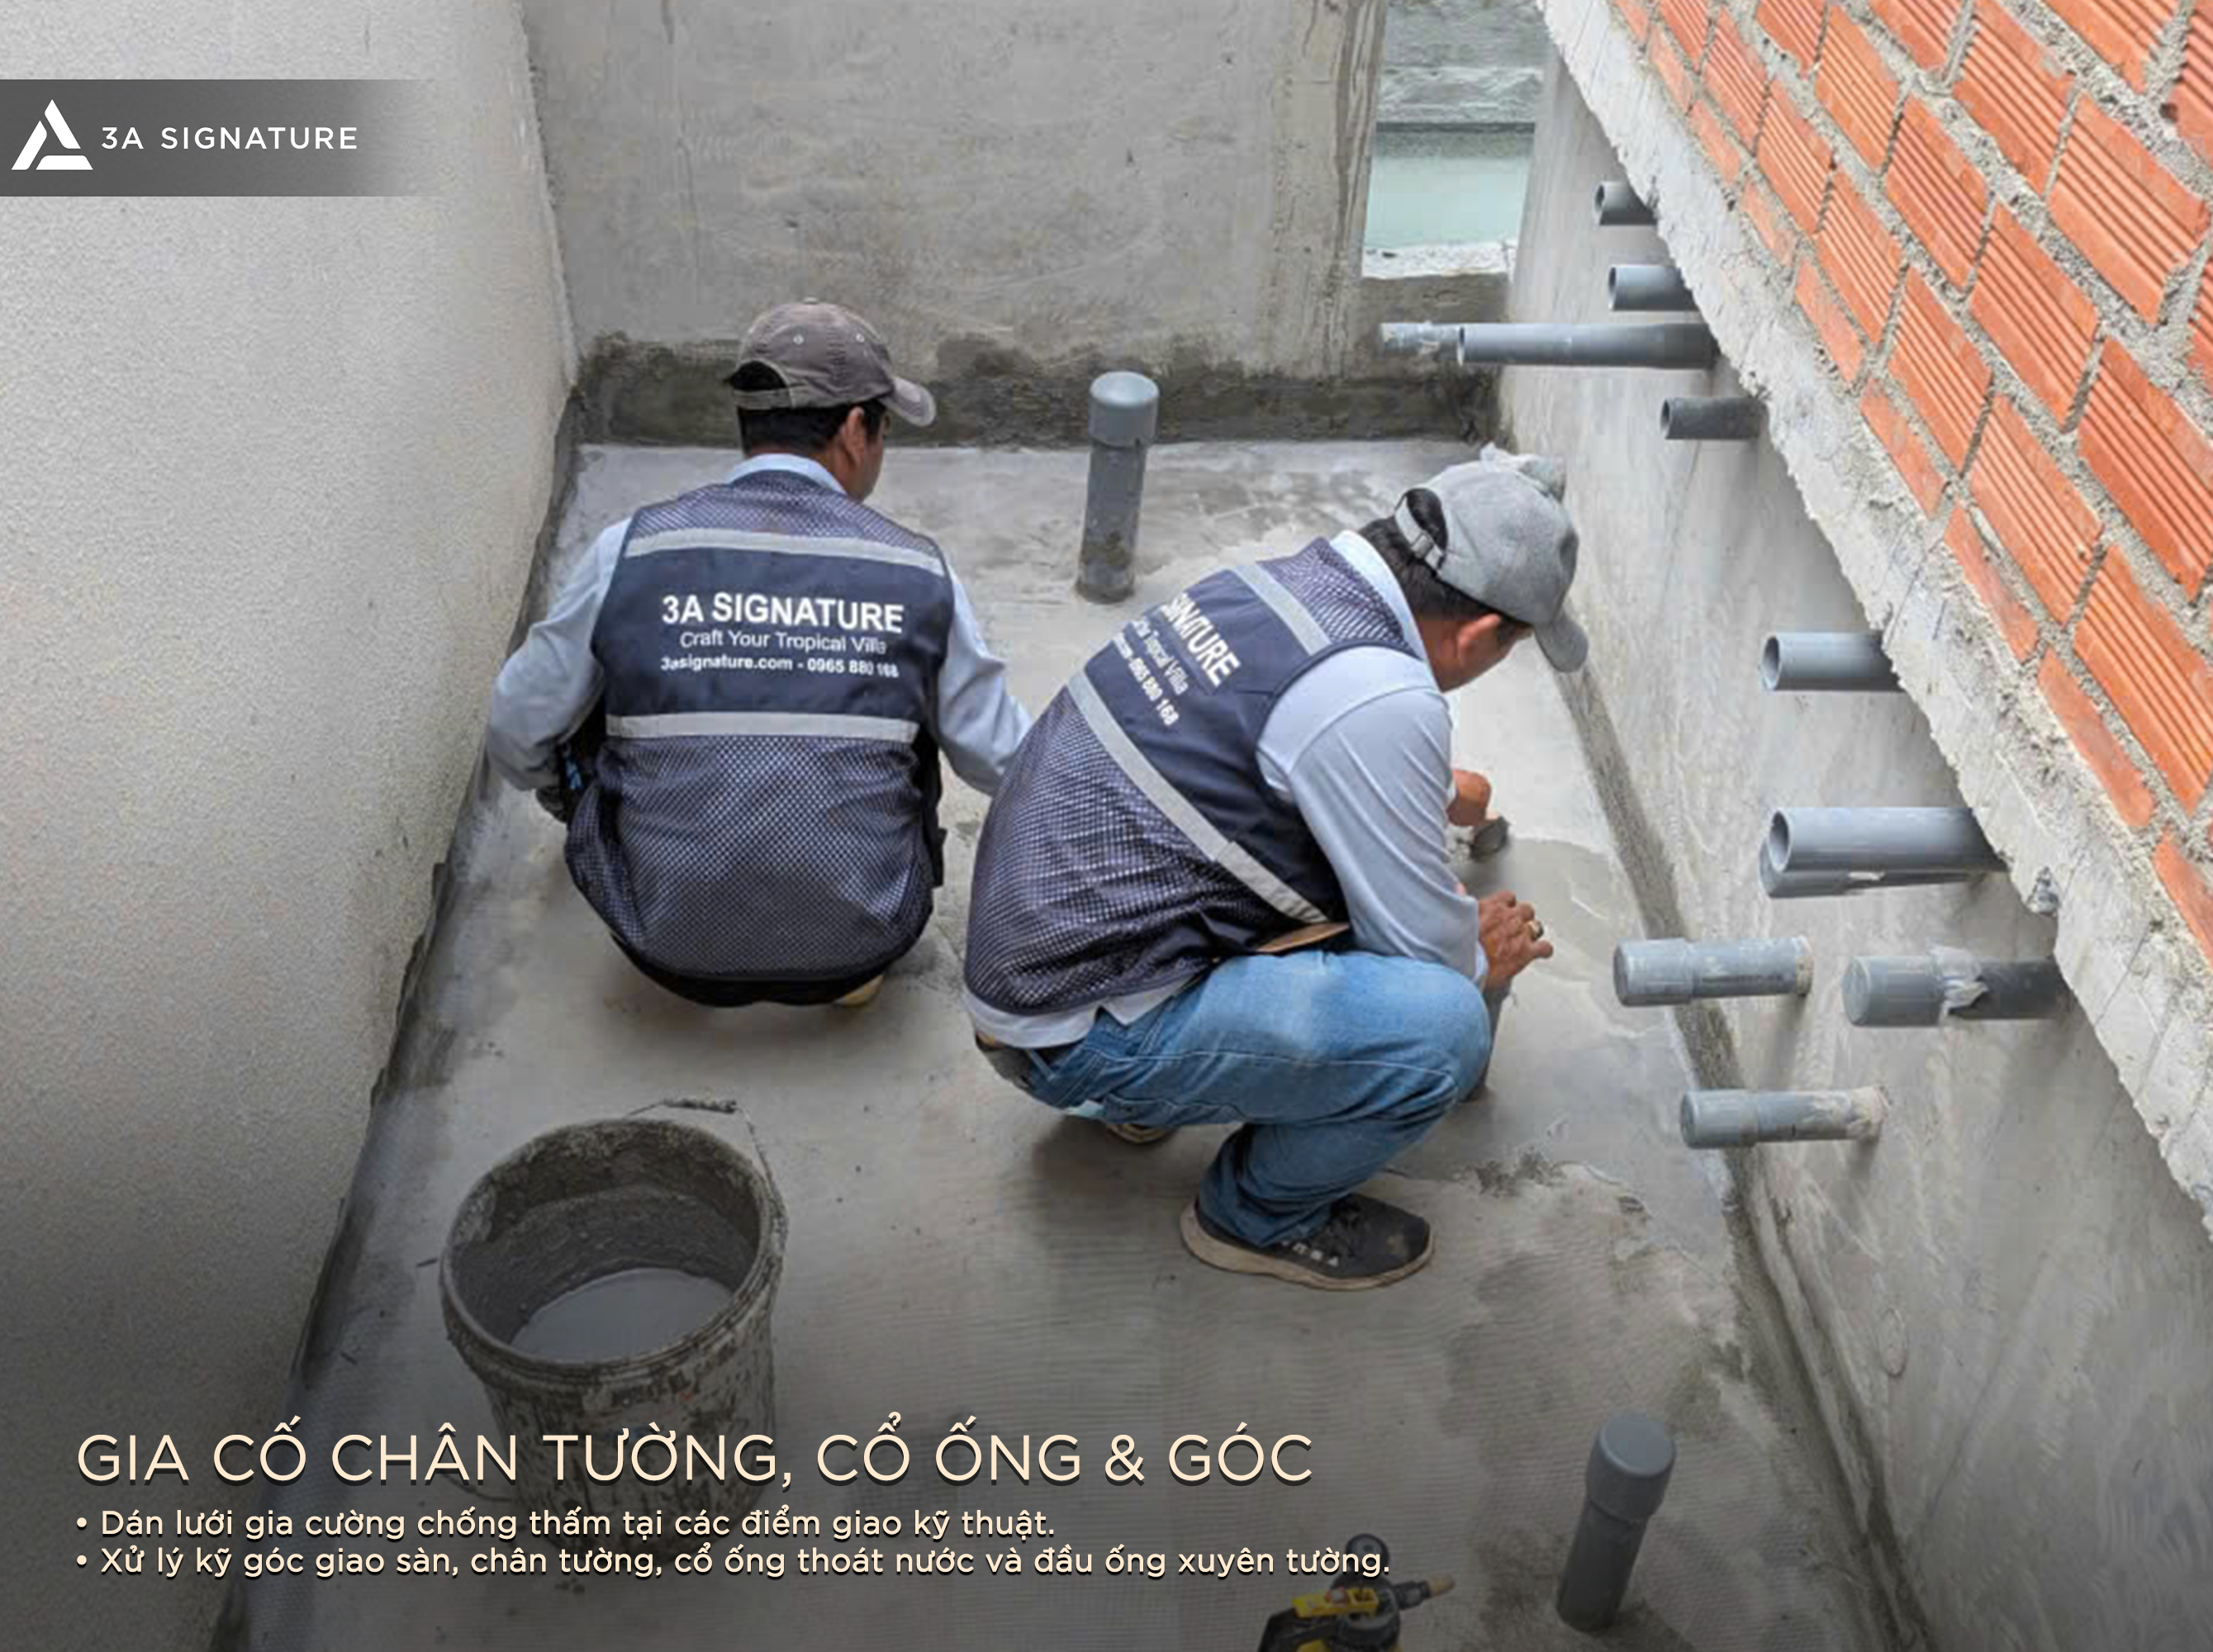
Areas prone to leaks are often concentrated at the base of walls, floor-wall junctions, drainage pipe collars, pipe penetrations through walls, water inlets, and the joints between different materials. These are points susceptible to shrinkage, hairline cracks, or damage during use.
In proper waterproofing techniques, these areas need to be inspected, rounded, filled with mortar, and reinforced with mesh or specialized materials before applying a full waterproofing coating. Thoroughly treating these joints helps limit water seepage through small gaps after the building is put into use.
Applying Waterproofing Layers in Successive Steps
After the subsurface and technical junctions have been prepared, the construction team begins applying the waterproofing techniques layer. Depending on the area and material solution, the waterproofing layer may be brushed, rolled, or coated in successive steps. It is crucial to control the coverage, sealing, and drying time between layers.
A thick layer of waterproofing should not be applied in a single pass if the material is not suitable for this method. An excessively thick layer may dry unevenly, creating a weak membrane or being difficult to control at corners. Conversely, a layer that is too thin may not achieve the necessary coverage. Therefore, the field engineer needs to monitor the material consumption, application direction, number of layers, waiting time, and surface conditions before each coat.
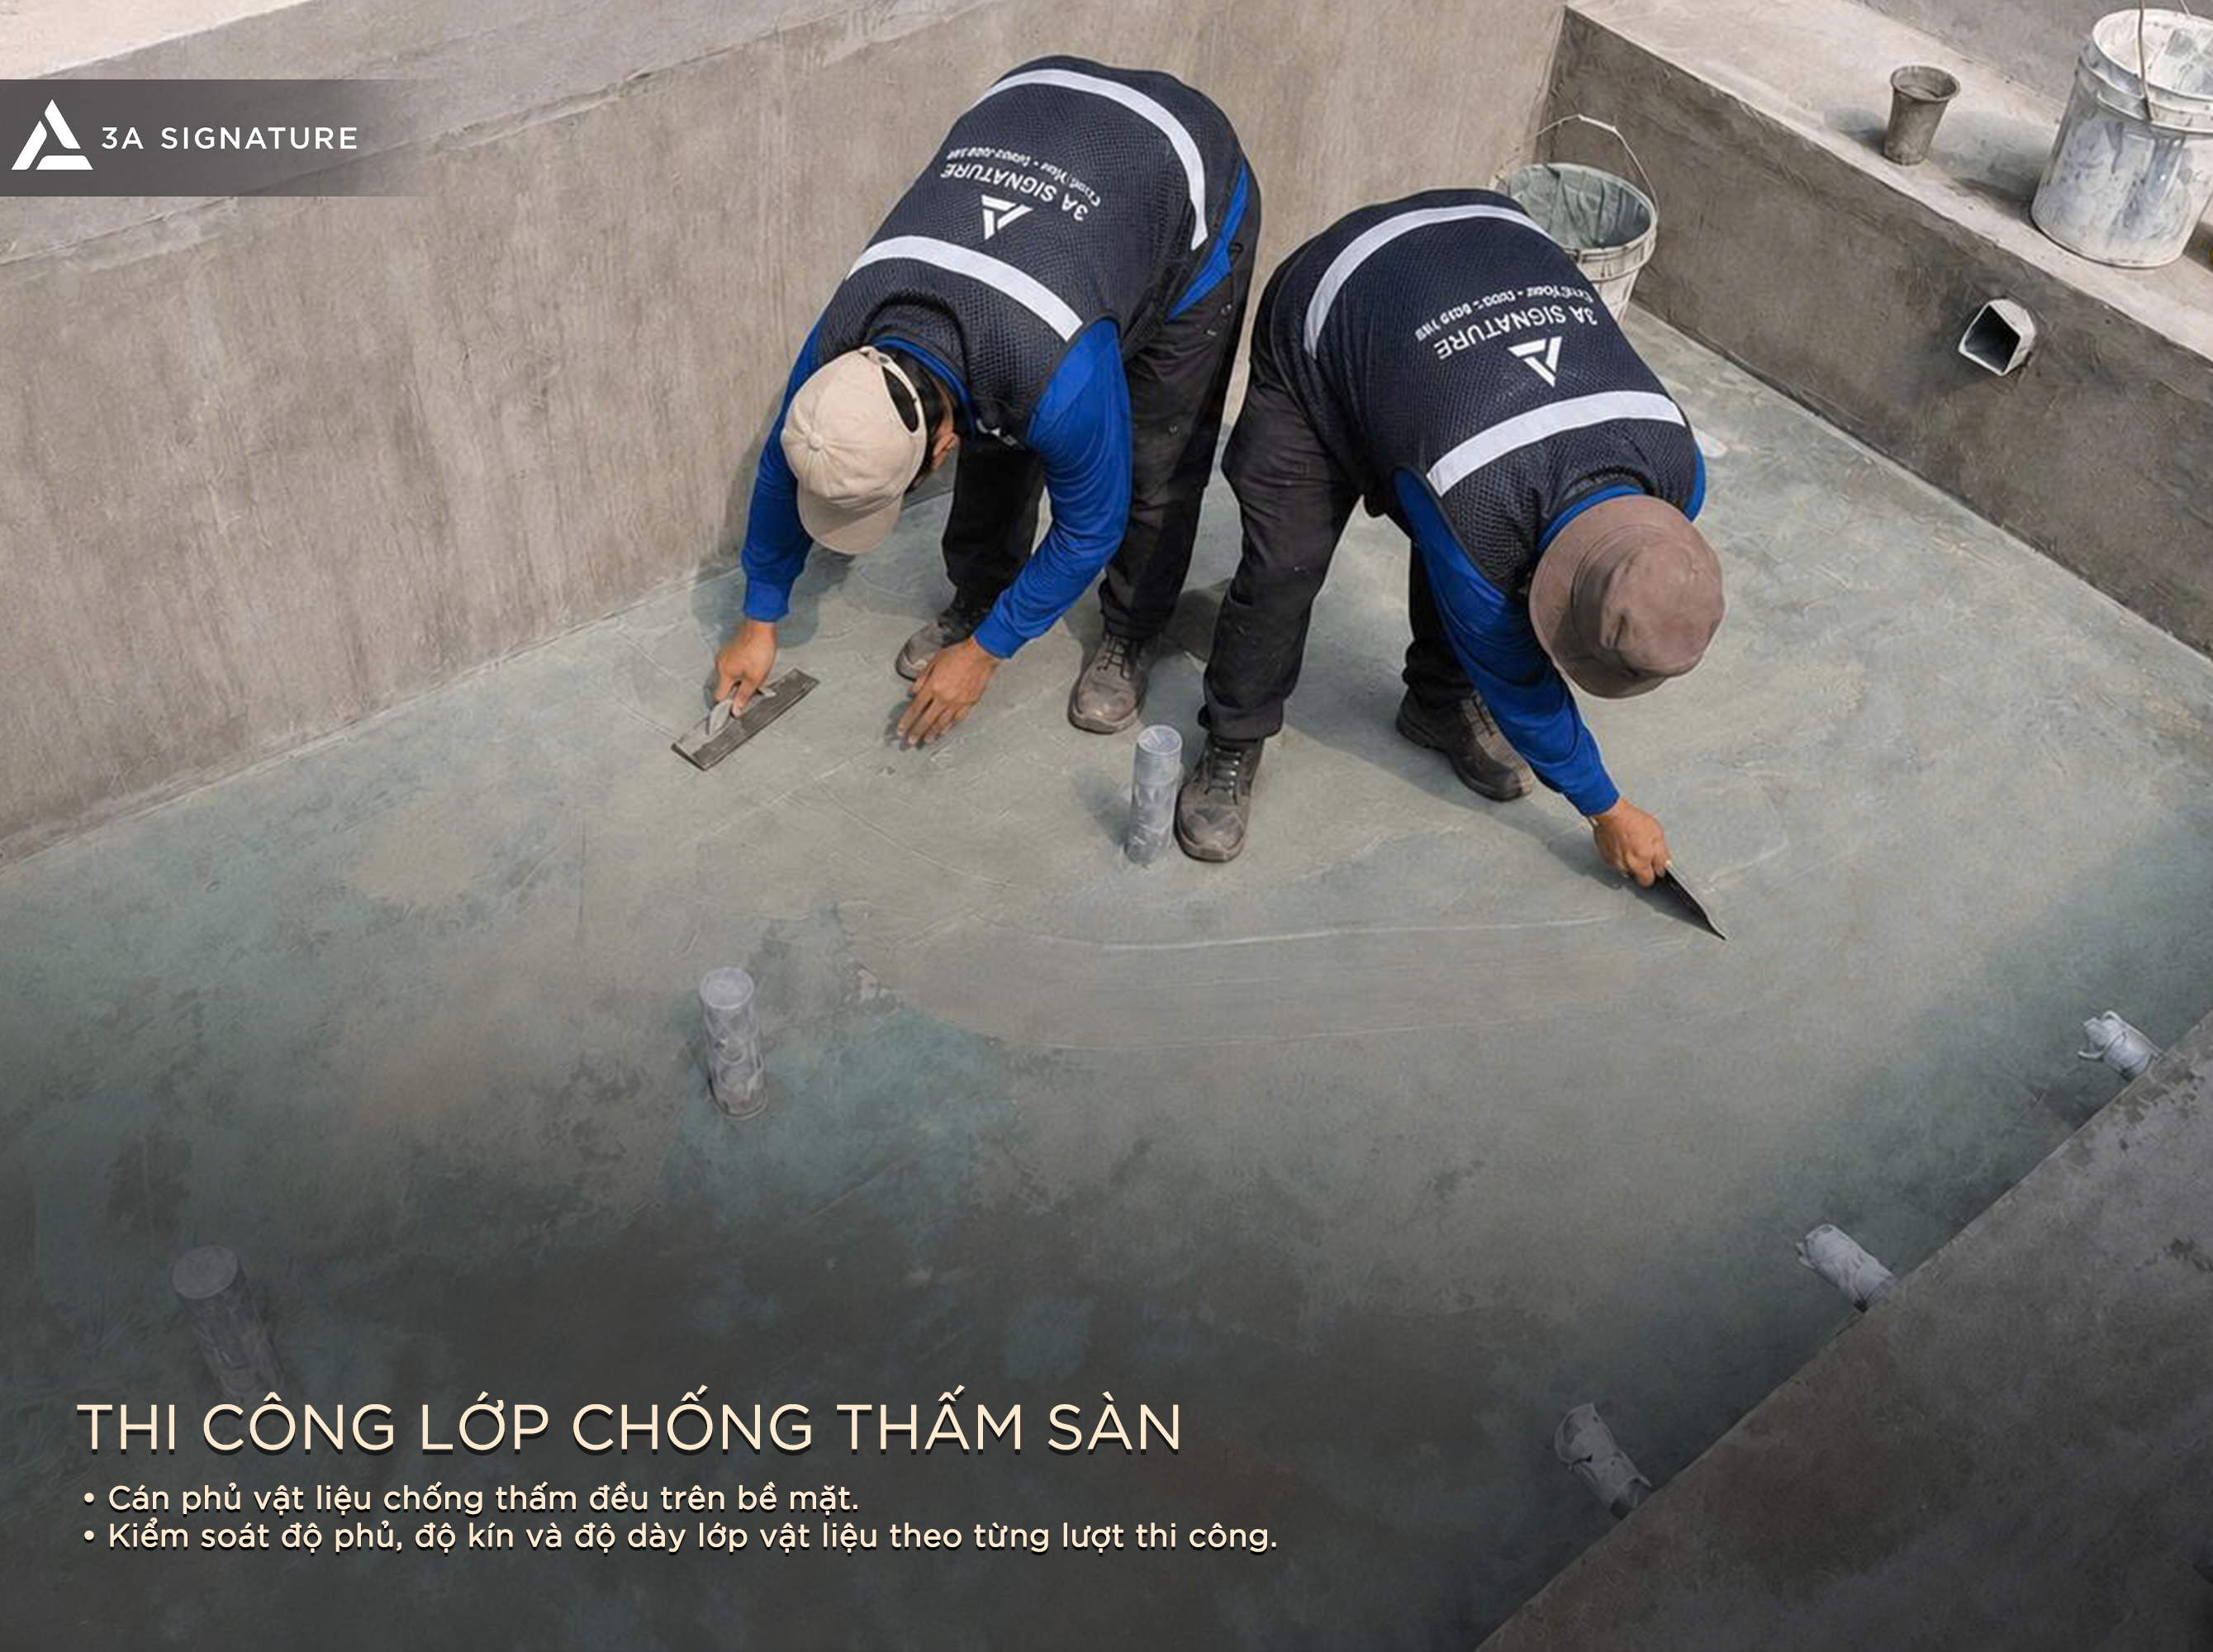
In areas with numerous pipe joints, inlets, or hidden corners, workers need to be more meticulous to ensure the material completely covers the transition points. These are areas easily overlooked if only applying the waterproofing material to a large surface. A proper waterproofing process requires observation of both the overall surface and each detail.
Water Soaking Test After Application
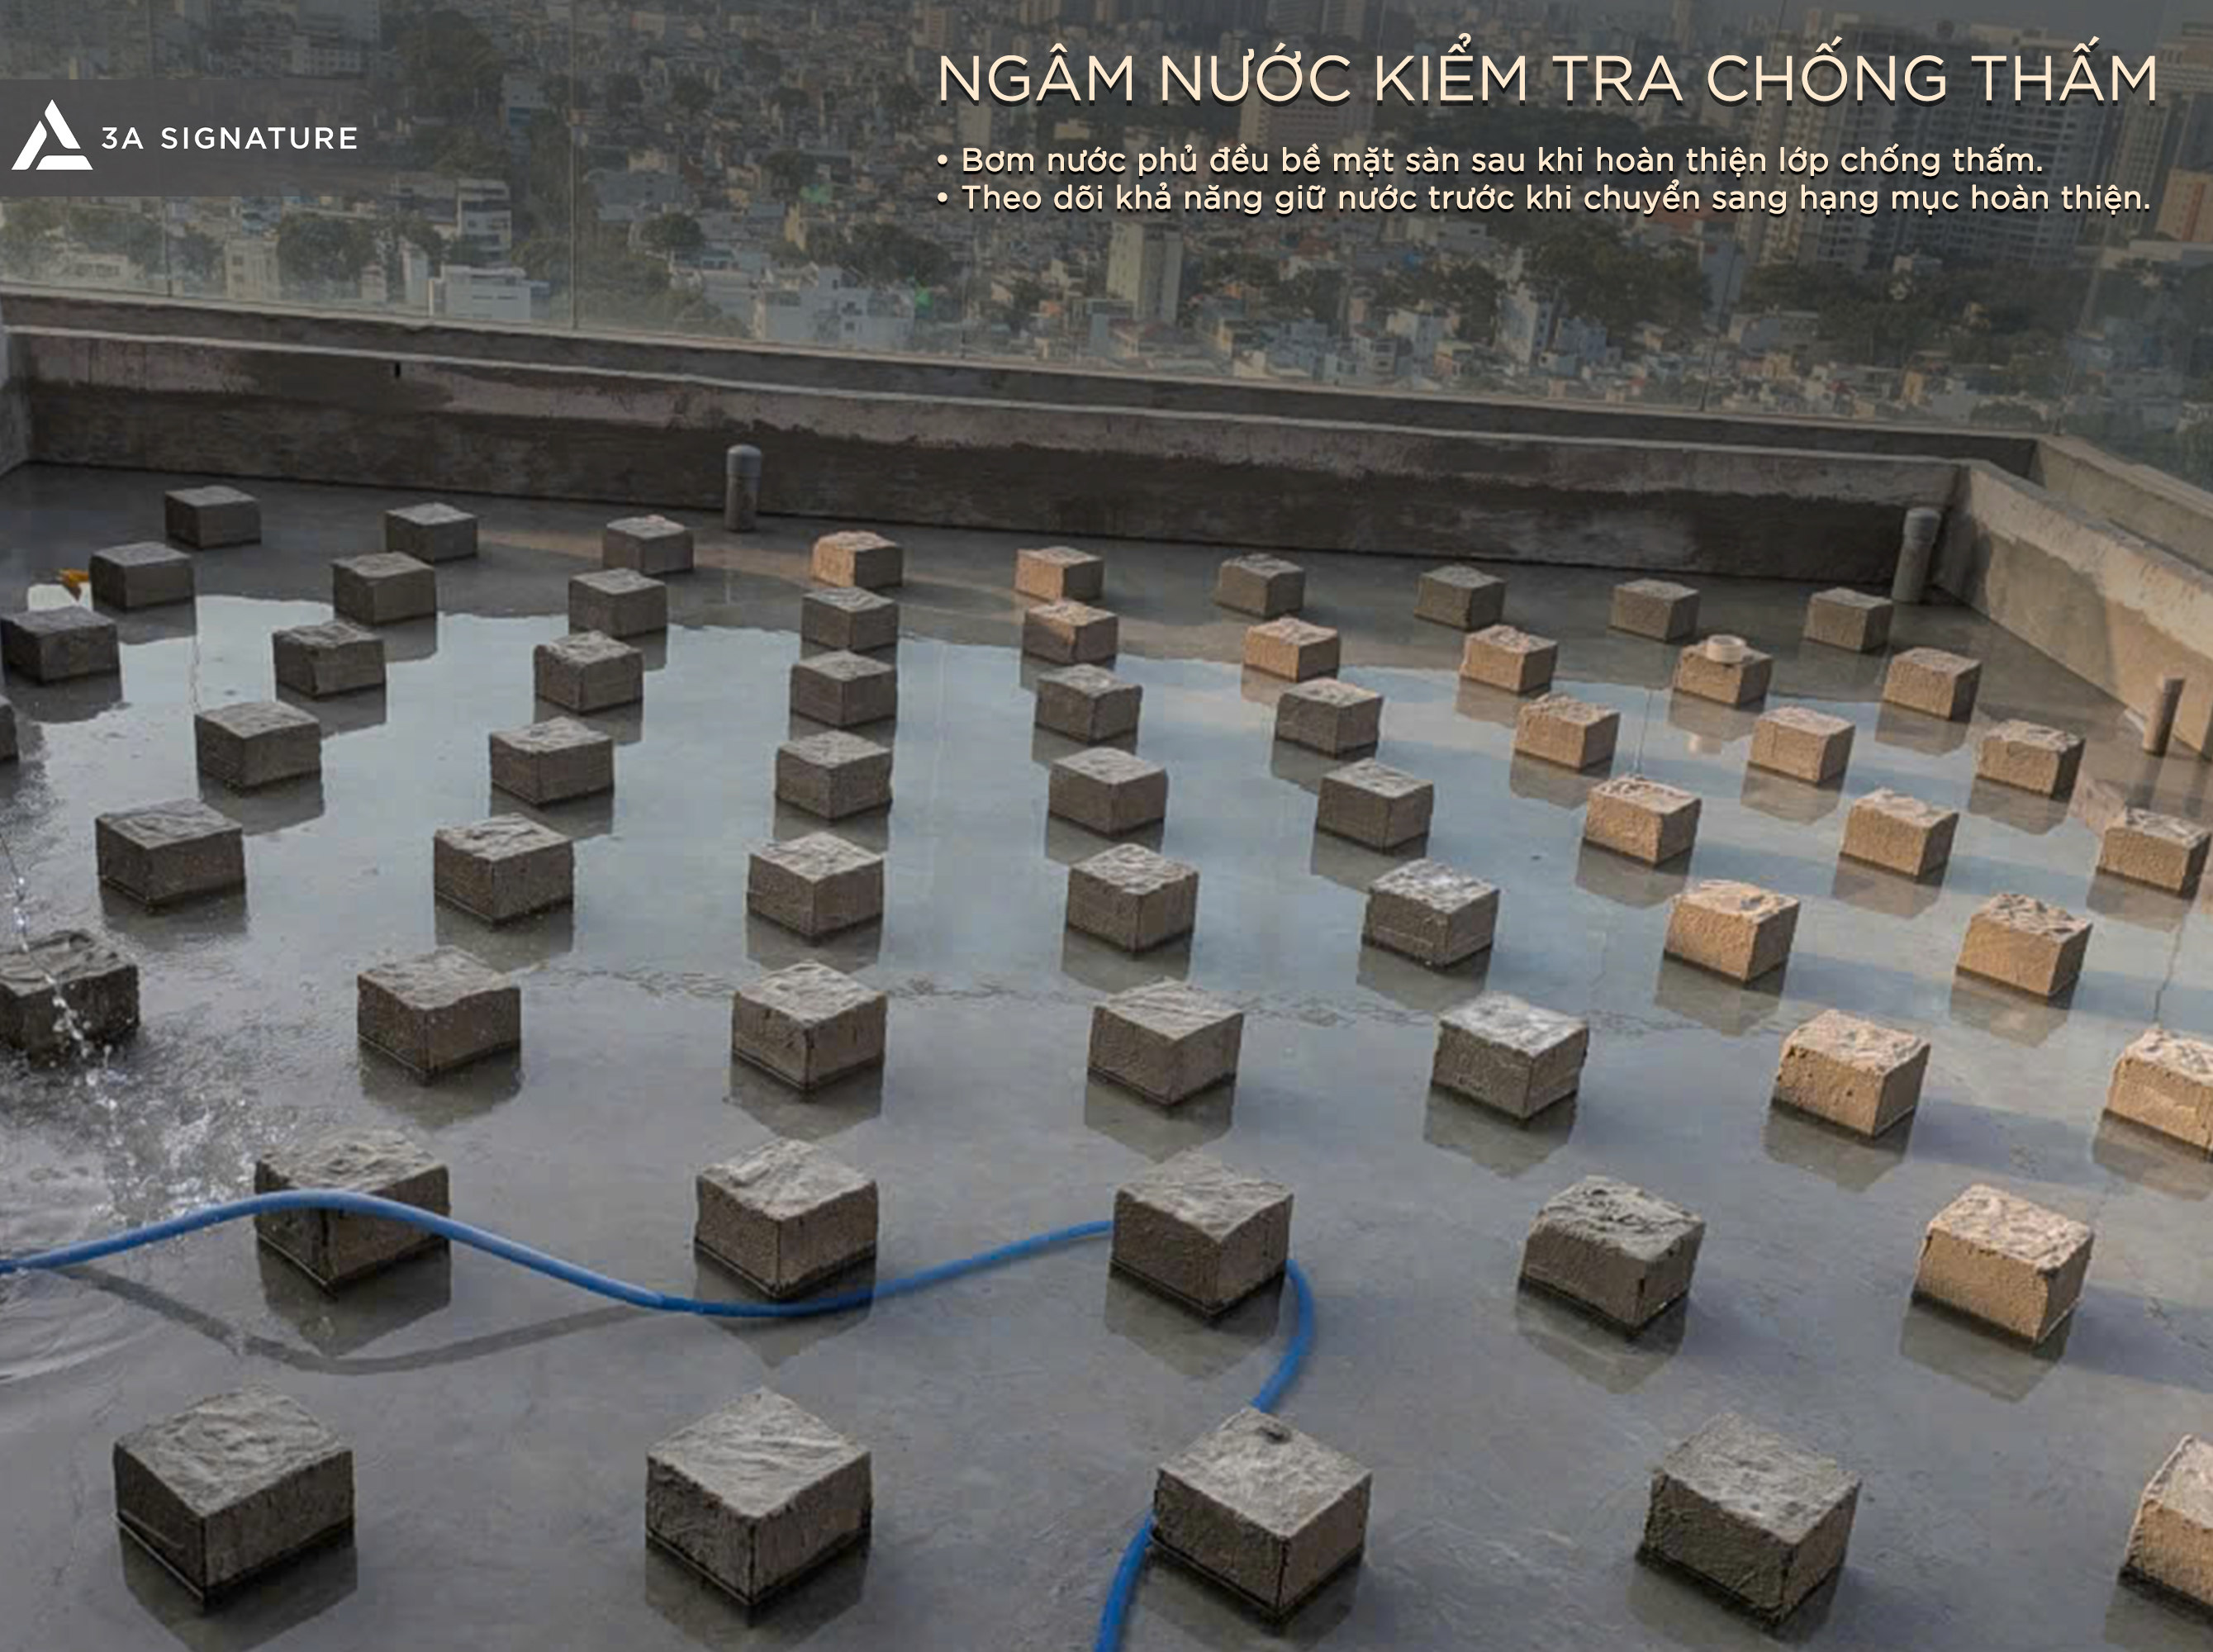
After the waterproofing layer is completed and has dried properly, the area needs to be soaked with water for testing. This is a crucial acceptance step in proper waterproofing before moving on to finishing items such as screeding, tiling, floor installation, or landscaping.
During the water test, water should be pumped evenly over the surface, the water level monitored, areas underneath inspected, and the base of the walls, pipe joints, and floor edges observed for the specified time. If signs of leakage appear, the location must be identified, the water drained, the leak treated, and the water test repeated before final acceptance.
Conclusion
Waterproofing techniques should not be viewed as a single layer of material, but rather as a technical process linking the concrete base, foundation walls, pipe joints, drainage slope, and post-construction water testing. When each stage is clearly controlled, the project will have a better foundation before entering the finishing stage.
With 3A Signature, proper waterproofing is the way to protect the value of the project from the foundation. This is also the construction philosophy that the team pursues: clear procedures, meticulous attention to detail, and respect for the true quality of each project.