

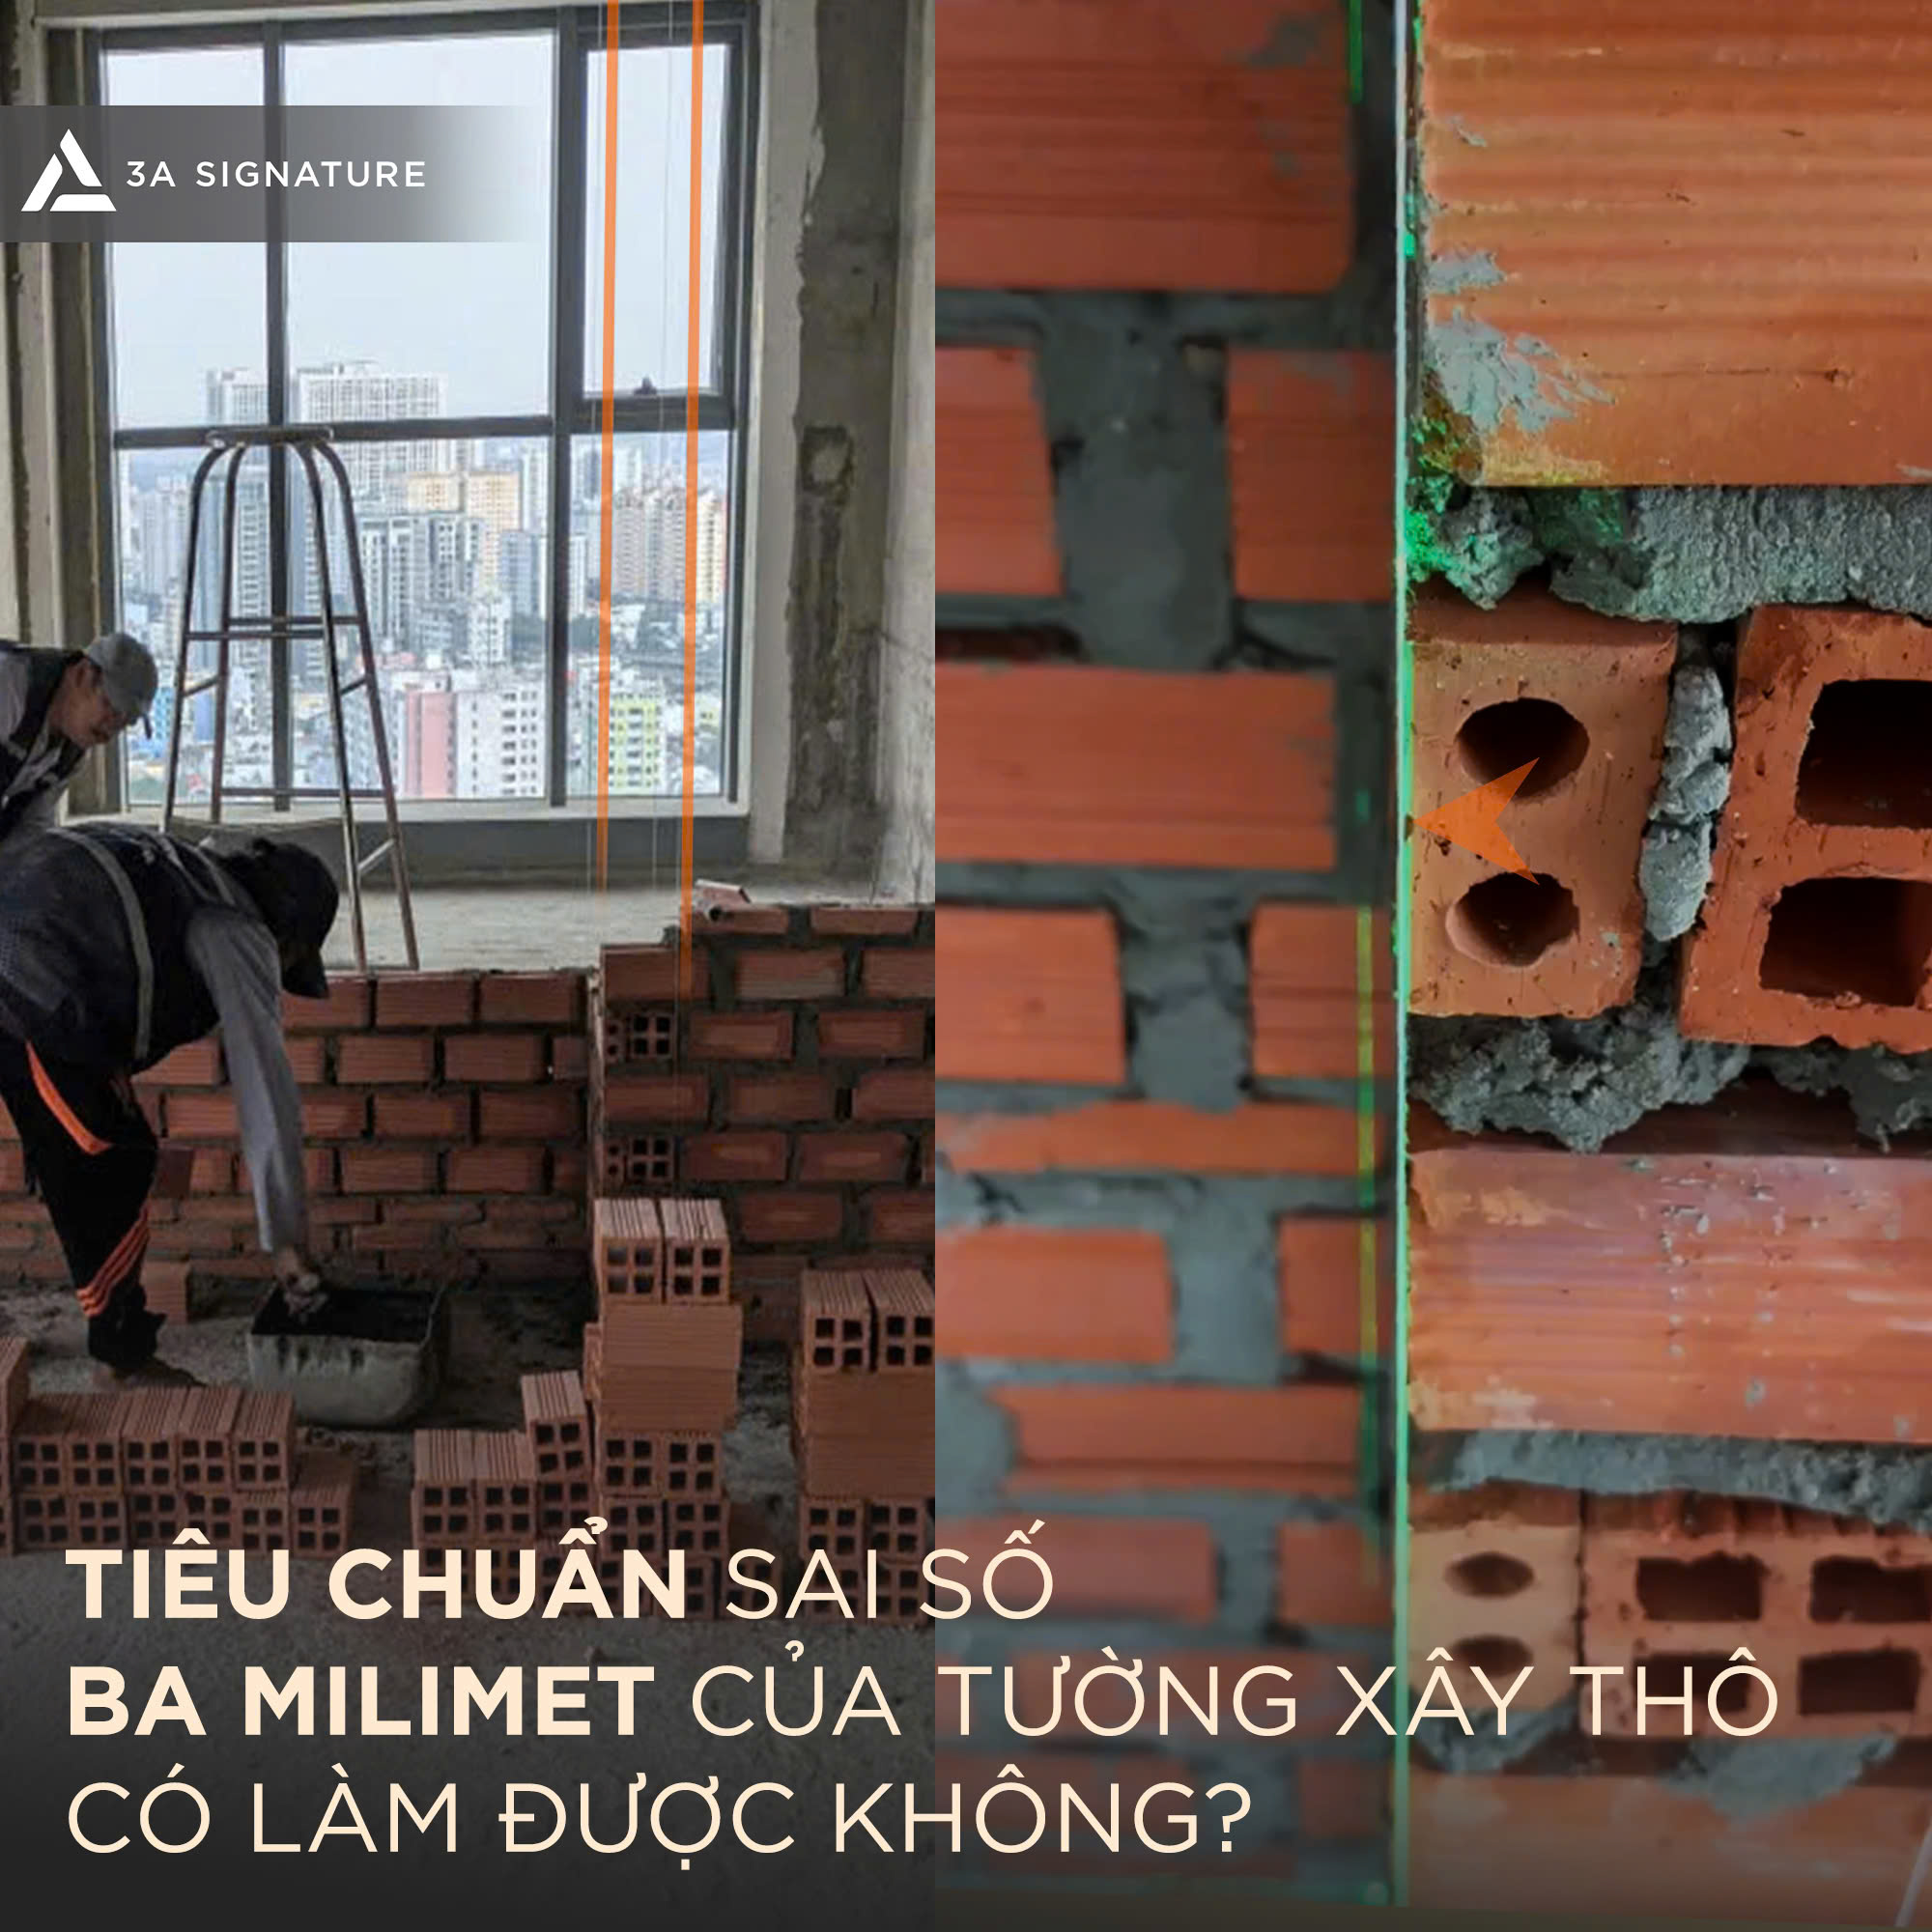
In the luxury real estate segment, such as villas or high-end penthouses, luxury doesn’t just come from expensive furniture. It’s defined from the very beginning, when the building is still just rough brickwork. Many people think that the rough construction doesn’t need to be precise, because later plastering and finishing will cover it up.
However, at 3A Signature, we understand that a small error in the initial stage can lead to significant consequences for the overall aesthetic beauty. Building walls to technical specifications with a maximum error margin of 3mm is not just a goal, but a mandatory standard at the Legacy Penthouse project to create sophisticated, unique living spaces.
1. Consequences of Walls with Misaligned Corners
A rough wall that is tilted, misaligned, or missing a right angle by just a few millimeters is difficult to notice with the naked eye. However, when it comes to installing high-end interior furnishings, these errors become clearly apparent and ruin the entire aesthetic:
- Inadequate built-in cabinets: When the wall is tilted or not perpendicular, built-in wardrobes and display cabinets will have gaps, creating a loose and disjointed feel.
- Uneven surface finish of tiles: For natural stone or large-format tiles, even a slight misalignment of the subfloor or rough wall will make aligning the grout extremely difficult, resulting in a misaligned surface.
- Inadequate shadowline joints: Gypsum ceilings using shadowline joints require absolute straightness of the wall edges. An uneven wall will cause the shadowline joints to be distorted, losing their modern and sophisticated look.
- Reduced sophistication of doors and furniture: Floor-to-ceiling glass doors or high-end wooden doors will get stuck, have gaps, or appear unbalanced if the surrounding rough wall frame is not properly aligned.
Therefore, spaces that feel “neat,” “sharp,” and “seamless” always begin with a structurally sound wall construction and strict error control. This is also a crucial foundation of the technically correct brick wall construction process in high-end projects.
2. 5-Step Technically Correct Wall Construction Process at 3A Signature
To achieve a maximum error margin of 3mm at the Legacy Penthouse project, the skilled engineers and craftsmen of 3A Signature apply a 5-step technically correct wall construction process, with strict control from positioning to final acceptance.
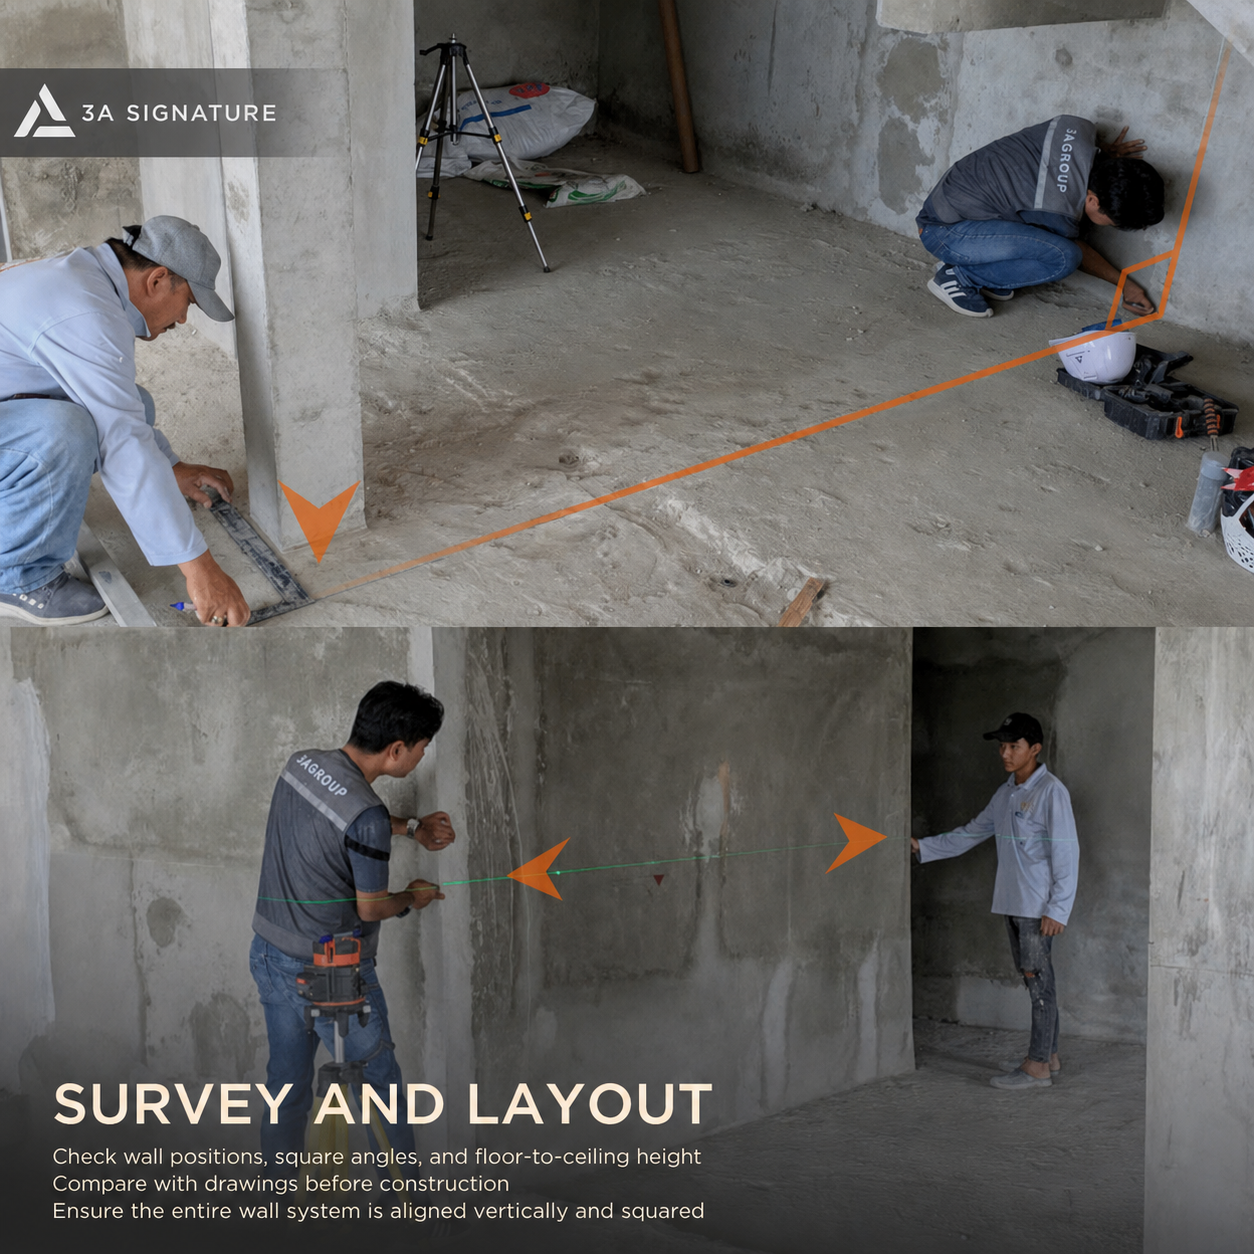
Step 1: Survey and Site Positioning
Before laying the first brick, the technical team uses a plumb bob and laser level to check the wall centerline, perpendicularity, and actual floor level. Continuous comparison with the technical drawings ensures that the entire future wall system is built in the correct design position and at the correct 90-degree angle.
This is a crucial first step in the technically sound wall construction process, helping to accurately control the centerline, elevation, and spatial geometry right from the start.
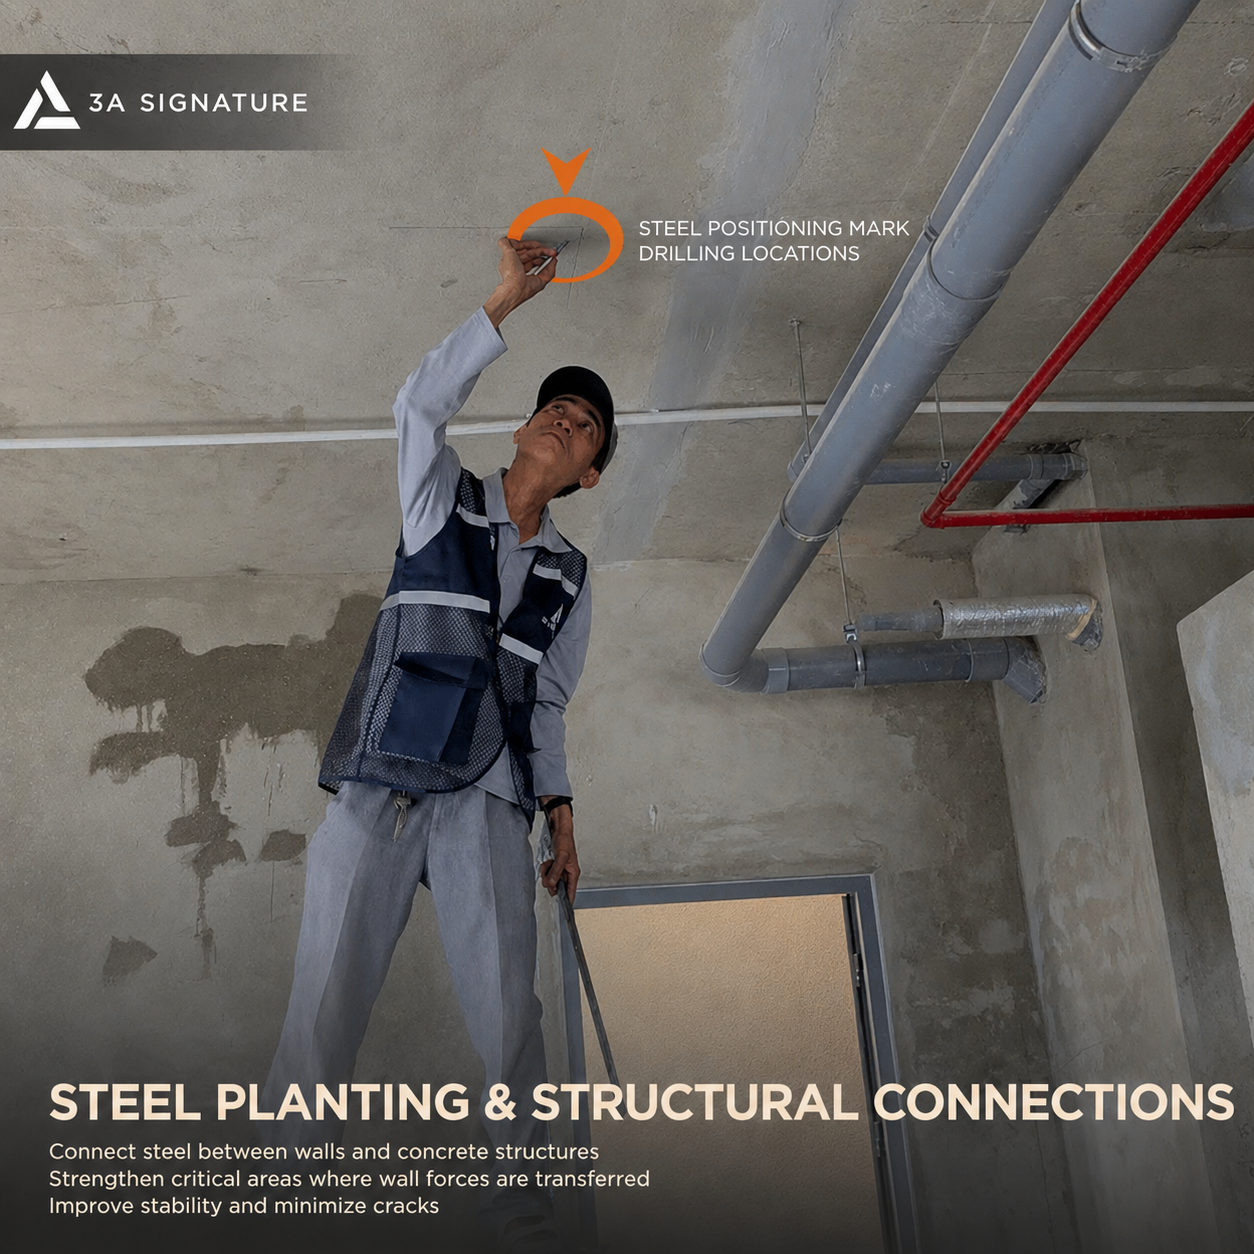
Step 2: Drilling and Anchoring Steel Rebar
To enhance the stability of the brick wall system and minimize cracking at the joints between brick and concrete, 3A Signature drills and anchors steel rebar into the existing concrete columns and beams. All wall intersections and load-bearing points are reinforced according to technical requirements.
This is a crucial step in the technically sound brick wall construction process, improving durability and ensuring the synchronized performance of the brick wall and the building structure.
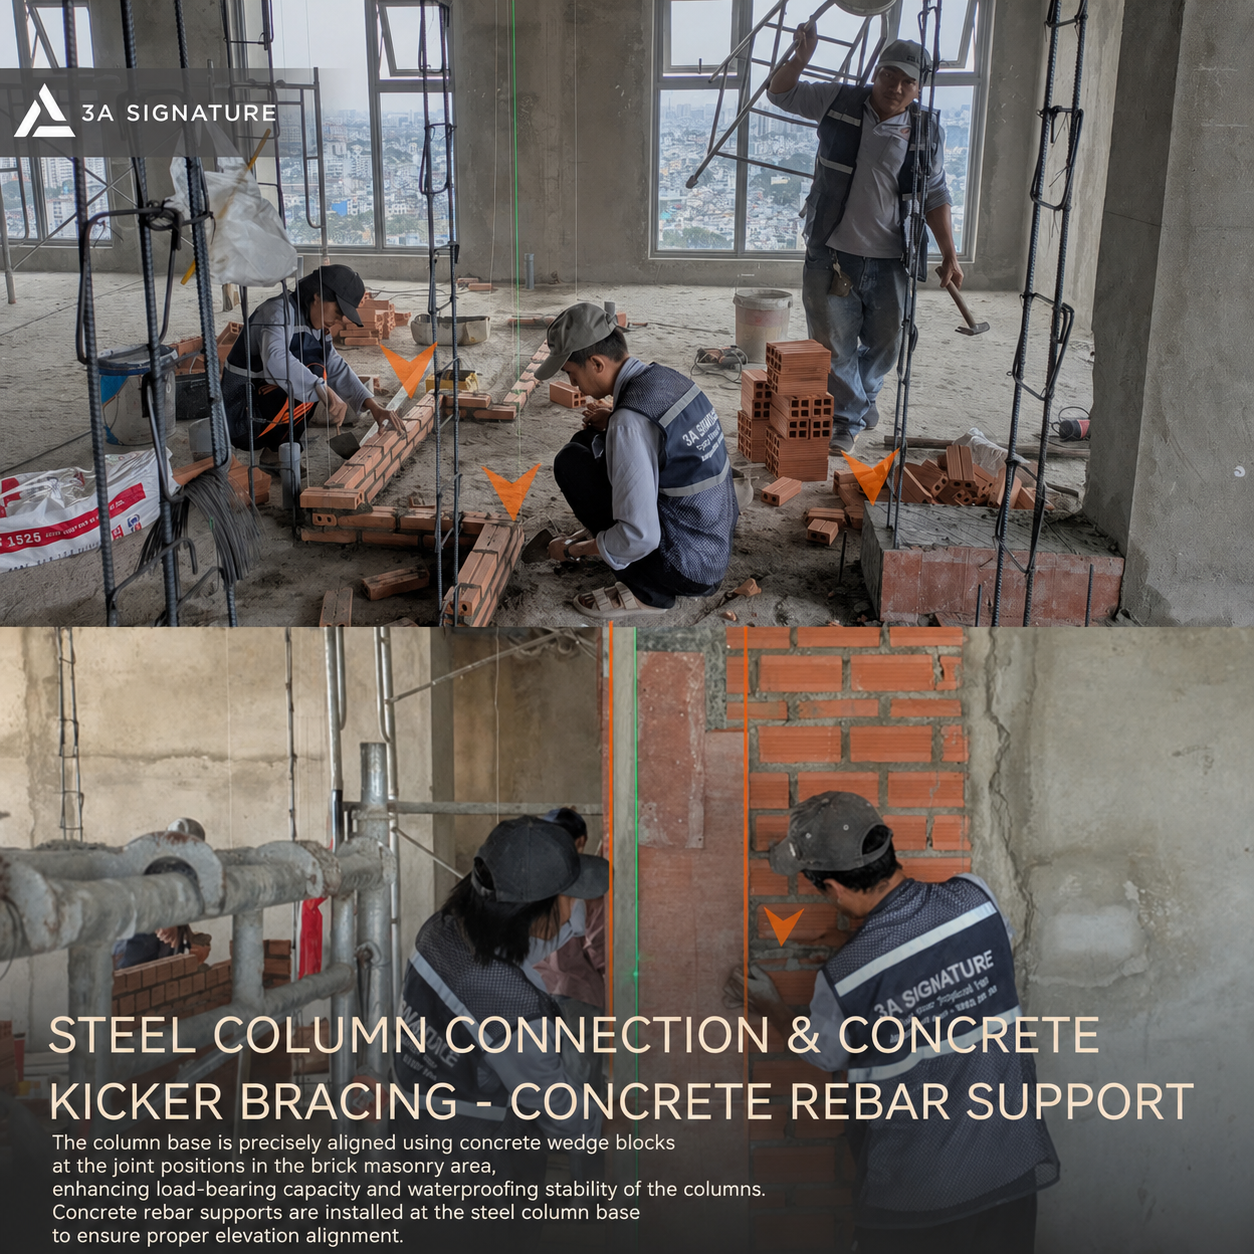
Step 3: Clean the Drill Hole and Pour Kicker Concrete (Wall Base)
In areas frequently exposed to moisture such as toilets, balconies or drying yards, the construction team pours kicker concrete 10–20cm high at the base of the wall. Before implanting steel, the entire drill hole is cleaned with specialized equipment to ensure optimal adhesion.
In the technical standard wall construction process, the kicker concrete layer plays the role of waterproofing the base of the wall, increasing structural stability and protecting the wall system during long-term use.

Step 4: Formwork Assembly and Reinforced Concrete Column Pouring
For long wall sections or doorways, 3A Signature strategically places reinforced concrete columns at appropriate locations to increase the rigidity and stability of the wall system.
These columns reduce the working length of the brick wall, minimizing vibration, warping, and cracking over time. This solution is commonly applied in projects requiring technically sound brick wall construction and high-quality finishing.
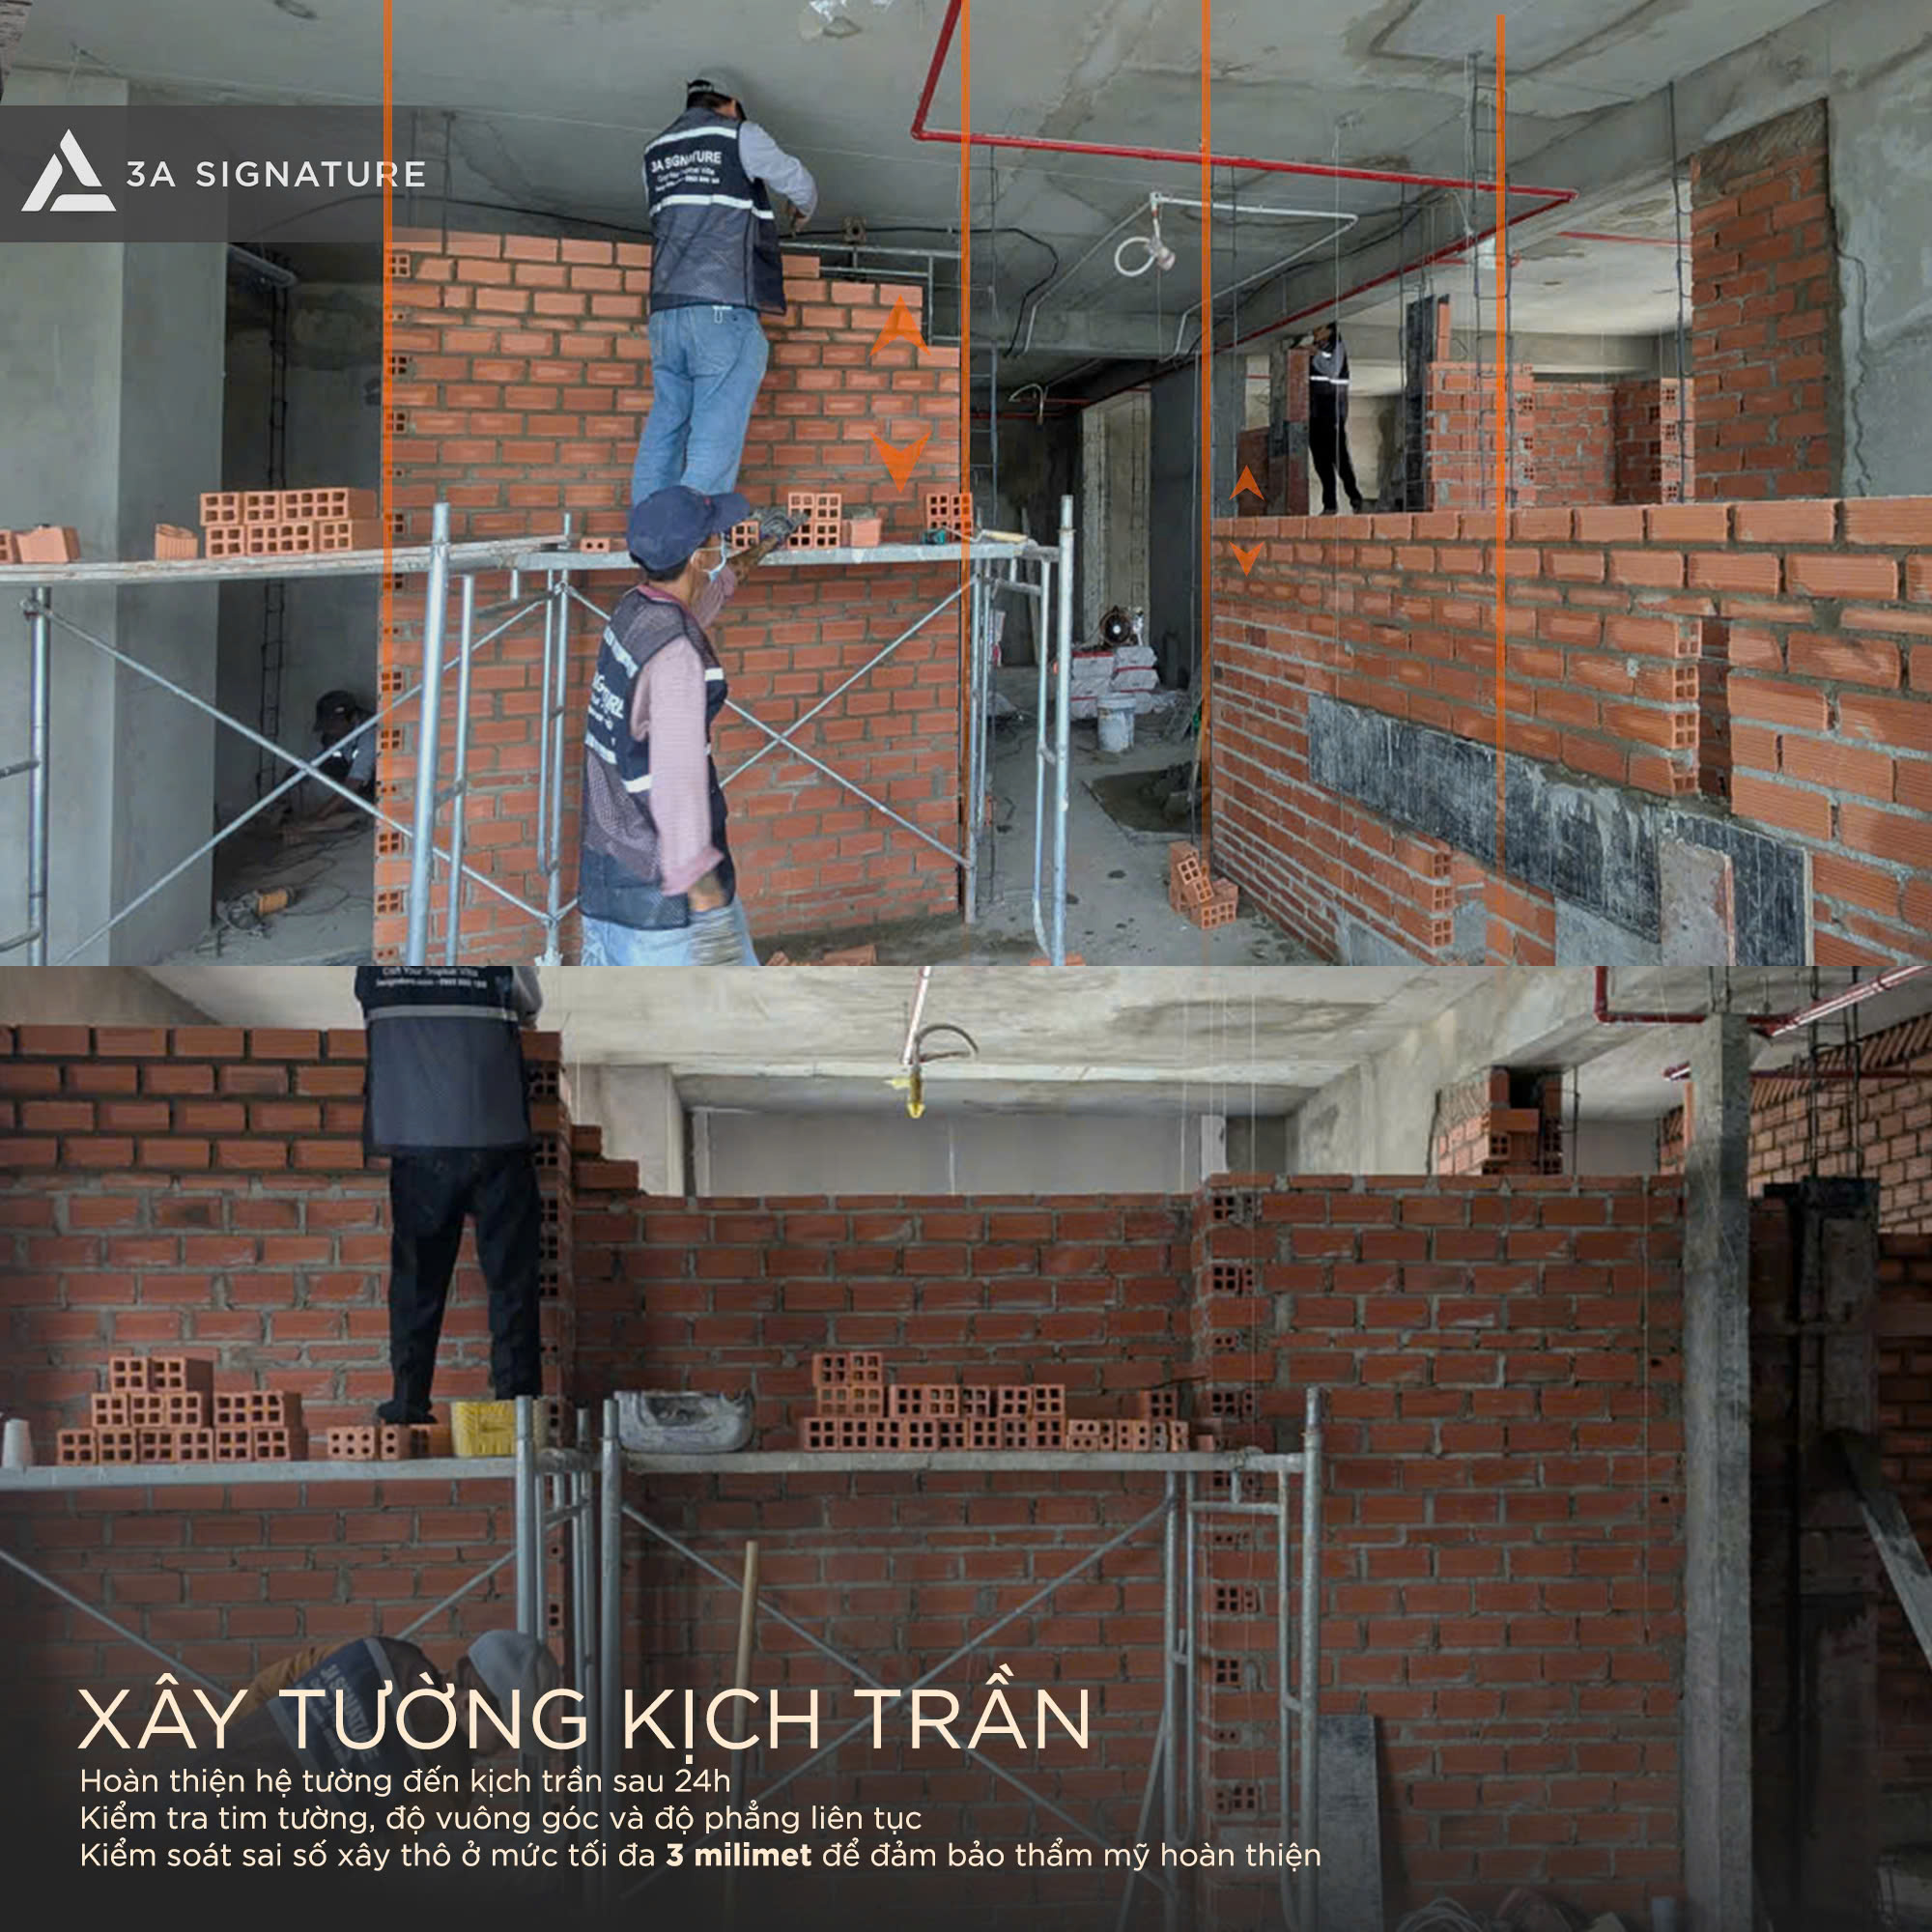
Step 5: Building Walls Up to the Ceiling and Continuous Inspection
Walls are built in stages to prevent mortar joints from settling due to the weight of the bricks above. The wall system is completed up to the ceiling within 24 hours. Throughout the construction process, builders continuously use leveling tools and laser leveling to check the wall alignment and flatness, ensuring that rough construction errors are always within ≤ 3mm.
Sophistication Comes From Unseen Details
With 3A Signature, the sophistication and class of a project don’t lie in ostentatious displays of technique. It’s hidden in the details beneath the paint – details almost invisible to visitors, yet crucial to determining the quality of life and the long-term durability of the home.
Our commitment to and adherence to a 3mm tolerance standard in wall construction is proof of 3A Signature’s dedication, meticulousness, and rigorous quality control. We don’t just build walls; we’re establishing a perfect framework to welcome unique architectural and interior design masterpieces.
CONTACT 3A SIGNATURE FOR CONSULTATION AND HIGH-QUALITY CONSTRUCTION SERVICES:
Hotline: 0965 880 168
3A Signature – Creating spaces, affirming status.