

Homeowners in SwanBay often have land, a budget, and good taste – but don’t know where to start. The answer isn’t about choosing a style or materials first. It’s about the process.
The Process Decides Everything – Not Just Beautiful Drawings
A stunning 3D rendering is meaningless without the process behind it. Because there’s always a gap between the drawing and the actual construction, and that gap, whether wide or narrow, depends entirely on how the design firm operates.
At 3A Signature, the SwanBay villa design process is built with a single goal: the final product must retain the feeling and spirit of the initial design – not just “similar,” but accurate.
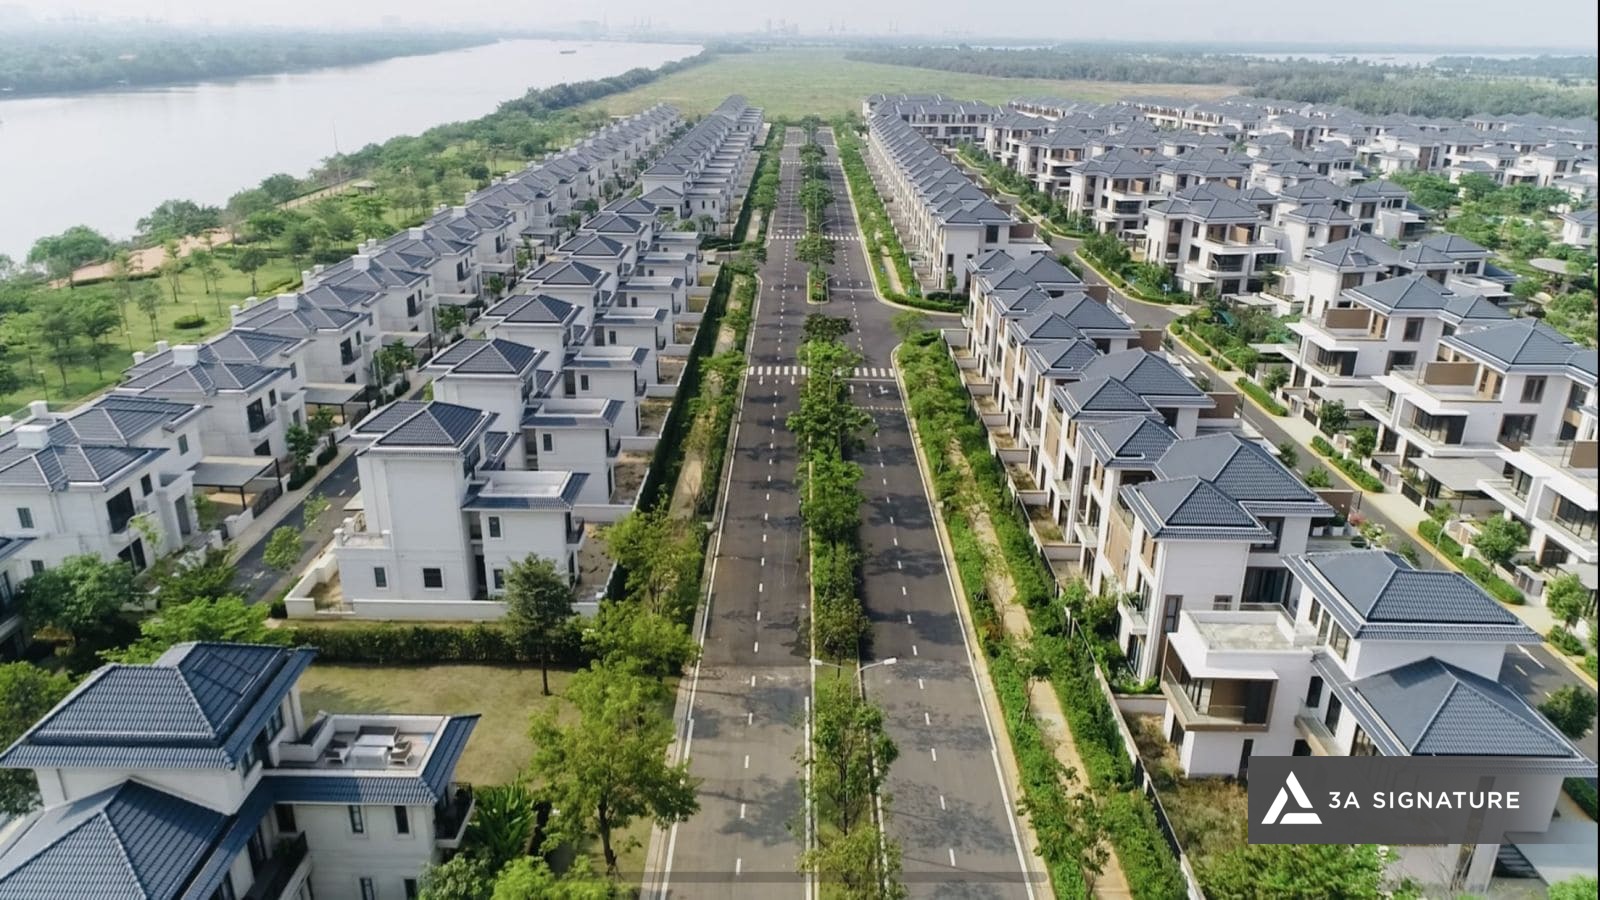
This process is verified through practice at SwanBay itself, specifically the Lumina Retreat Villa project – a private resort villa in SwanBay KDT, Dong Nai, designed and fully constructed by 3A Signature from the stage of listening to ideas to the day of handing over the keys.
Why Should the Design Process at SwanBay Be Understood Differently?
SwanBay is not an ordinary residential area. This is an ecological resort urban area on Dai Phuoc island, bordering Dong Nai river on four sides with a unique microclimate, high humidity, strong seasonal river breezes and abundant natural light from many directions.
Those characteristics create unique requirements that a “standard” villa design process in the inner city cannot meet:
Field surveys must be more in-depth: It is not possible to just measure the soil, it is necessary to read the river wind direction, seasonal sunlight angle and the unique microclimate of each plot.
Design must put nature at the center: At SwanBay, green areas, wind and natural light are assets, not secondary factors. The design process must exploit those things right from the beginning.
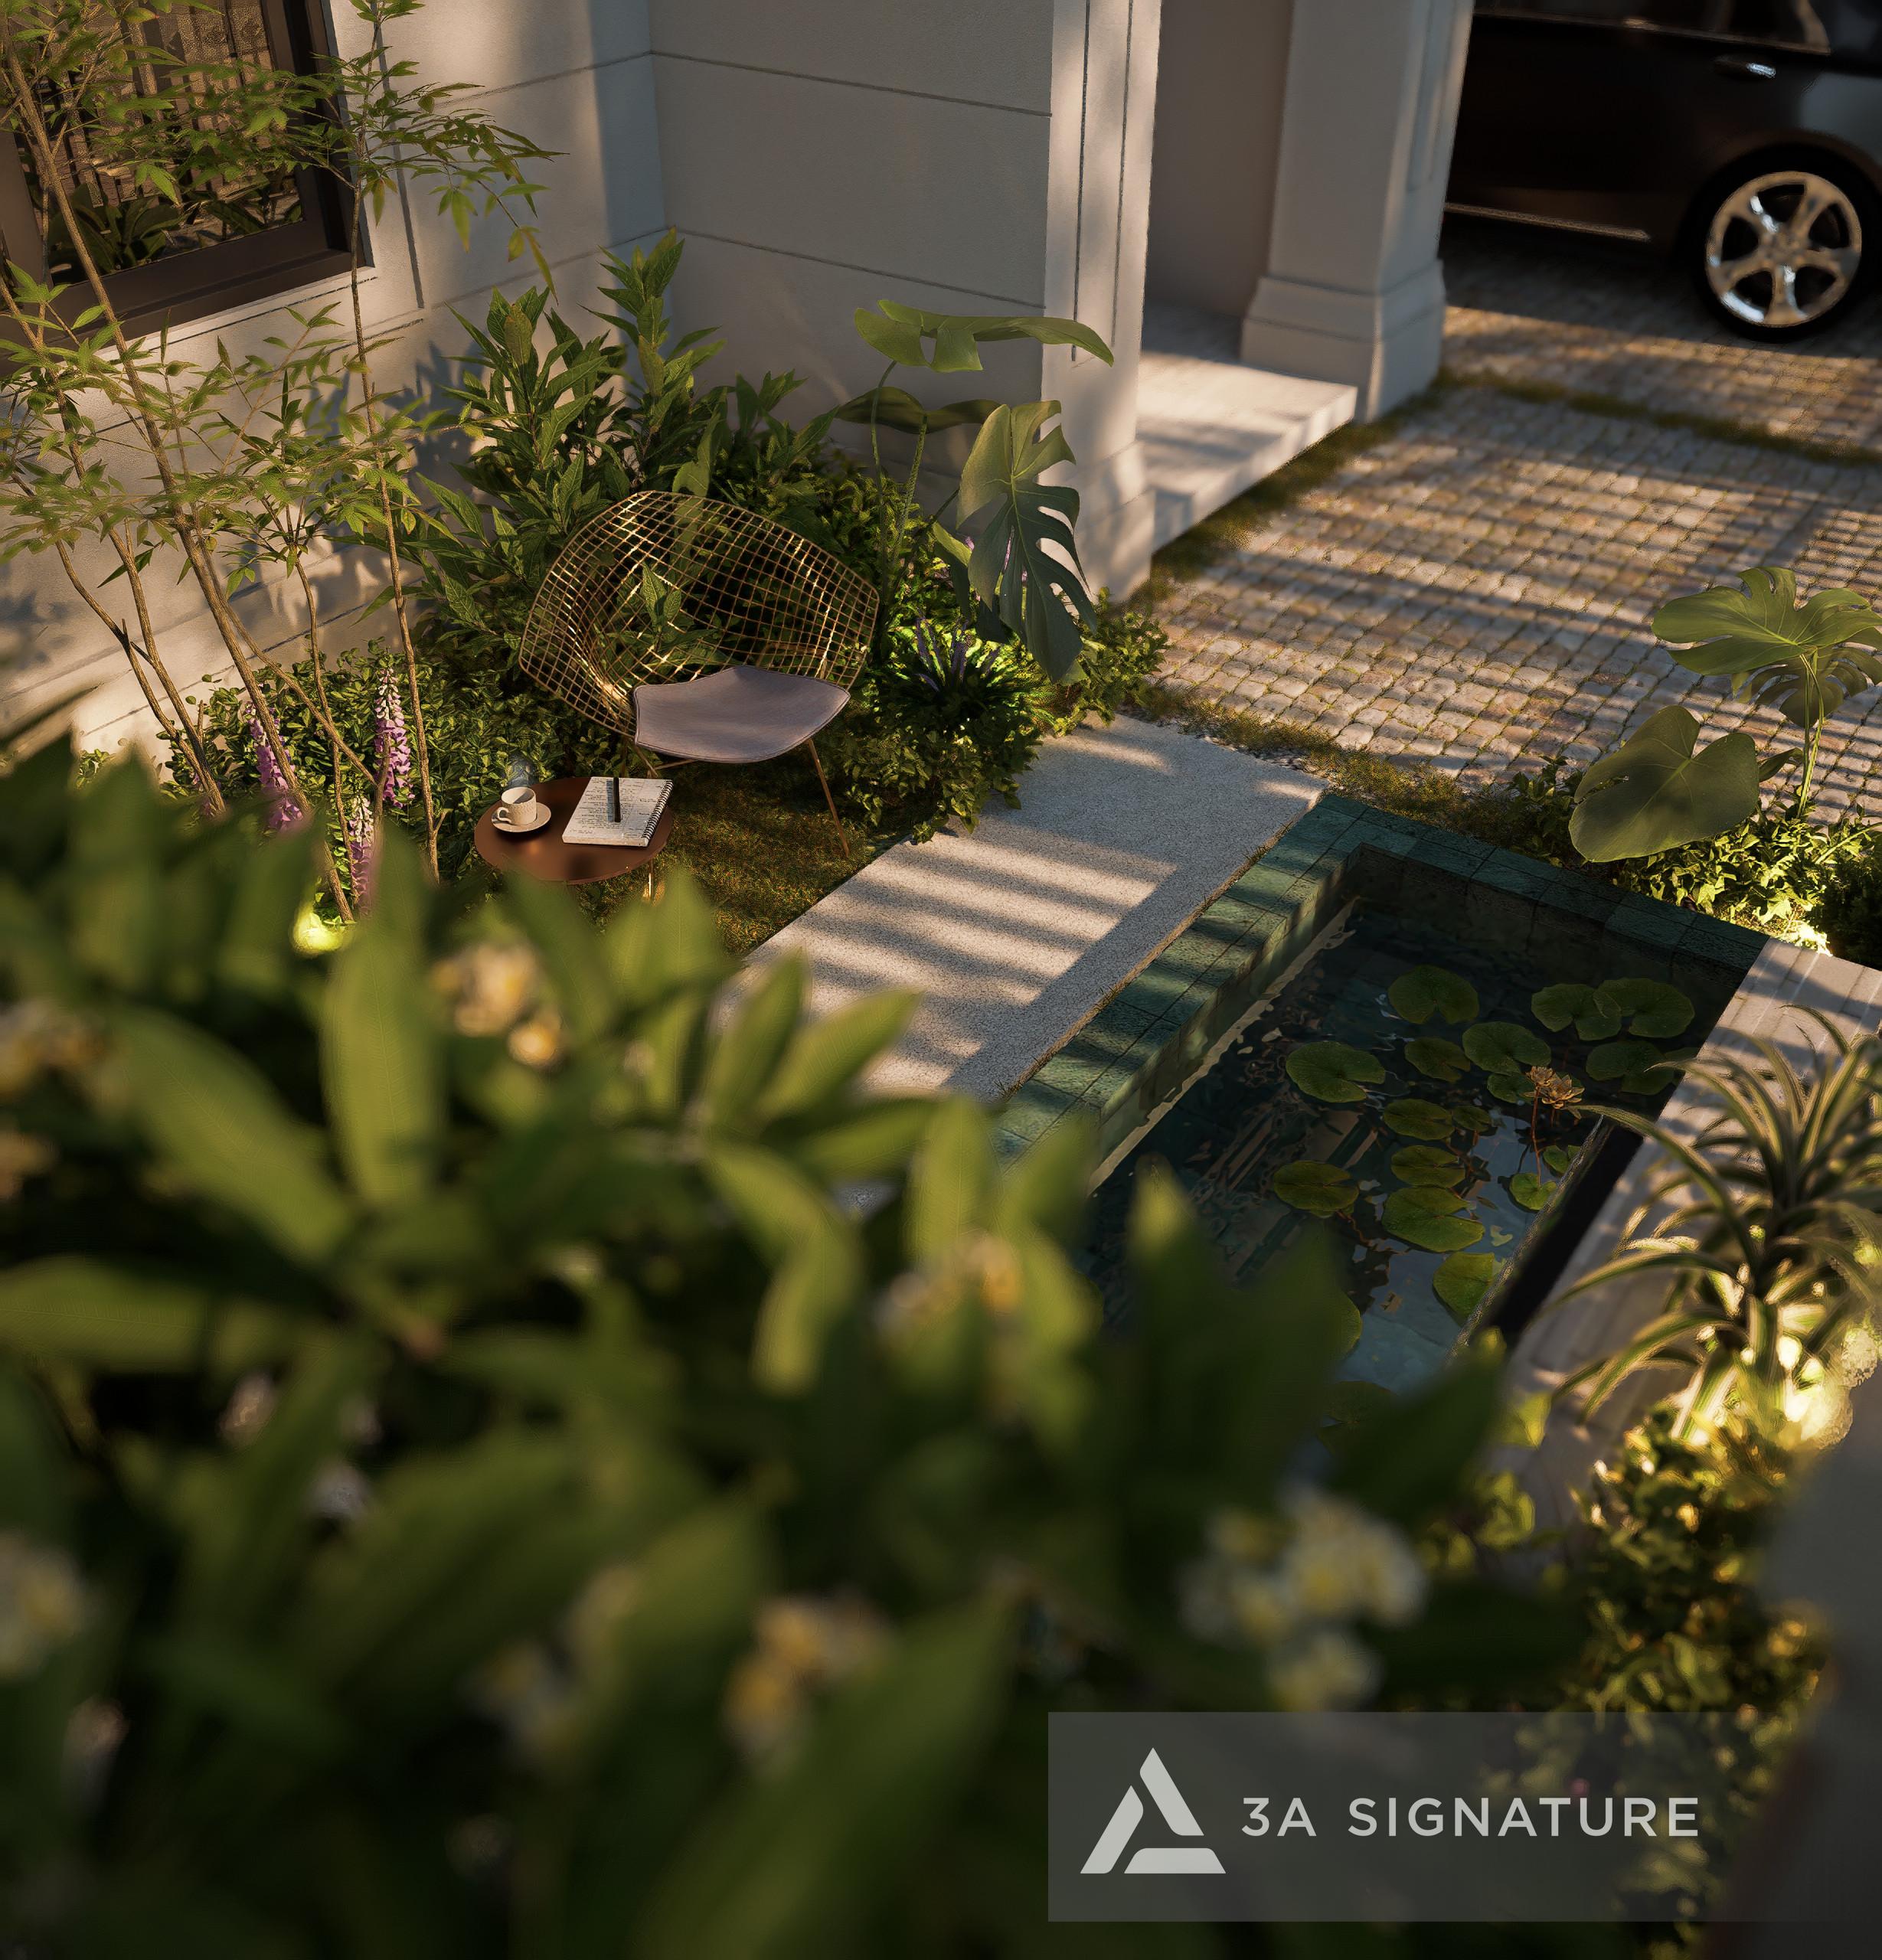
Integrating architecture, interior design, and landscaping from the start: Because plots at SwanBay often have large gardens and views of green spaces, the boundary between indoor and outdoor areas needs to be designed as a continuous whole – not three separate pieces.
These requirements shaped the 10-step process that 3A Signature applies to villa design projects at SwanBay.
3A Signature’s SwanBay Villa Design Process – 10 Detailed Steps
Step 1 – Listening & Personalization: Starting with People, Not Architecture
The first meeting at 3A Signature had no blueprints. No villa models to choose from. Just the architect and the homeowner, along with a series of questions that many people wouldn’t expect to be so important.
What time does the homeowner usually wake up? Do they work from home or only come home on weekends? Are there children? Are there elderly people? Does the homeowner prefer open spaces or need more privacy? Do they cook a lot? Do they have pets?
These questions aren’t just formalities – this is crucial design data. Because a villa in SwanBay designed for a young family with small children will have a completely different floor plan than a vacation villa for a middle-aged couple.
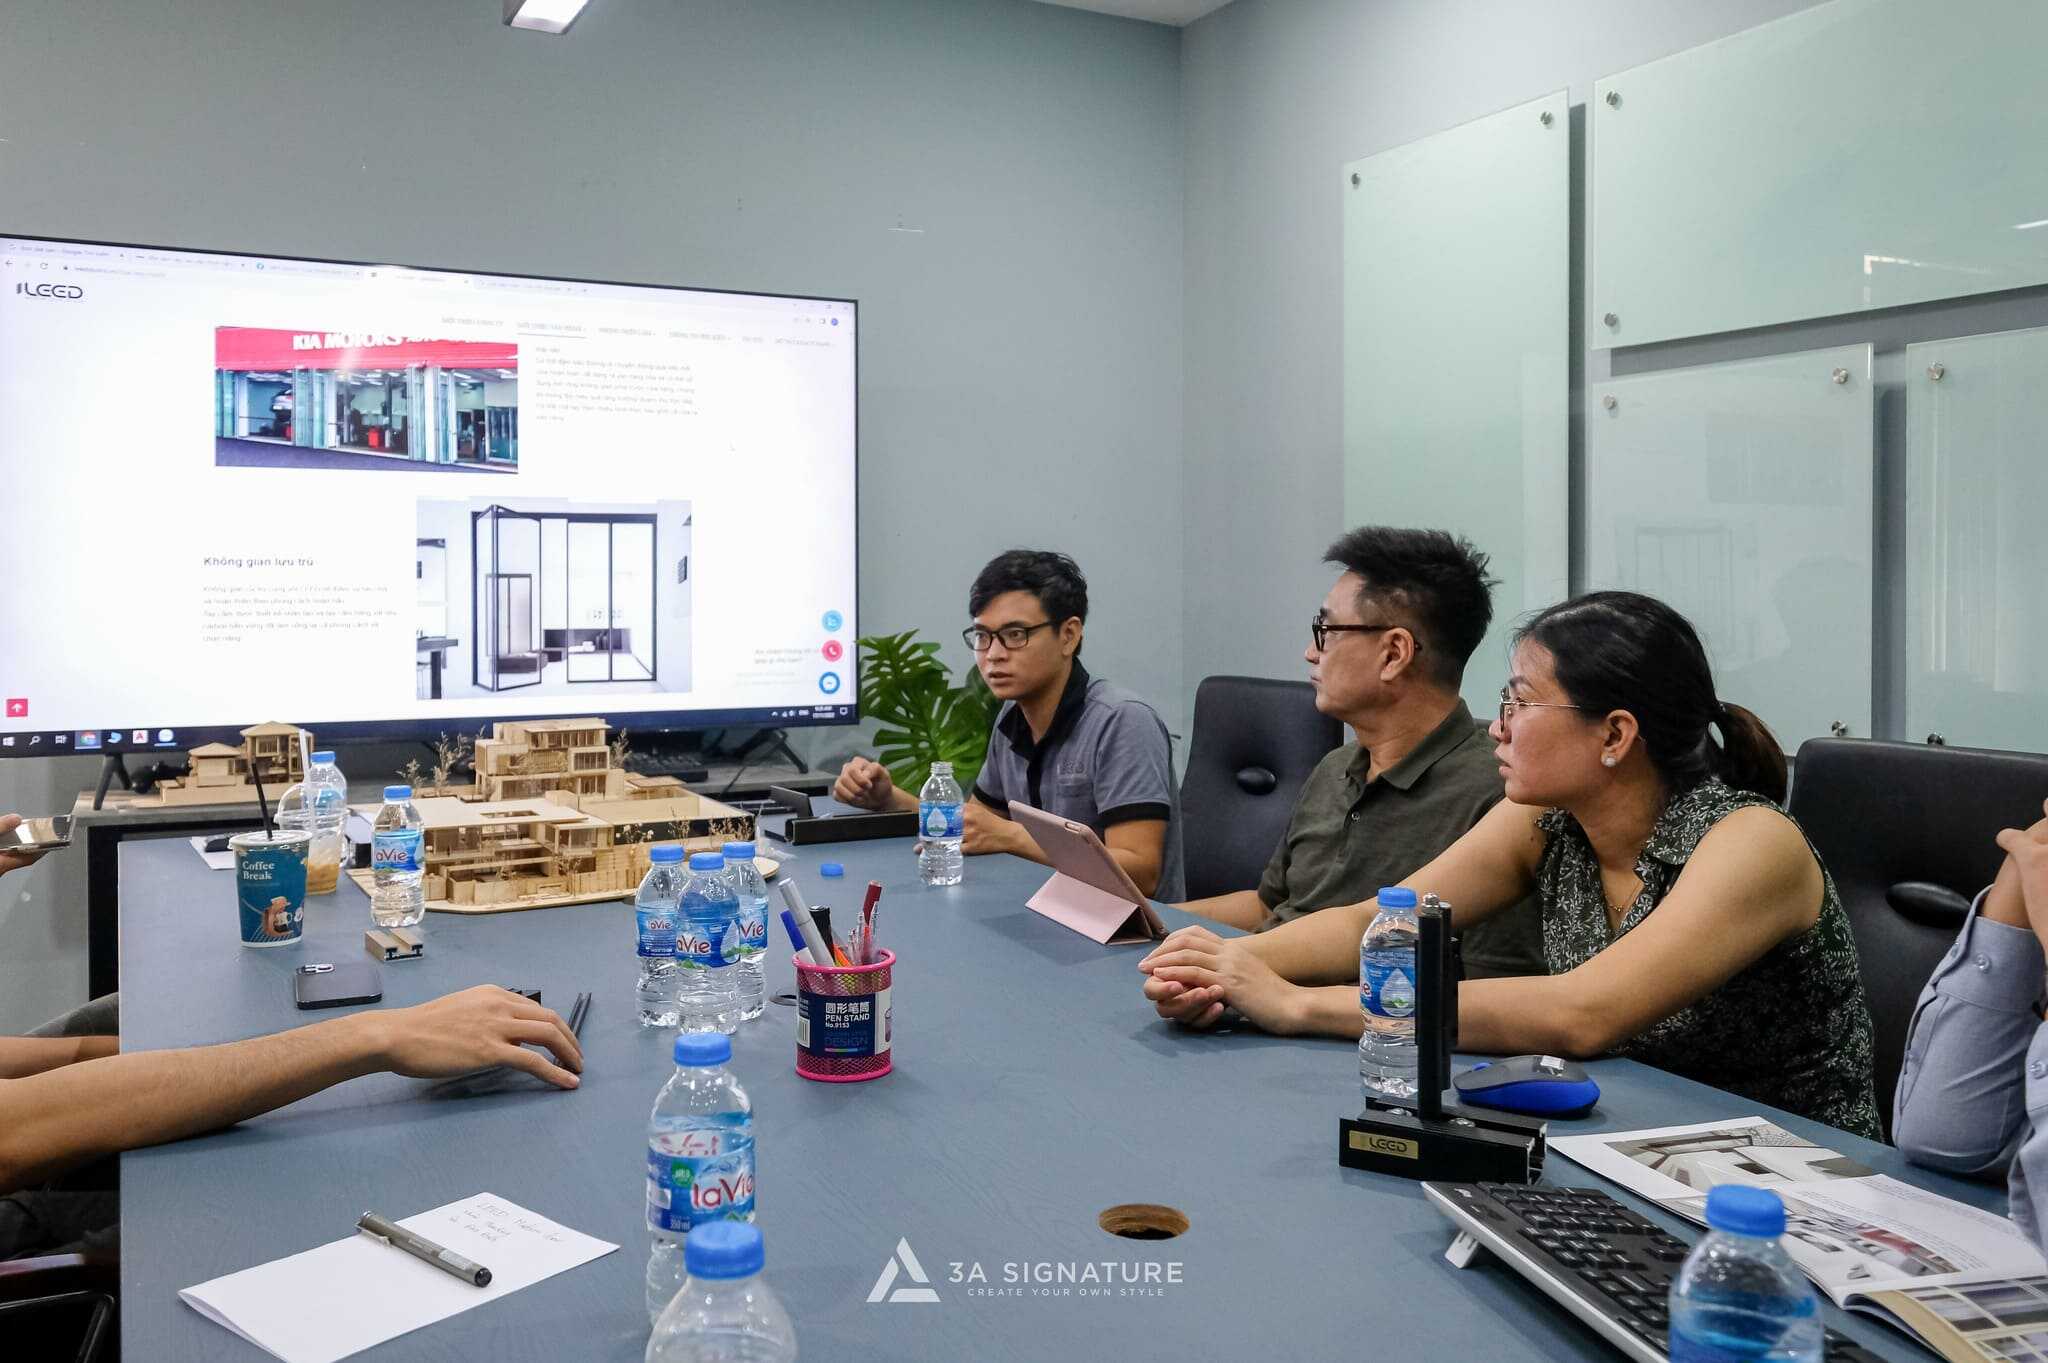
In the Lumina Retreat Villa project: The homeowner responded that they wanted SwanBay to be a place to completely “shut down” after a long work week in Ho Chi Minh City. No need for a grand reception room. No need for a children’s play area. Just a space quiet enough for true mental relaxation. That answer laid the foundation for the entire design direction: a private, minimalist, nature-friendly resort villa.
Step 2 – On-Site Survey: Understanding the Land Before Designing the House
After listening to the client, the architect went to the SwanBay site to conduct a comprehensive on-site survey. This wasn’t just a “measuring the land for the sake of it” – this was the data collection phase that determined the entire design layout.
What 3A Signature surveyed:
- Main wind direction: On Dai Phuoc Island, the wind from the Dong Nai River blows in a fairly consistent direction – knowing the wind direction will help determine where to place the glass windows and atrium to maximize wind intake.
- Sunlight angle by time of day: Which direction the sun rises, and at what time of day does it cast shadows on the yard – this will help determine the orientation of the bedroom, living room, and outdoor breakfast area.
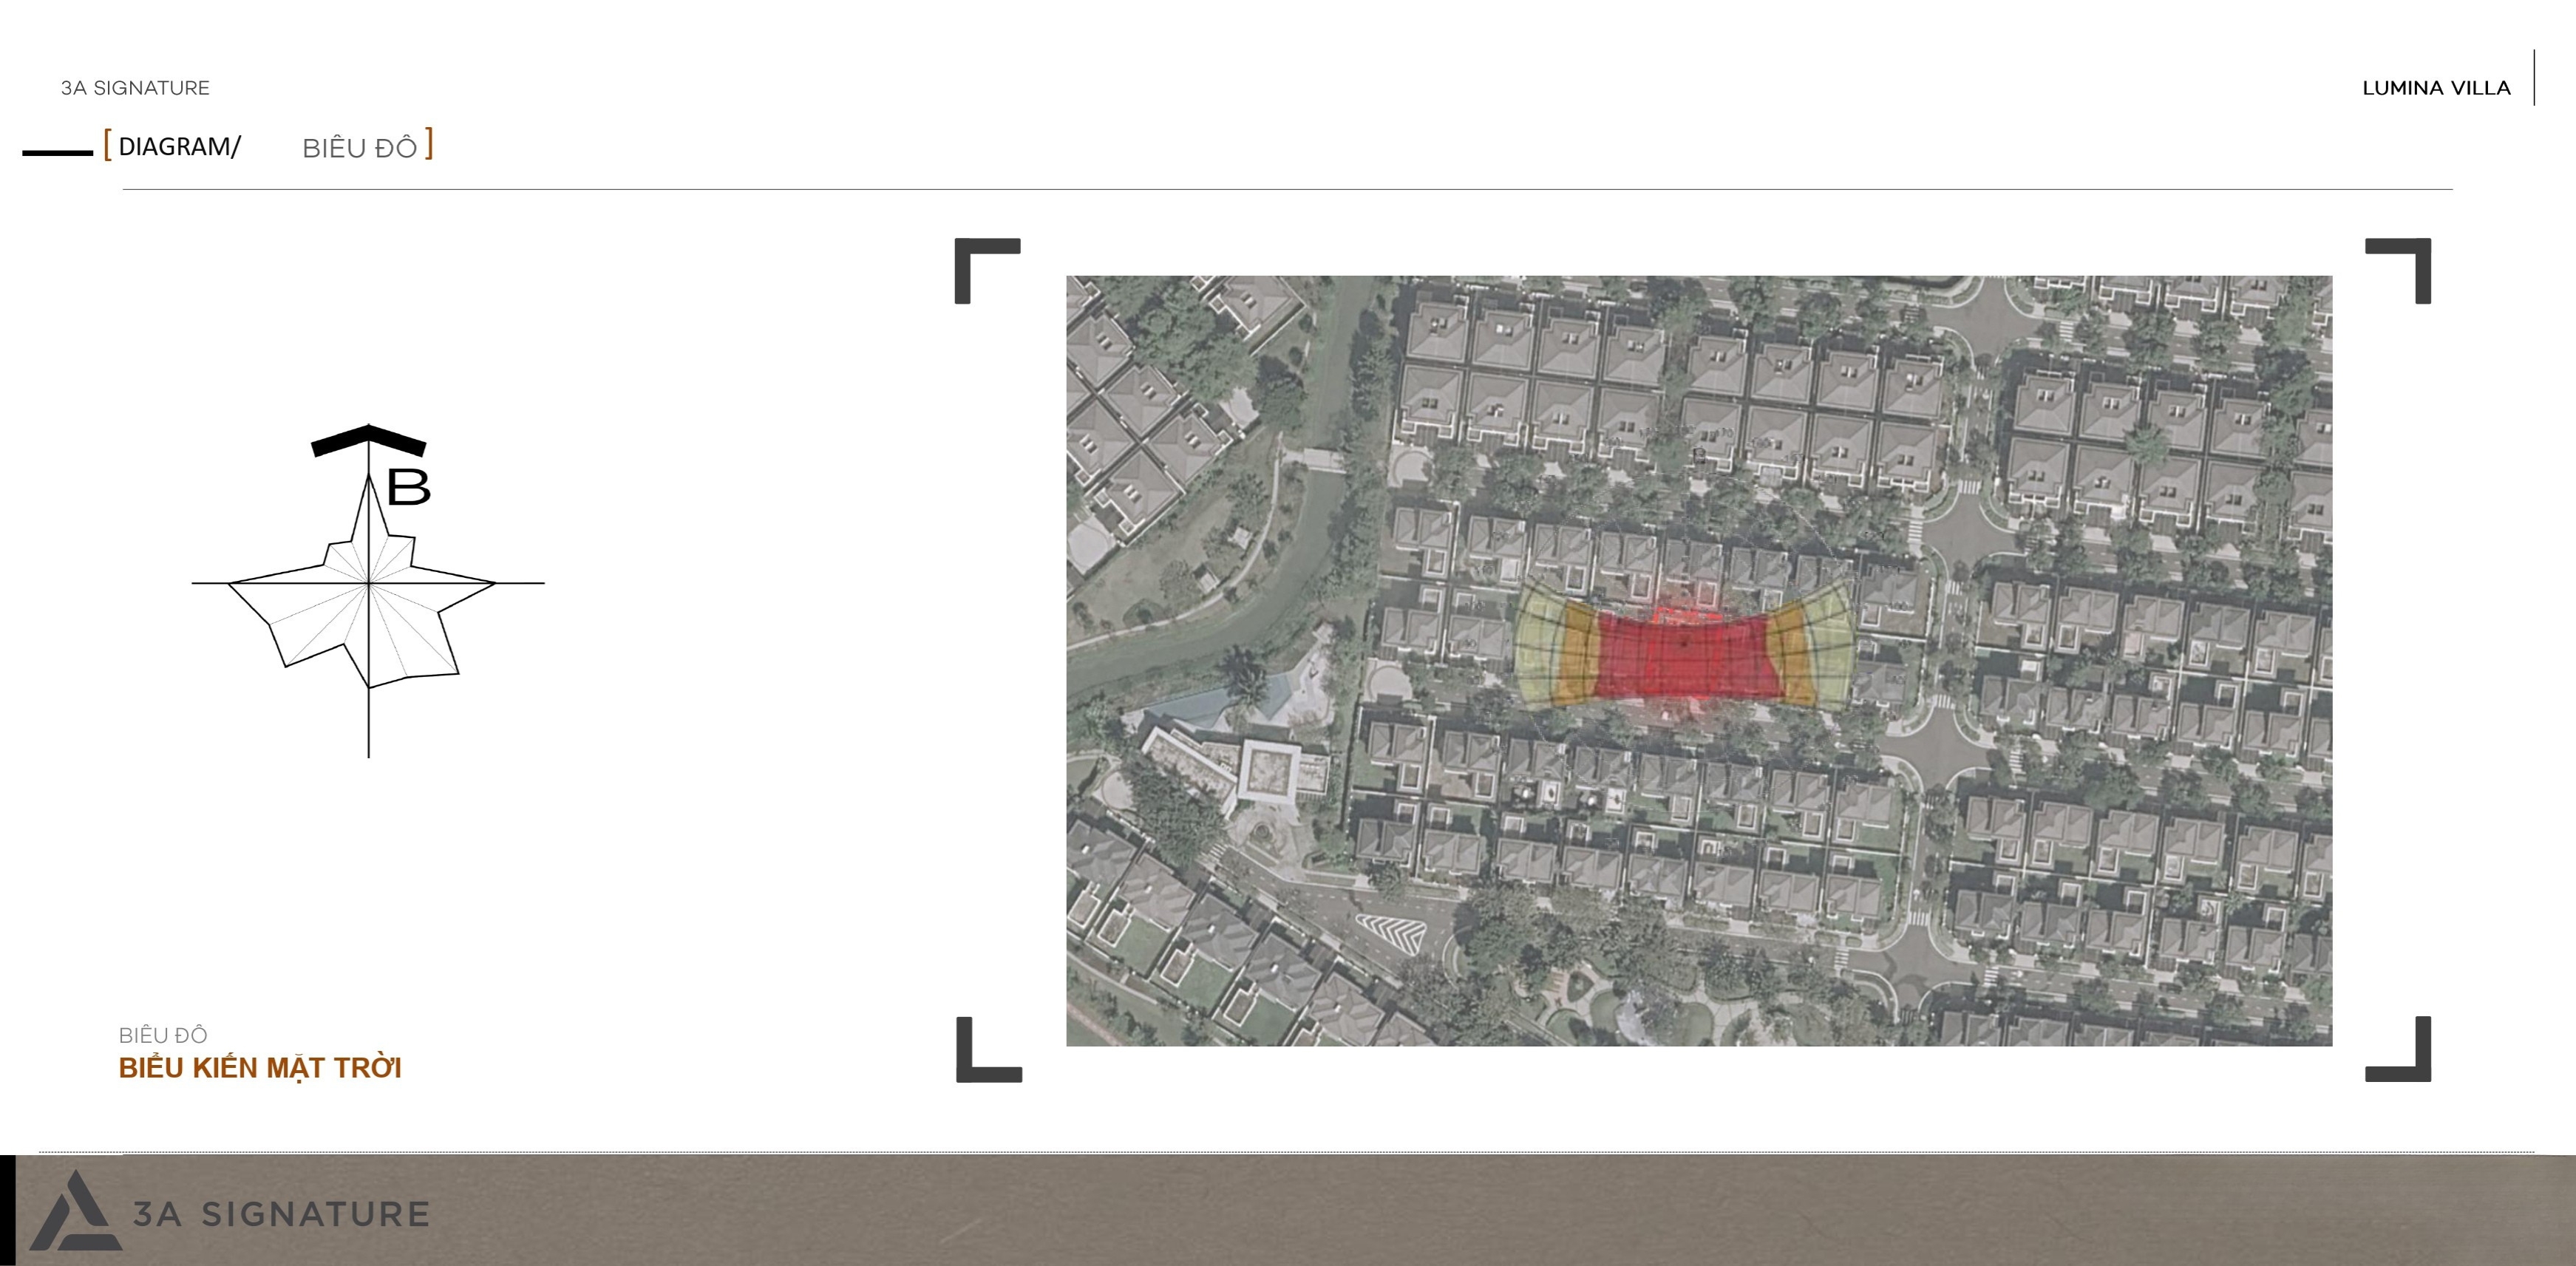
- Views and Coverage: What is the plot’s view? Which side of the property faces? Which direction should privacy be created without blocking out the space?
- Drainage and Geology: These factors influence the foundation and landscape design.
- Existing Trees: Which trees should be retained and integrated into the design, and which should be removed?
In the Lumina Retreat Villa project: A site survey revealed that the 320m² plot has an ideal orientation to receive river breezes from the southeast. Based on this data, the entire floor-to-ceiling glass window system was precisely positioned to take advantage of natural wind – significantly reducing reliance on air conditioning while maintaining a cool feeling year-round.
Step 3 – Conceptual Design: Shaping the Soul of the House
With data from the two previous steps, the architect begins developing the design concept – not a technical drawing, but a central idea that will govern all design decisions from here on.
The concept needs to answer: What does this house want to say? What will the people living in it feel every time they step inside?
This is where 3A Signature differs from many other companies – instead of offering three style options for the homeowner to “choose one,” 3A Signature develops a single concept built from the homeowner’s specific data and the land plot.
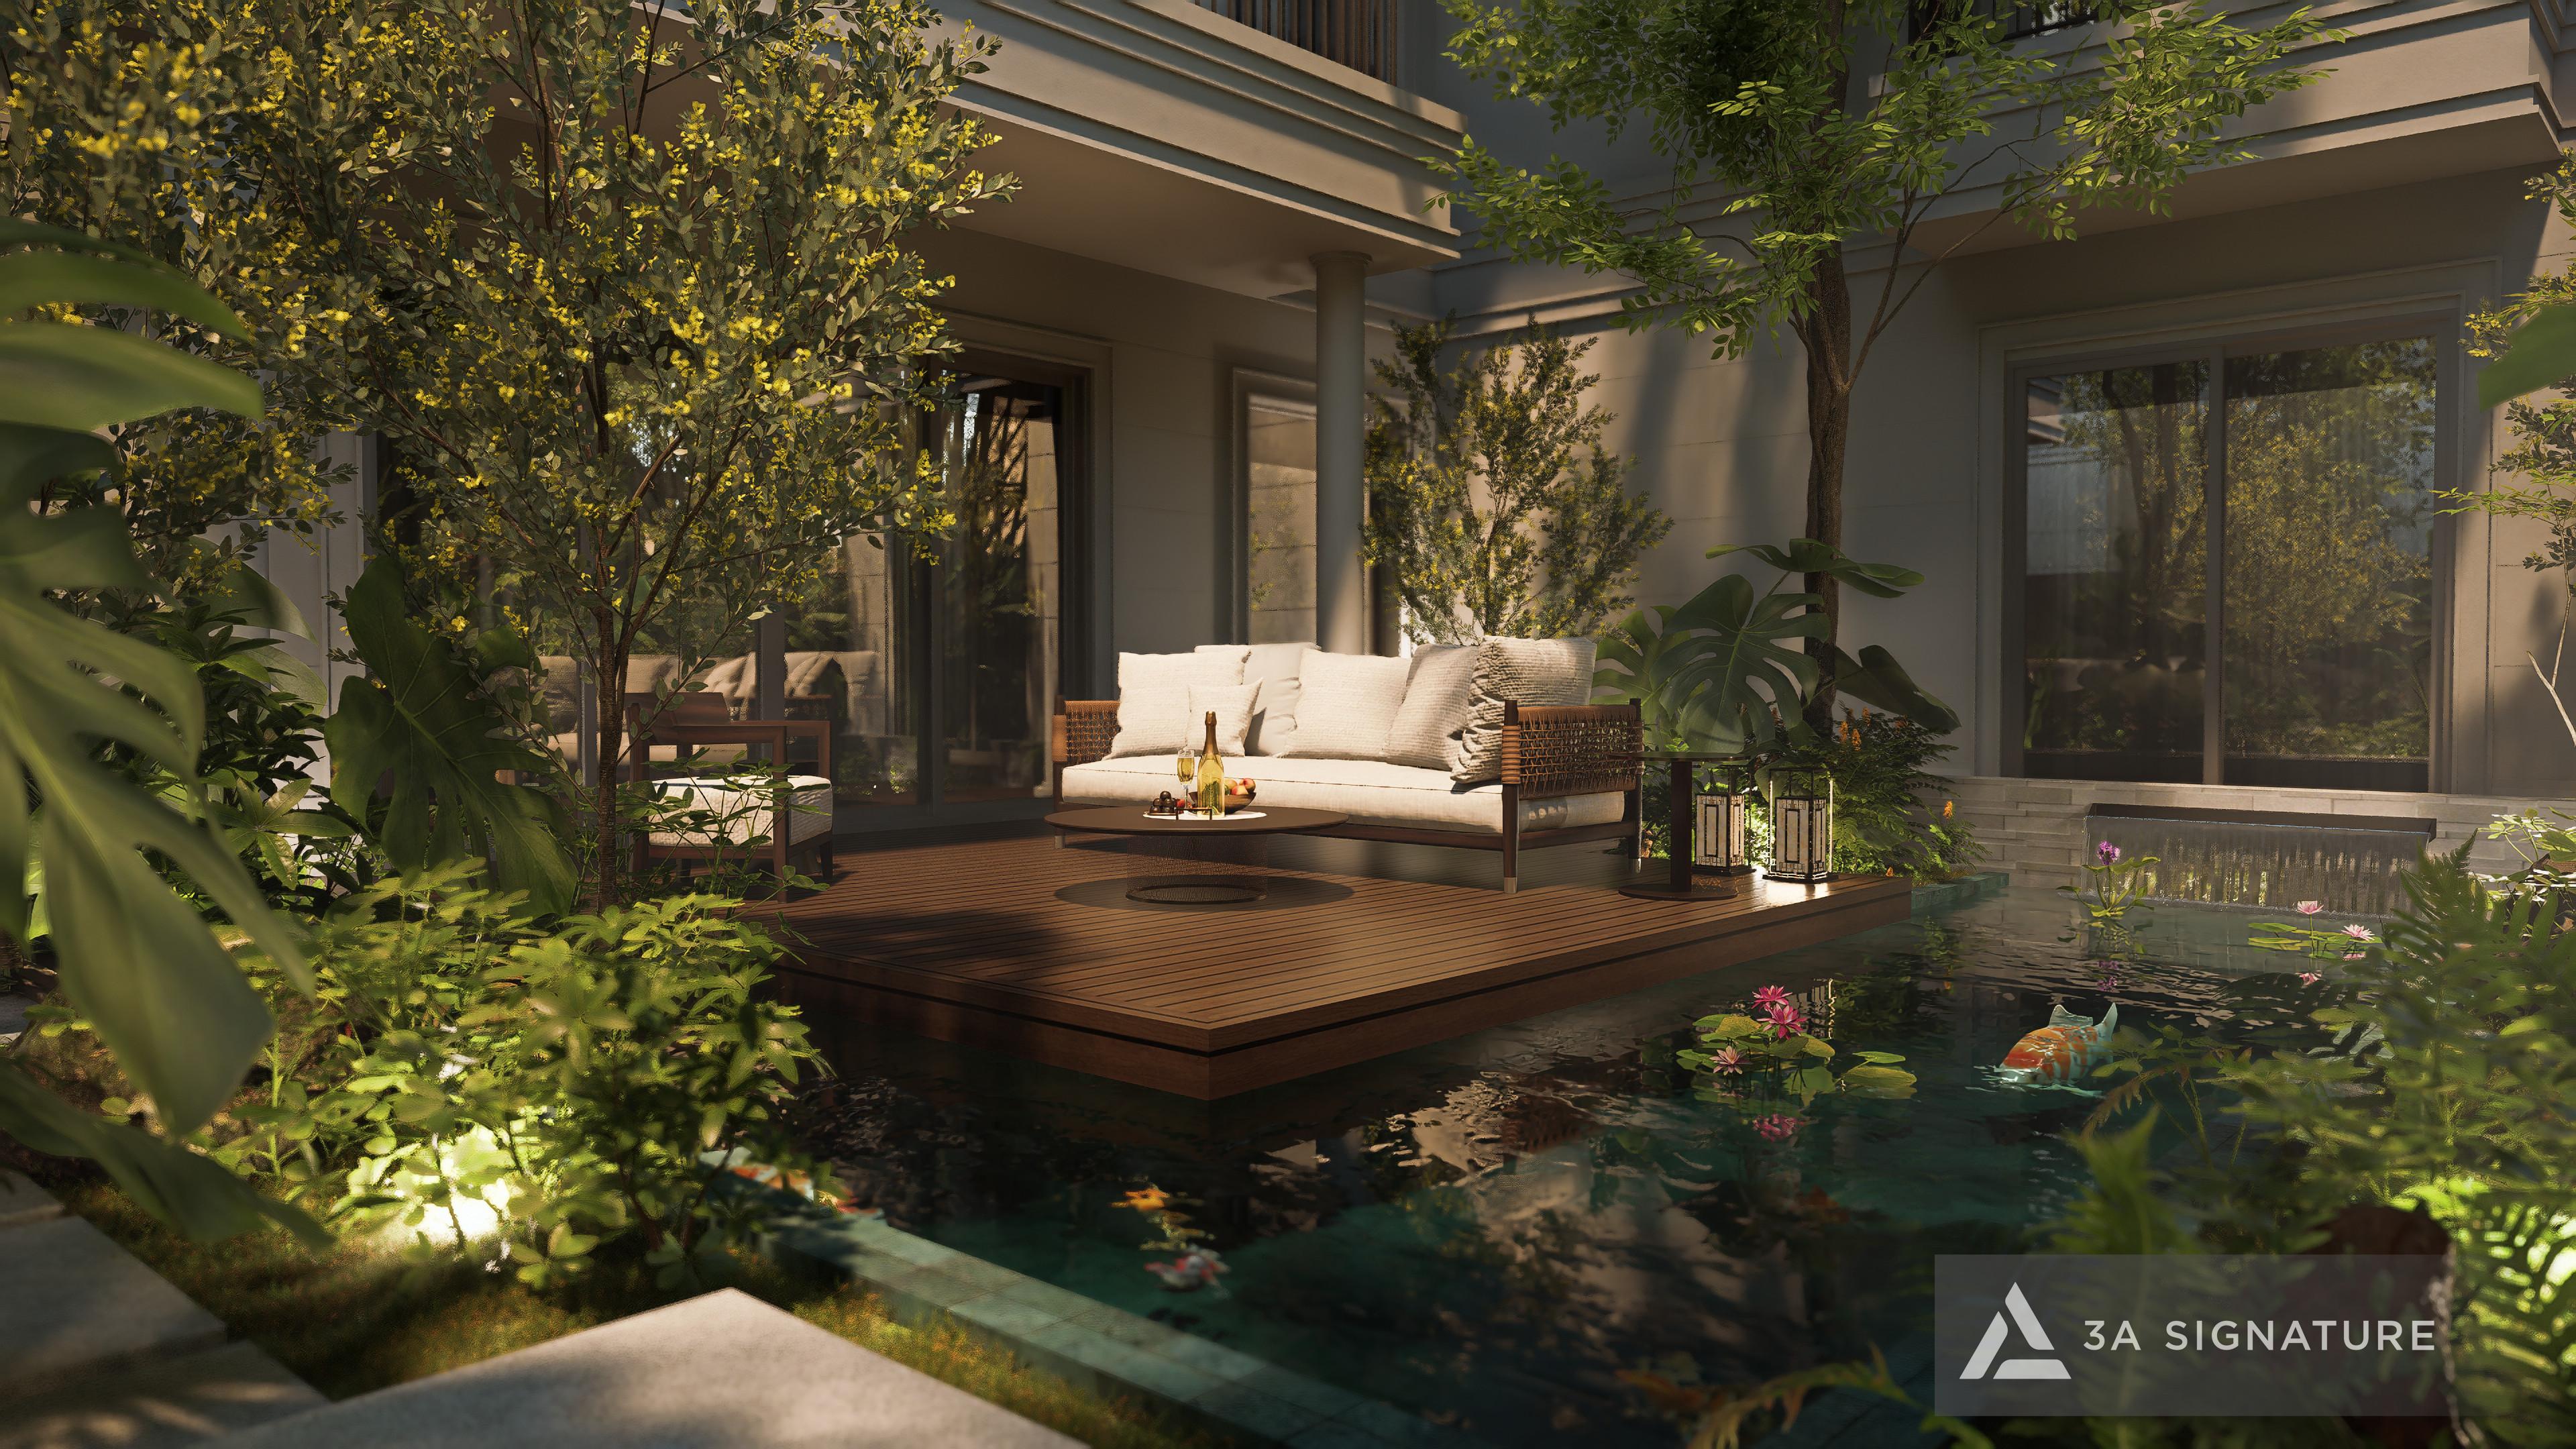
In the Lumina Retreat Villa project: The concept of Lumina – Latin for “Light” – was born from the combination of two elements: the homeowner’s desire for “tranquility” and the abundant natural light potential of the southeast-facing plot. The entire project is organized around three principles: minimalist restraint – blurring the boundaries between inside and outside – and the use of natural materials as the primary focus.
Step 4 – 3D Architectural Rendering: Seeing the House Before Construction
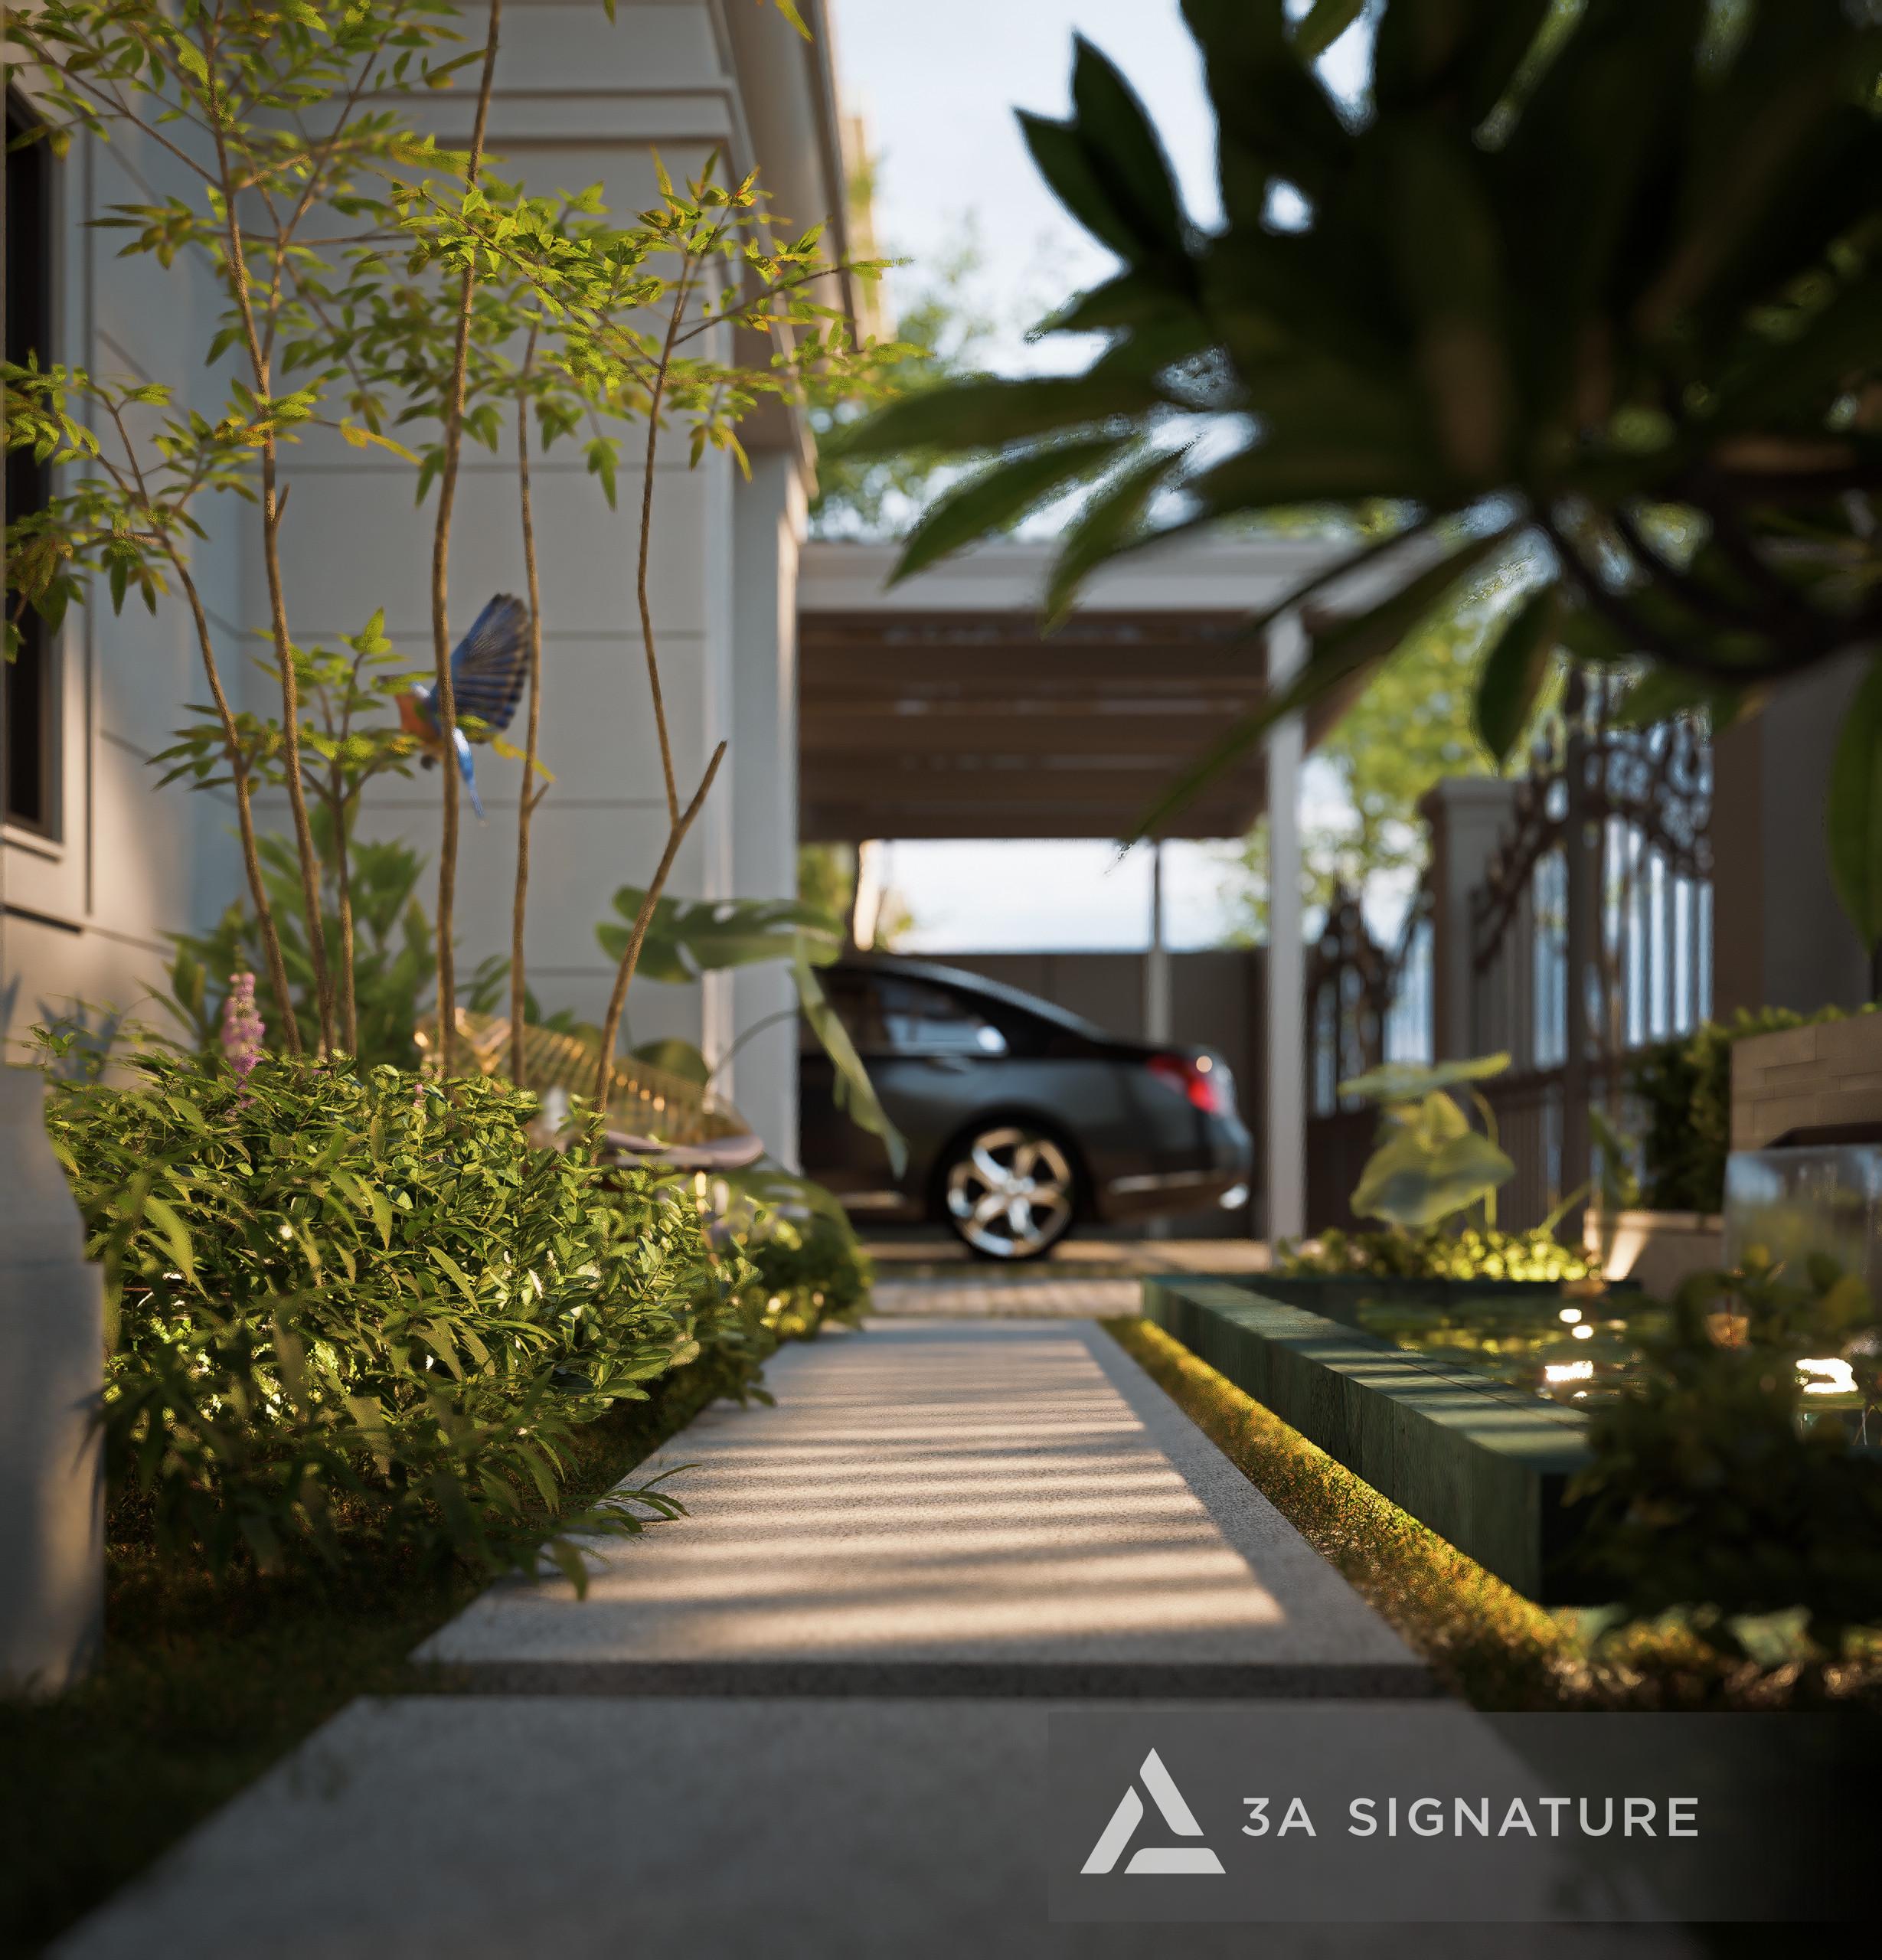
After the concept is approved by the homeowner, the architect develops the entire building’s form in a 3D environment – including the roof, louvers, window systems, exterior greenery, and how natural light interacts with the building at different times of the day.
The homeowner is given a “tour” of their future home – viewing it from the outside, from the garden, and from the entrance gate – to experience the proportions, volume, and actual space before any technical decisions are made.
This is the final major adjustment stage before moving on to detailing – because modifying a 3D model takes a few hours, while on-site modifications can cost weeks and tens of millions of VND.
Step 5 – Interior Design Direction: Synchronization from the Start, Not the End
This is the step that surprises many homeowners – because they are used to “thinking about interior design after construction is finished.” At 3A Signature, interior design is studied in parallel with architecture right from this stage.
The reason is very practical: The materials for floors, walls, and ceilings must be determined before the rough construction begins to ensure a suitable structure. The concealed electrical wiring, lighting points, and drywall ceiling structure must be planned before pouring concrete. The overall color scheme of the interior influences the choice of exterior materials to create visual continuity.
At this step, 3A Signature determines: the overall color palette, the main materials (wood, stone, metal), the furniture style, the overall lighting system, and the principles of furniture arrangement for each space.
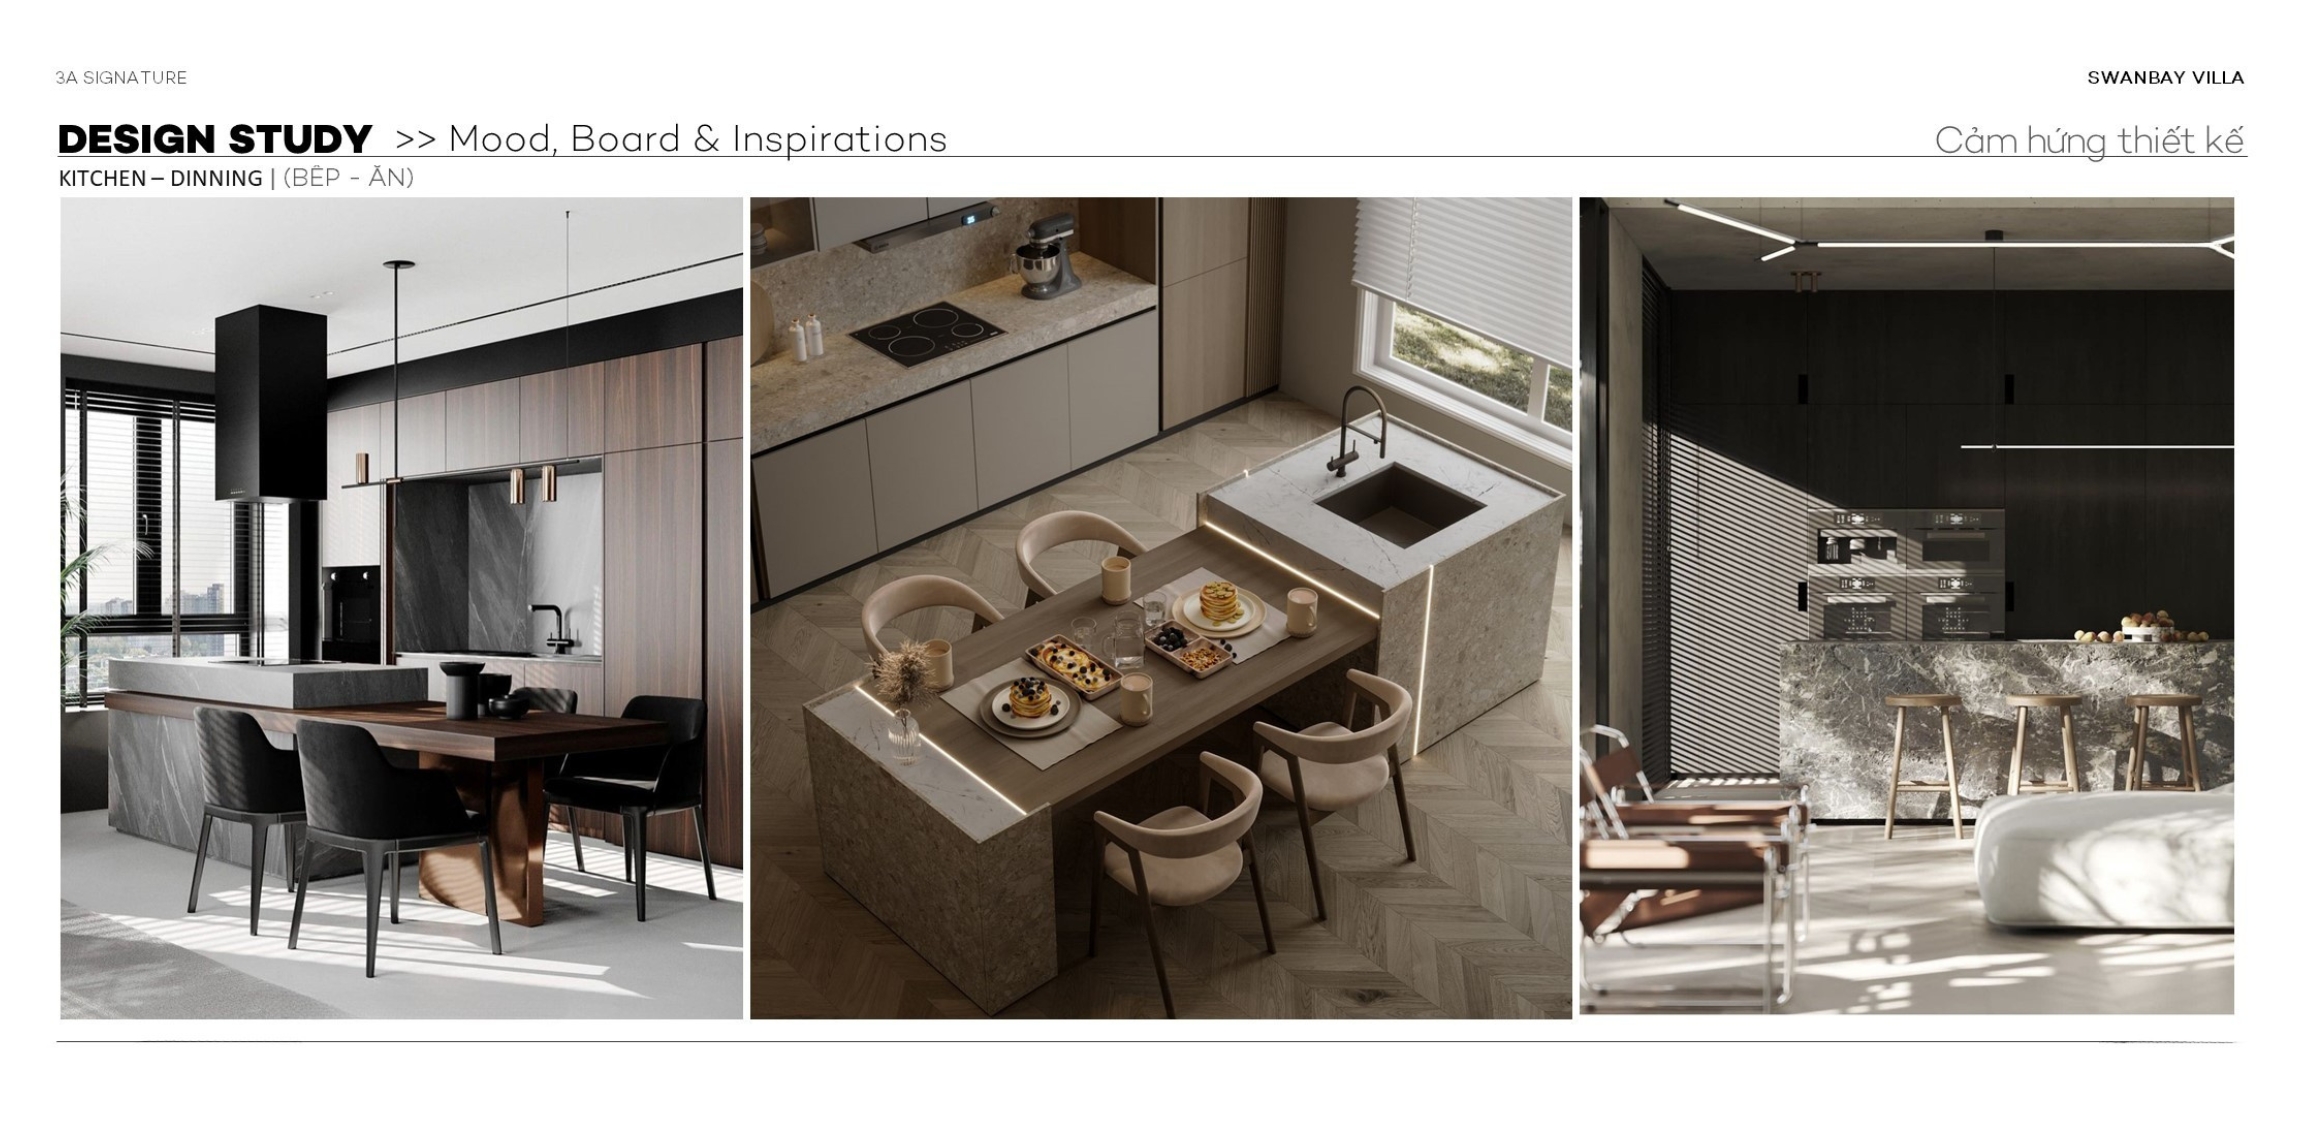
In the Lumina Retreat Villa project: Warm, dark-toned natural wood, solid stone kitchen countertops, and soft yellow indirect lighting are determined at this stage to ensure that when viewed from the outside, the interior space “breathes in sync” with the exterior materials.
Step 6 – 3D Interior Rendering: Every Room Corner Approved Before Construction
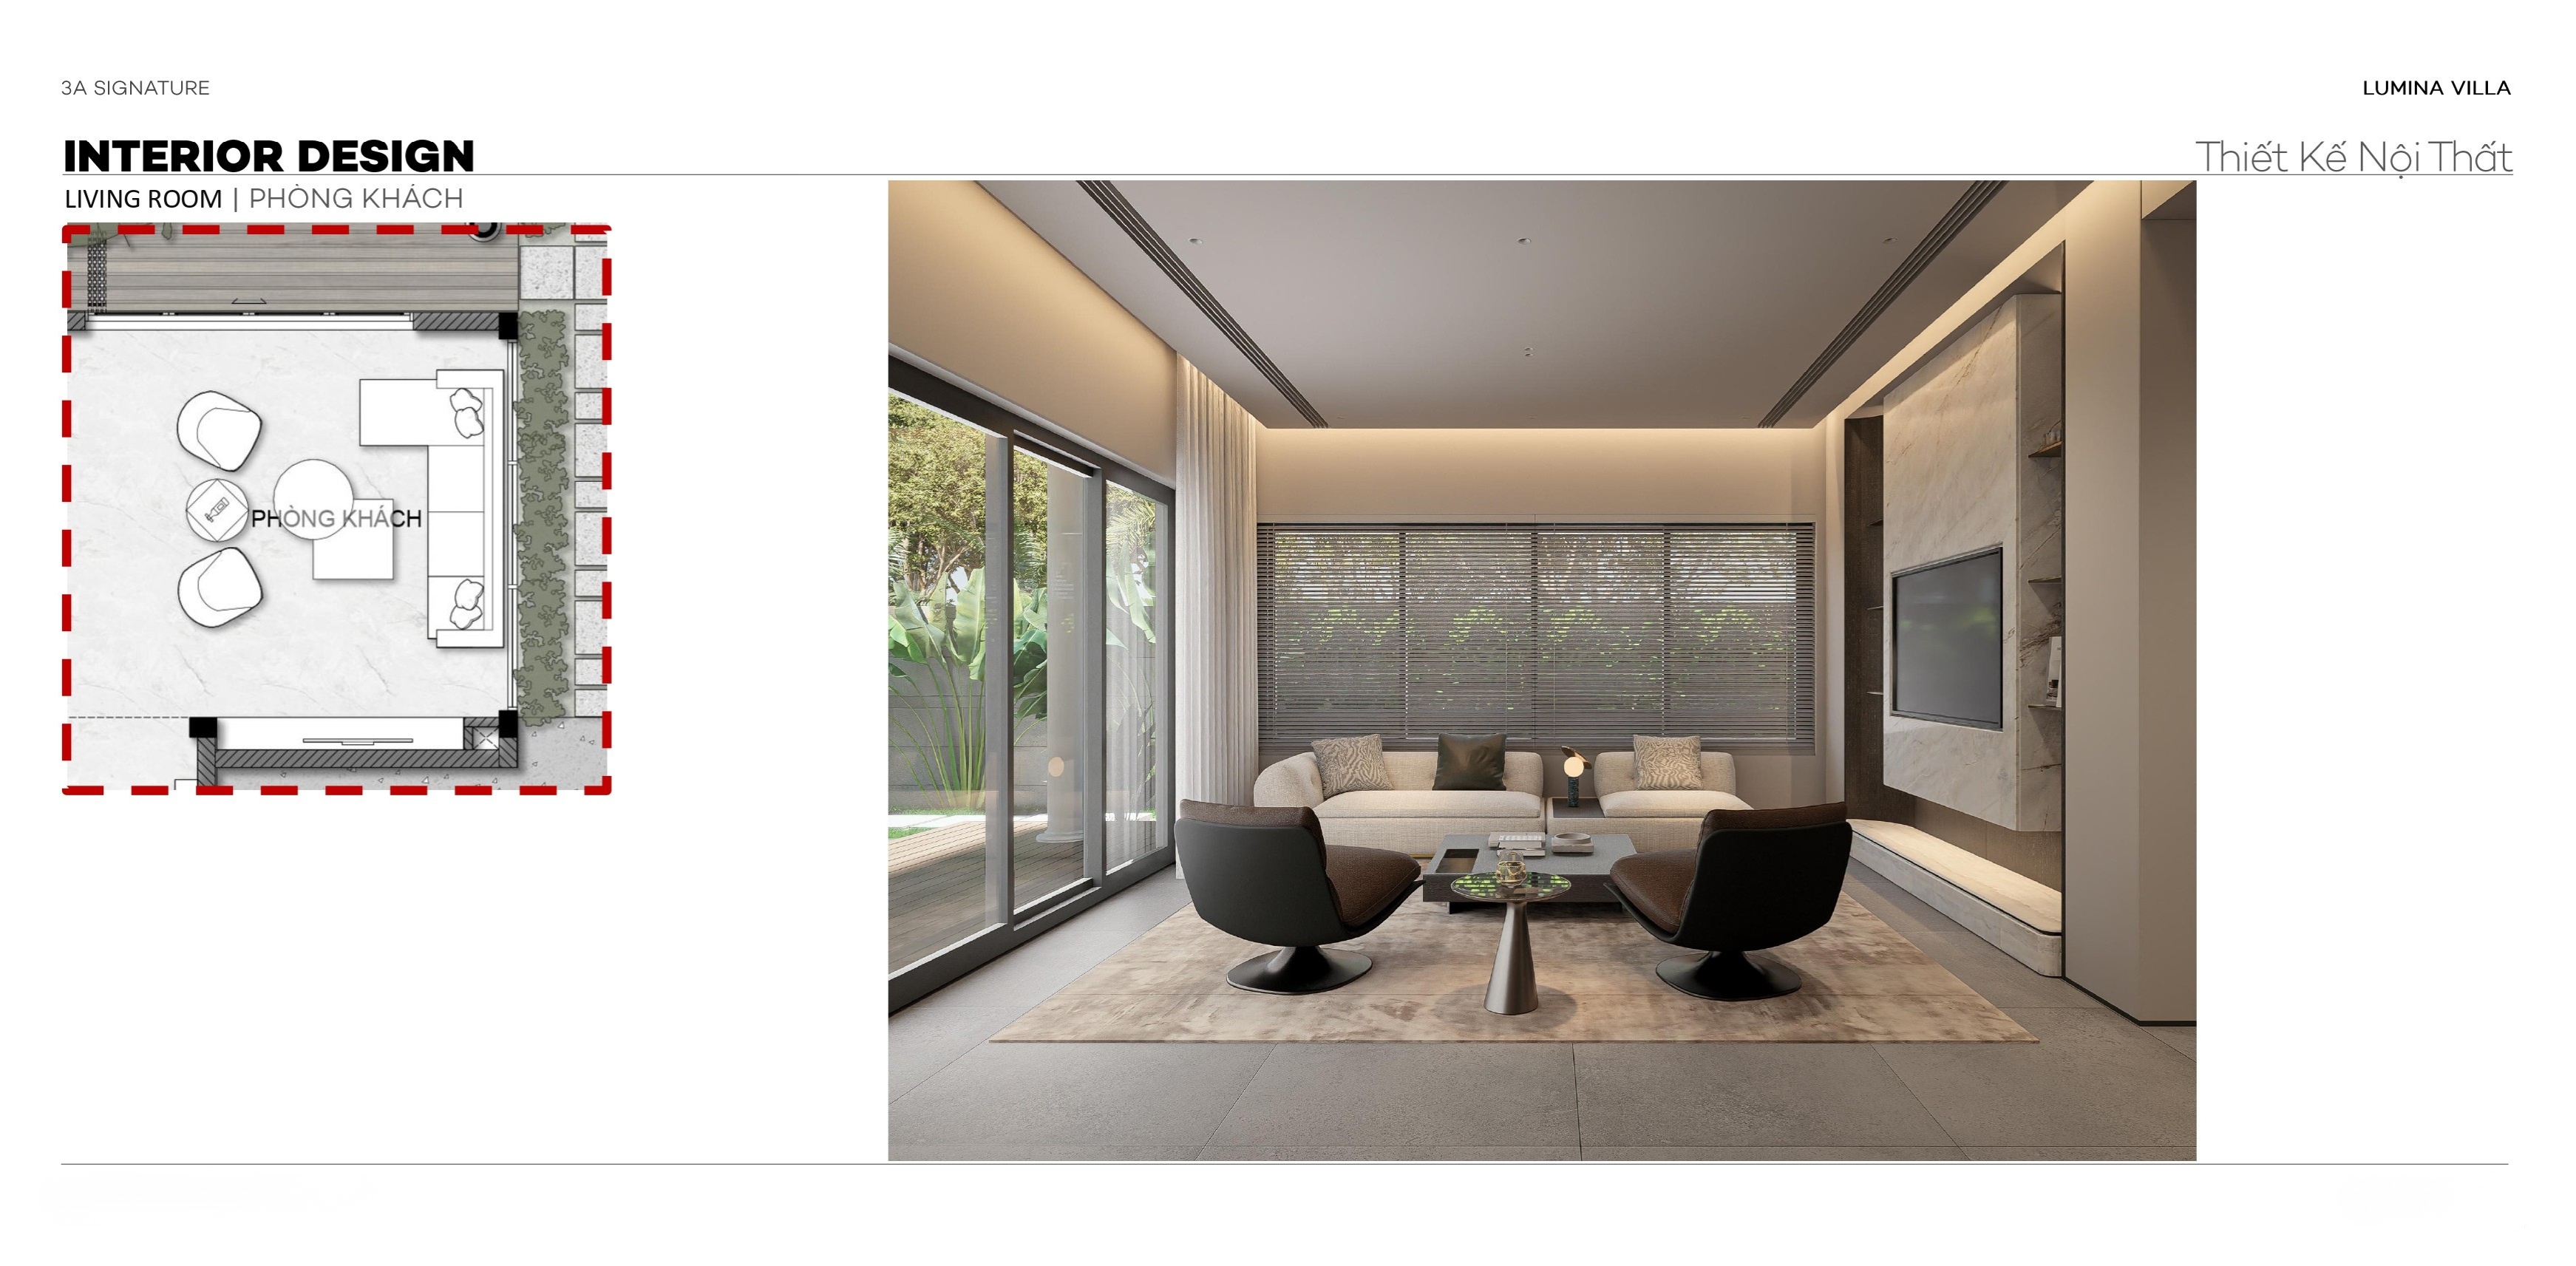
Every space in the house, from the living room, kitchen, bedrooms, bathrooms, and workspace, is fully rendered in a 3D environment with real lighting, real materials, and real furniture.
The homeowner sits “inside” each future room: checking if the sofa proportions match the ceiling height, seeing how the evening lighting creates the atmosphere, adjusting the position of the wardrobe, changing the color of the bathroom tiles—all can be modified at this stage at no cost.
This protects homeowners from the feeling of “I thought it would be beautiful, but it looks strange” after construction is complete – an experience no one wants to have with a project costing billions of dong.
Step 7 – Technical Documentation Implementation: A Commitment Between Design and Reality
After the entire design is approved by the homeowner, the technical team will develop a complete set of construction documents:
- Architectural documents: Floor plans, sections, elevations, details of special elements (staircases, louvers, door systems, roofs)
- Structural documents: Foundations, floors, beams, columns, staircases
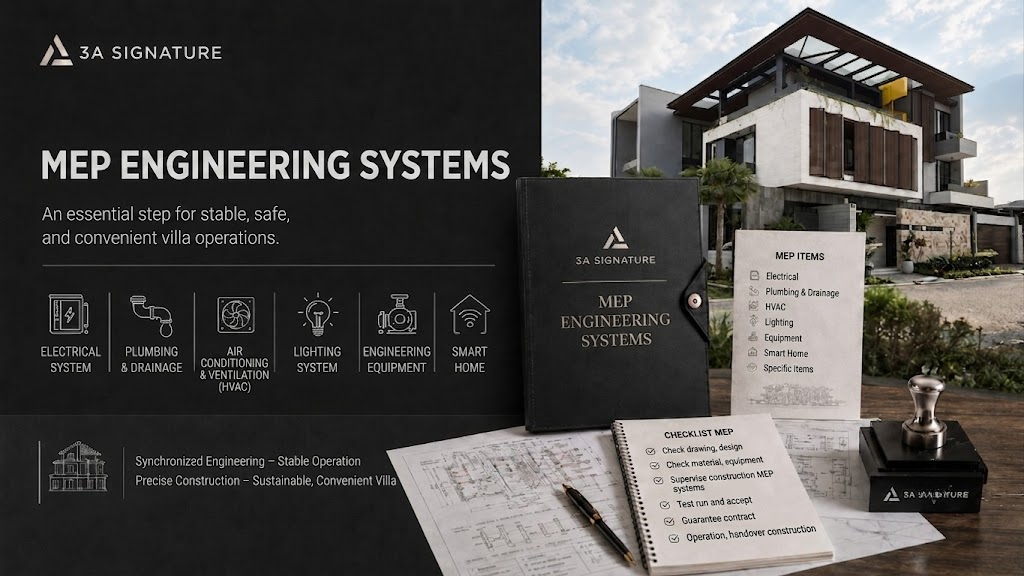
- MEP documents: Electrical, plumbing, air conditioning, ventilation, and drainage systems
- Interior design documents: Construction drawings for each item of furniture, built-in wardrobes, and drywall ceilings
- Landscape design documents: Garden layout, walkways, ponds, and irrigation systems
This set of documents is the “common language” between the architect and the construction team. The more detailed it is, the fewer risks and discrepancies will arise on the construction site.
Step 8 – Preparing the Construction Cost Estimate: Transparent Costs Before Construction Begins
Based on the complete technical documentation, the entire construction volume is broken down and a detailed cost estimate is prepared for each item:
- Foundation and structure
- Rough construction and architectural finishing
- Electrical, plumbing, and air conditioning systems
- Interior design and finishing
- Landscaping and fencing
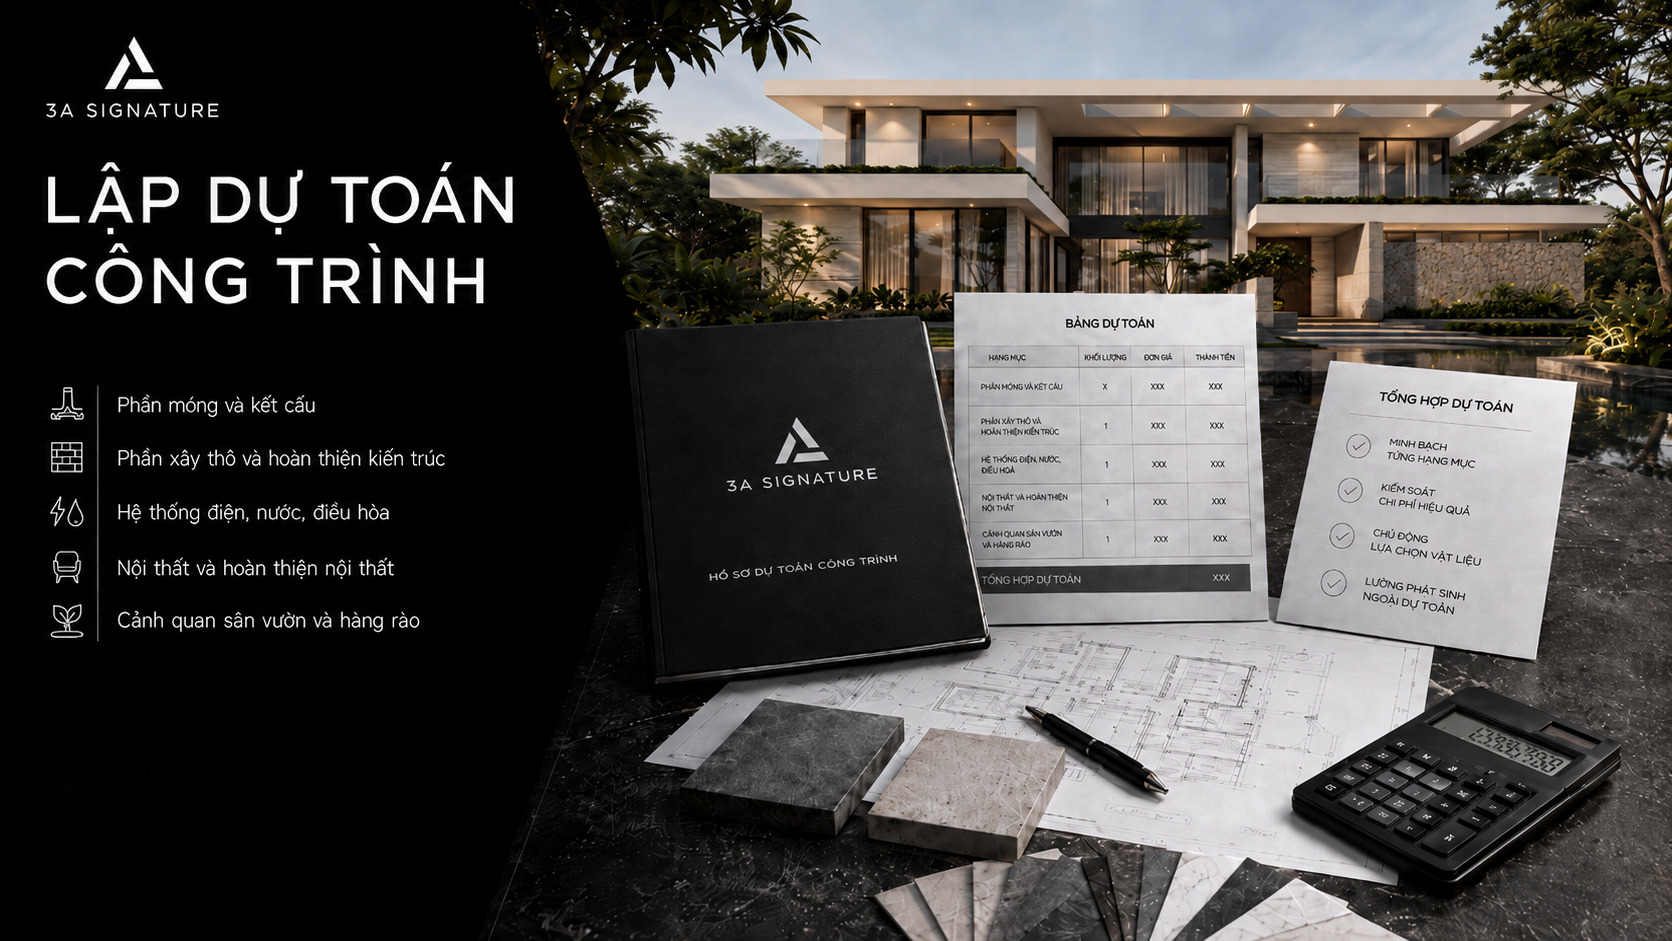
The homeowner receives a complete cost estimate before signing the construction contract – knowing the exact cost of each item, understanding the value of each material decision, and being able to make adjustments if necessary without affecting the overall design.
This is the principle of transparency that 3A Signature is committed to: not letting homeowners be “shocked” by unexpected costs during construction.
Step 9 – Construction & Supervision: The Stage That Determines Actual Quality
This is the longest and most important stage to protect all the efforts of the previous steps.
3A Signature implements construction in controlled phases:
Rough construction phase: Pile driving, foundation pouring, wall construction, floor pouring, roof frame installation. Supervisors conduct technical checks at key points to ensure the structure conforms to the design plans.
Architectural finishing phase: Installation of glass doors and windows, floor and wall tiling, exterior finishing, installation of louvers and wall-mounted greenery. This is the crucial stage that determines the “face” of the project.
Interior phase: Installation of gypsum ceilings, built-in wooden furniture, freestanding furniture, lighting systems, and finishing details.
Landscape phase: Planting trees, installing an automatic irrigation system, completing walkways and outdoor areas.
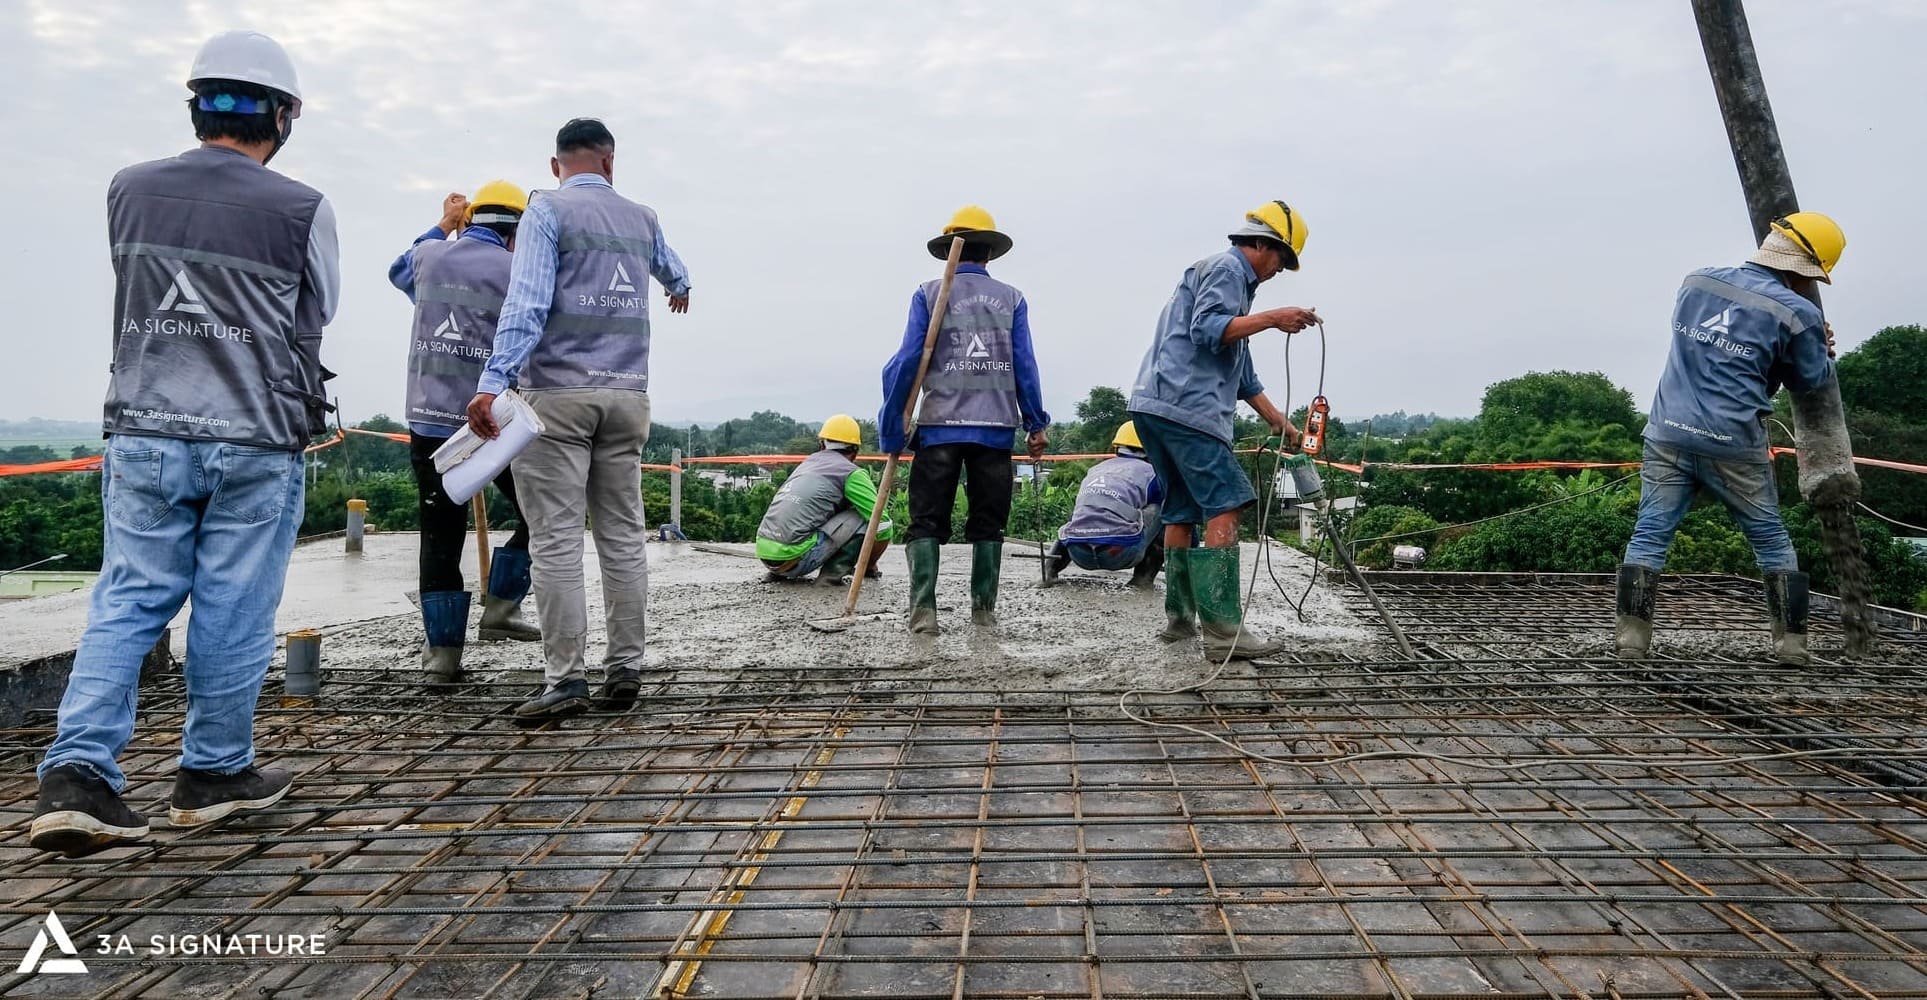
Throughout this process, homeowners receive regular progress updates and can visit the construction site at key milestones.
Step 10 – Warranty & Maintenance: Commitment After Key Handover
The handover date is not the end of 3A Signature’s journey with the homeowner.
After the homeowner receives the house, 3A Signature will:
- Periodically inspect the electrical, plumbing, roofing, and other critical structures every 3 months, 6 months, and 12 months.
- Maintain the landscape seasonally to ensure the greenery develops according to the design direction.
- Address any issues (if any) during the warranty period with a specific response time commitment.
- Provide additional advice if the homeowner wishes to adjust or expand the space after a period of use.
A high-class villa at SwanBay needs to be beautiful not only on the inauguration day – it needs to maintain its quality of life and aesthetic appeal over time.
Lumina Retreat Villa – When All 10 Steps Are Operated Consistently
Lumina Retreat Villa in SwanBay Urban Area is the clearest practical proof of this process.y.
| Item | Specifications |
| Project Location | SwanBay Urban Area, Dong Nai |
| Land Area | 320 m² |
| Construction Footprint | 110 m² |
| Scale | 1 Ground Floor – 1 Upper Floor – 1 Attic |
| Design Style | Tropical Modern |
| Scope of Services | Full Turnkey Design & Build (or: Design + Construction Package) |
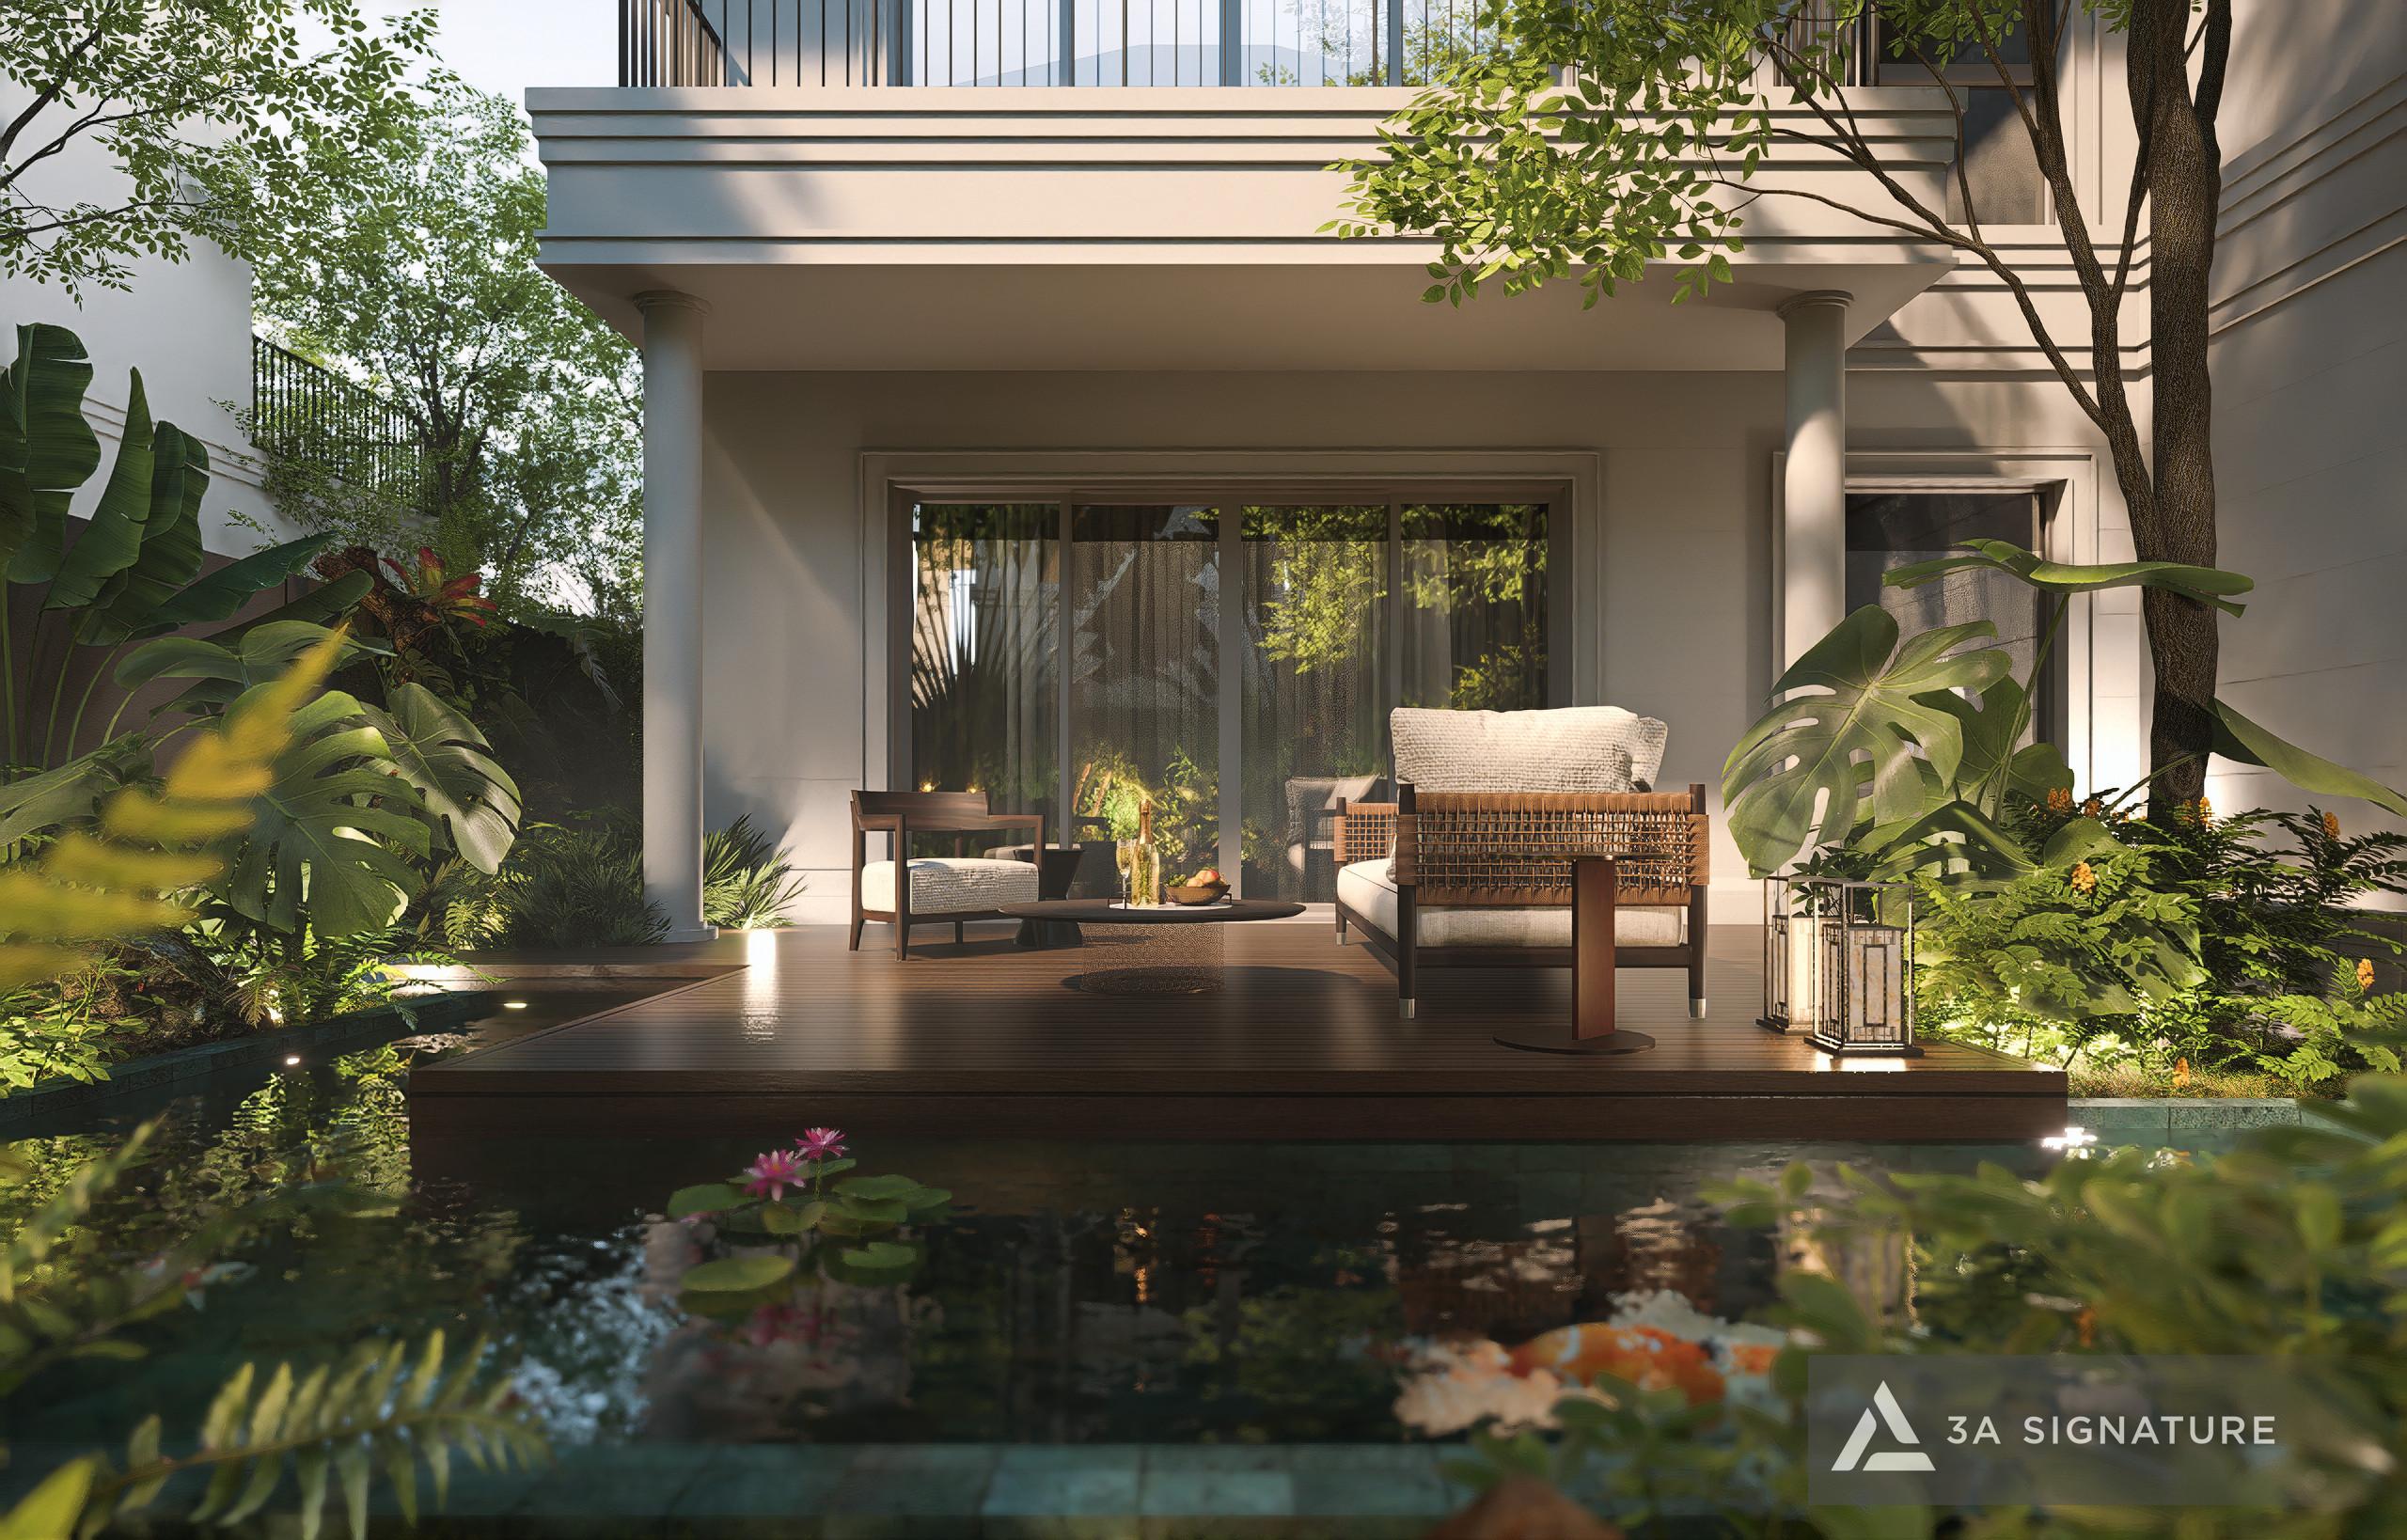
From the initial listening session – where the homeowner simply said, “I want to feel like I’m on vacation every time I come home” – to the day the homeowner stepped into a space bathed in natural light streaming through floor-to-ceiling glass windows, with gentle breezes from the Dong Nai River flowing through the atrium and tropical greenery enveloping the patio: these are 10 operational steps, not luck.
Xem chi tiết dự án: Lumina Retreat Villa – 3A Signature
Frequently Asked Questions About SwanBay Villa Design Process
How long does it take to complete the entire process from step 1 to step 10? For a villa of similar size to Lumina Retreat (approximately 100–120m² built area): the design phase (steps 1–7) takes 6–8 weeks, and the construction phase (step 9) takes 8–12 months depending on the level of completion. The total journey from the first meeting to handover of the keys is usually 12–15 months.
Does the homeowner need to be heavily involved in the design process? 3A Signature designs the process so that homeowners only participate at the crucial moments – not just monitoring every technical detail. There are 3–4 main review sessions during the design phase, after which homeowners receive regular progress updates during the construction phase.
If I already have drawings from another company, will 3A Signature undertake the construction? Yes. 3A Signature accepts construction services based on existing plans. However, the team will review the technical plans beforehand to ensure they meet the quality standards for construction.
How are design costs calculated? Design fees are calculated as a percentage of the total project value or by area, depending on the service package. The specific figure will be quoted after the first consultation based on the scale and scope of work.
Can 3A Signature work with homeowners in Ho Chi Minh City? Absolutely. The majority of SwanBay homeowners live and work in Ho Chi Minh City. 3A Signature has a flexible workflow: design reviews can be conducted online, combined with in-person meetings at key milestones.
Starting Step 1 – Free Consultation
If you own land in SwanBay and want to better understand the villa design process before making any decisions – the first consultation with 3A Signature is completely free and non-binding.
This isn’t a “sales pitch.” This is step 1 in a 10-step process – where everything begins with listening to you.
3A Signature – Craft Your Tropical Villa. A systematic villa design process for SwanBay – because a truly exceptional home starts with the right process.
See more related content:
- 3A Signature designed the SwanBay villas.
- 3A Signature designed the interior of the SwanBay villa.
- Lumina Retreat Villa – Dự án tại KDT SwanBay
- View all completed projects